I am sharing Salad in a Jar 101 guide to preparing and packing salad like a pro – a ready-to-carry, easy-to-eat method of enjoying a salad.
- The Concept of Salad Jar
- How To Layer
- Meal Prep Tips
- The Right Choice of Ingredients
- How To Eat
- Salad Jar Recipes
The Concept of Salad Jar
Of course, bringing your salad to work is not the newest idea in the world. But, when you pack salad in a regular container, the layers are lost, and the delicate greens are wilted; in short, the salad loses its soul of freshness.
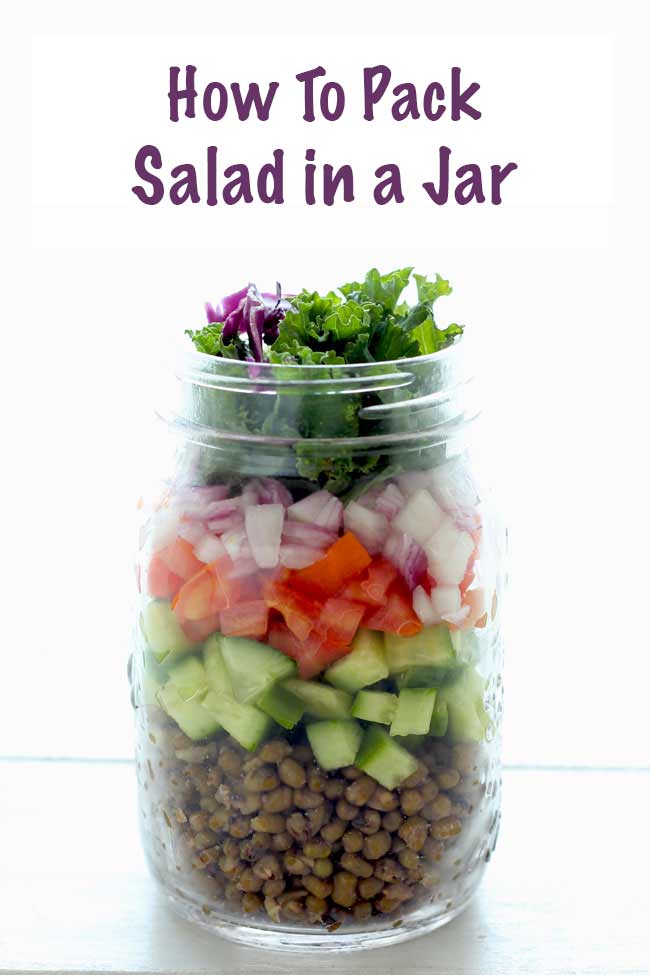
With dressing at the bottom of the jar topped with protein and delicate greens at the topmost, the salad jar is the best and the most practical way of packing a salad for lunch on the go. Or, as I say on Instagram , GRAB & GO Power Jar is the perfect way to eat healthy anytime, anywhere.
Salad in a jar works exceptionally well for those who work long hours at a desk, travel frequently, or anyone who doesn’t have much time on their hands to make salad from scratch each time.
Reasons To LOVE Power Salad Jars
- encourages clean and healthy eating
- less expensive and budget-friendly
- easy to pack and carry around
- less dishwashing and fuss-free
- meal prep friendly
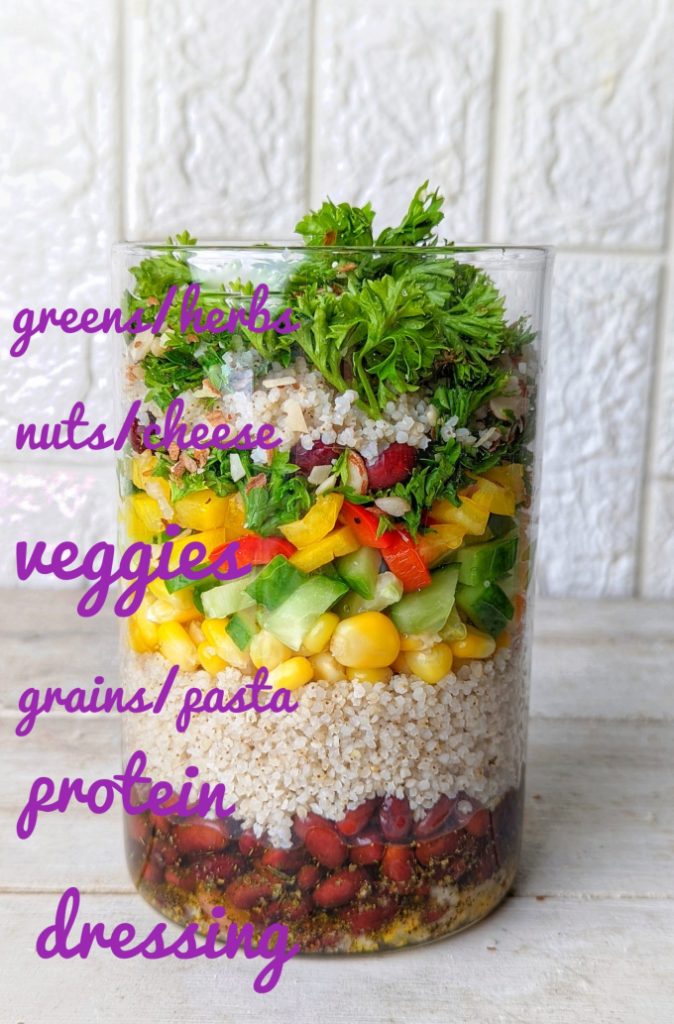
How To Layer
A salad in a jar involves building layers of flavour and texture.
It is important to layer the salad correctly in the jar to ensure nothing is squished, lost its crunch, or gone mushy.
To layer a GRAB & GO power jar, follow these steps:
- Start with the dressing at the bottom. So that the rest of your ingredients don’t get soggy.
- Next, add proteins – tofu, peas, cooked chicken, boiled eggs, etc.
- The third layer should be crunchy veggies. Like bell peppers, celery, tomato, cucumber, zucchini, carrots, etc.
- Top this off with whole grains, pasta, and chickpeas if you add any.
- The topmost layer is GREENS – so that they remain fresh.
- Don’t forget to sprinkle a few seeds like flax, sesame or pumpkin seeds, or nuts on top.
Meal Prep Tips
The best part is to make 3 – 4 salad jars over the weekend and store them in the refrigerator. Each day grab one and go!
The basic meal prep for the salad includes cleaning, washing, and cutting the veggies/fruits, cooking the protein or whole grains, and preparing the salad dressing.
Hence, making them over the weekend or in your free time is always best.
If you’d like to make your salad jars last as long as possible, you’ve got to use the right ingredients. For instance, the shelf life of salad ingredients and their respective expiration dates, especially when it comes to cold-cut meats, cheese, or cooked protein.
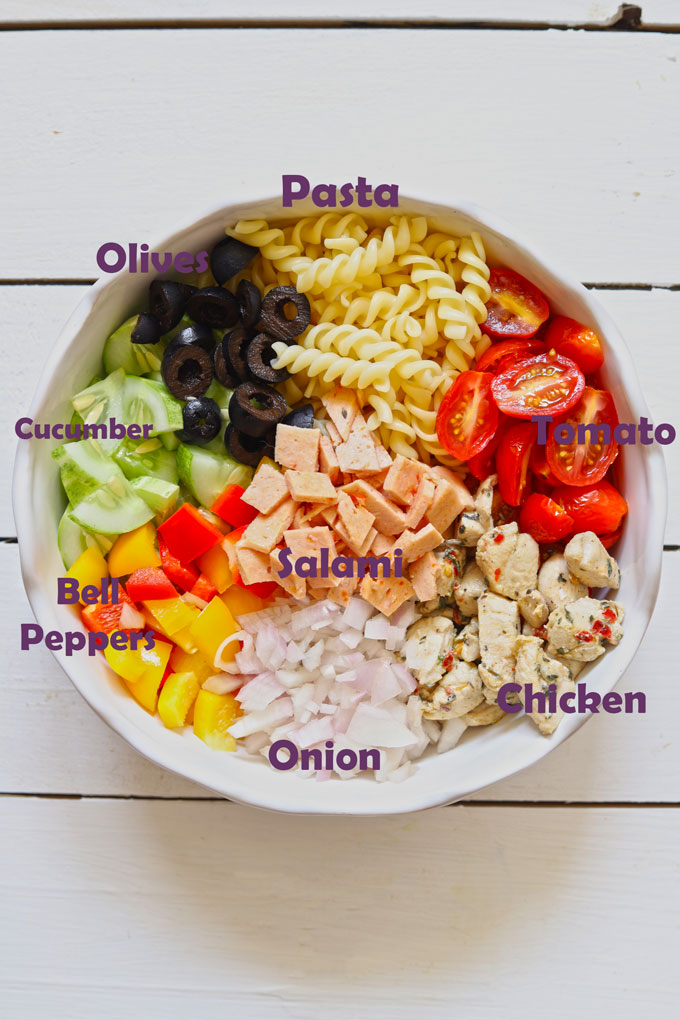
The Right Choice of Ingredients
Whole Grains – You can add quinoa, bulgar wheat, couscous, barley, brown rice, millets, or other whole grain .
Protein – This is one of the essential parts of a salad; this is what will keep you full and healthy. Add cold-cut meats or pick from chicken, lamb, eggs, tofu, peas, lentils, legumes, chickpeas , paneer, beans, etc.
Pasta: Short, bite-size pasta like macaroni, shells, orzo, farfalle, spiral, rotini, or penne, works best for salad in a jar.
Greens – try to include greens like spinach, collard greens, lettuce, broccoli, celery, kale, avocado, edamame, sprouts, fresh herbs, or any other local variety of green leafy vegetable s.
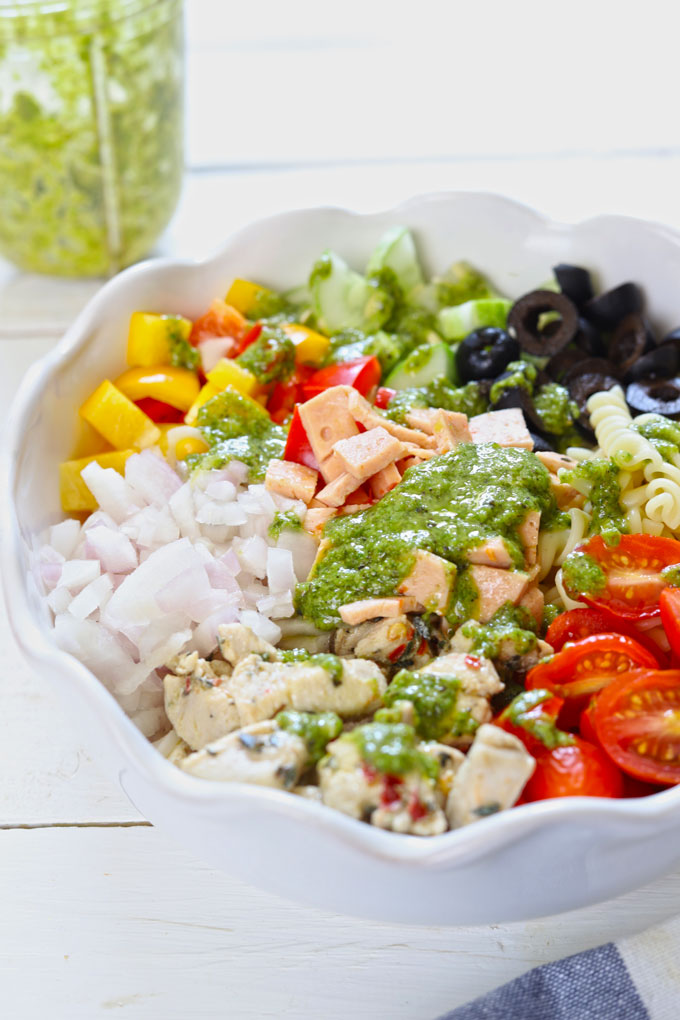
Dressing – This component gives the salad flavour and fat and keeps it from getting too dry. Choose from our six signature salad dressings , or use a mix of extra virgin olive oil, sea salt, and black pepper.
How To Eat
There are two ways of eating a salad jar.
- One, straight from the mason jar. Give the salad jar a good shake, toss the ingredients with the dressing, and eat it immediately.
- Second, transfer the contents of the jar to a bowl, and eat.
- Both of these methods are equally fuss-free and convenient.
Salad Jar Recipes
All my favourite salad jar recipes are listed in this post here . I have packed most of them for my husband’s office lunch for the last few years.
I hope you all enjoy making these salad jars.

Best SALAD RECIPES
- Fruit Salad
- Lentil Salad
- Sprout Salad
- Chickpea Salad
- Macaroni Salad
- Crispy Noodles Salad
- Summer Tomato Salad
get more salad recipes .
We follow a strict NO SPAM Policy
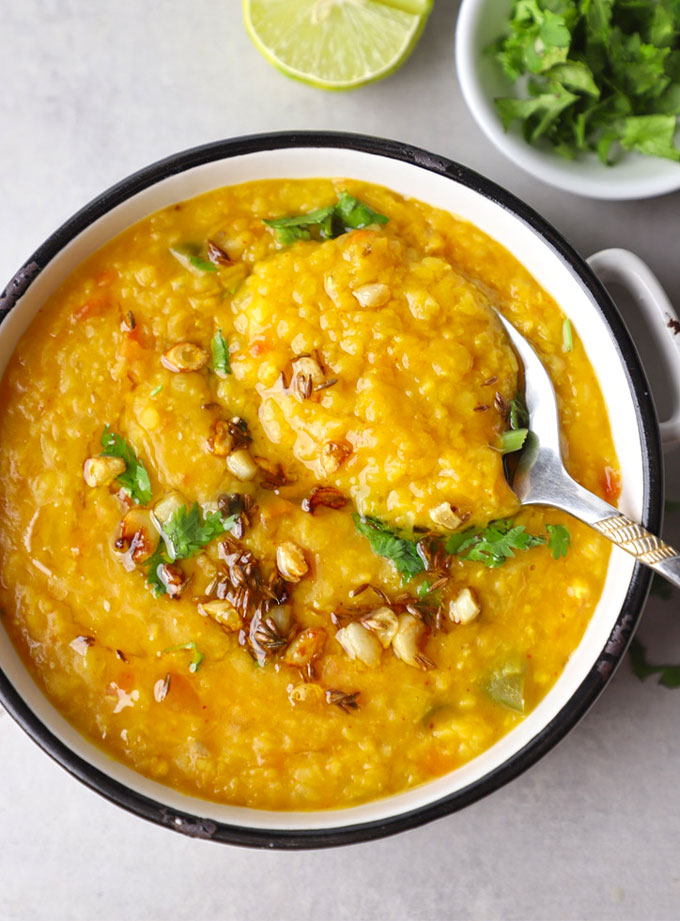
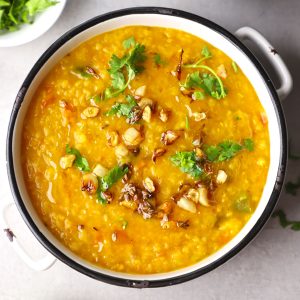
I make this quick and easy masoor dal at least twice a week for family meals. Here is a delicious masoor dal recipe – an ultimate comfort food that gets ready in less than 30 minutes in a pressure cooker.
- Everyday Comfort Food
- Masoor Dal – The Pink Lentil
- How To Cook Masoor Dal
- Serving Suggestion
- More Indian Dal Recipes
- Everyday Masoor Dal Recipe
Everyday Comfort Food
Hina says – Everyday Indian food in my home is simple, tasty, easy to cook, and comforting to the core. And a variety of dals are an integral part of my meal menu . I love lentils and beans so much that I dedicated a whole chapter (A Bag of Beans) to delicious Indian dal and bean recipes in my cookbook .
In a world filled with uncertainty, home-cooked comfort food offers a taste of home, a sense of belonging, and a reminder of the simple joys of life.
Masoor Dal – The Pink Lentil
Masoor dal, also known as red or pink lentils, originates from India and has been a part of traditional Indian cuisine for centuries. Packed with protein, fibre, and essential nutrients, masoor dal not only satisfies hunger but also nourishes the body.
It is a plant-based, vegetarian ingredient. You can use it to make stews, soups , khichdi , cutlet , tofu, dal, dosa, and so much more.
I am sharing an easy, fuss-free masoor dal recipe you can make either in a stovetop pressure cooker or instant pot with readily available ingredients.
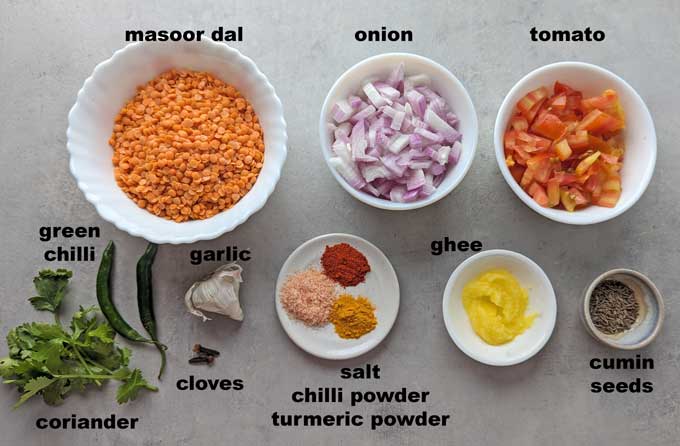
Other Ingredients
- Onion, Tomato, Green Chilli, Garlic , Coriander (cilantro)
- Seasoning: Salt, Turmeric Powder, Red Chilli Powder
- Whole Spices: Cloves (laung), Cumin, Dried Red Chilli (Optional)
- Cooking Oil: Ghee or neutral-tasting vegetable oil
How To Cook Masoor Dal
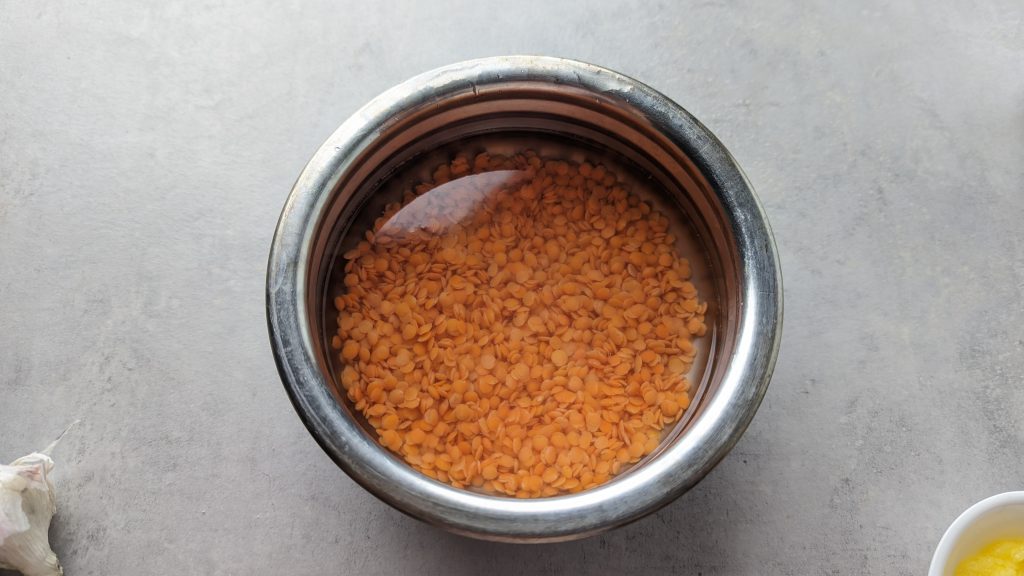
Prepare Lentil:
- Rinse and soak masoor (pink lentil) in water for 15 minutes.
- After 15 minutes, drain water from the soaked masoor.
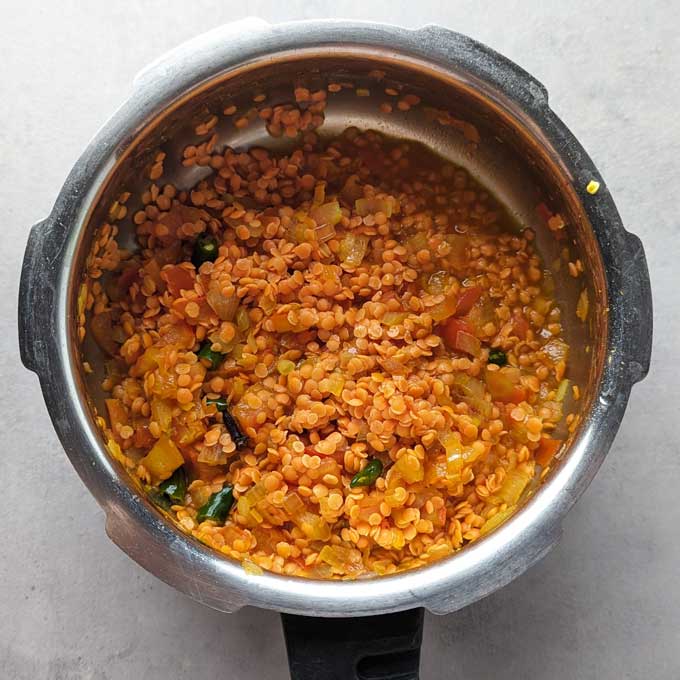
Pressure Cook :
- In a pressure cooker, add the rinsed dal, chopped tomato, green chilli, salt, turmeric, chilli powder, cloves, and water. Stir to combine.
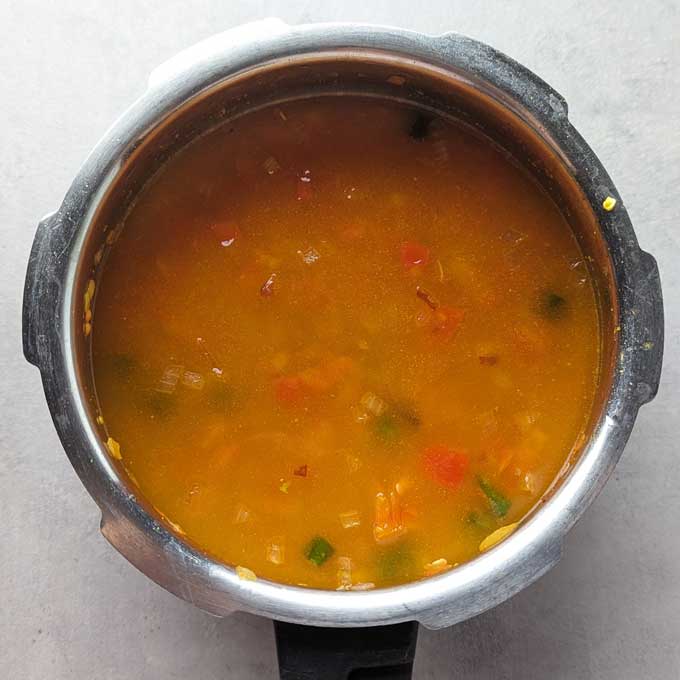
- Pressure cook over low heat for 2 whistles or 10-15 minutes until the dal is cooked.
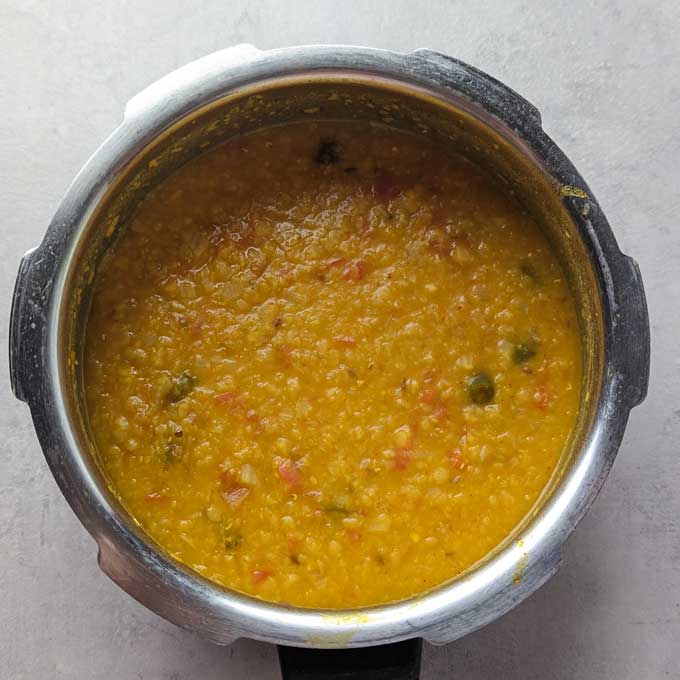
- Allow steam to release naturally from the pressure cooker.
- Once cooked, mash the dal slightly with the back of a spoon. Taste, if required add more salt or spices. Set aside.
Tempering:
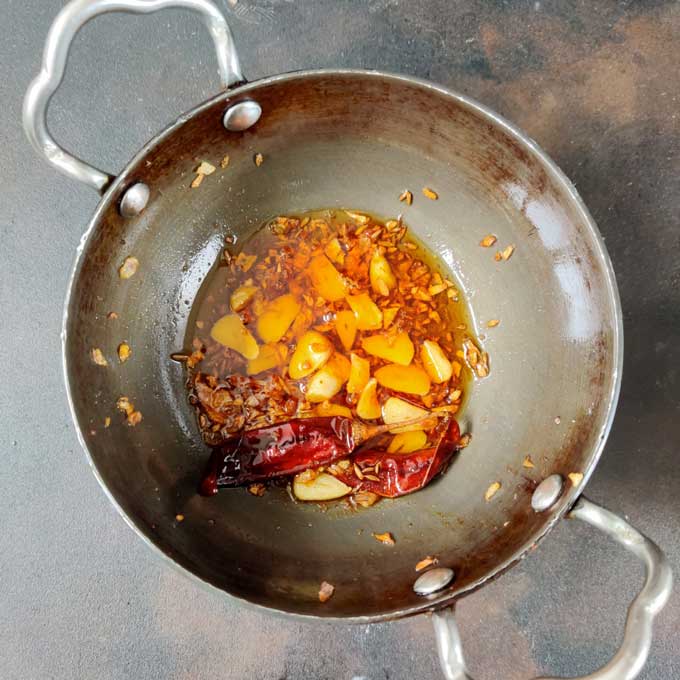
- Heat ghee or oil in a pan over medium heat.
- Add cumin seeds, chopped garlic, and onion. Fry them till the onion becomes light golden. Turn off the heat.
- Pour this tempering (tadka) over the hot masoor dal.
Simmering and Garnishing:
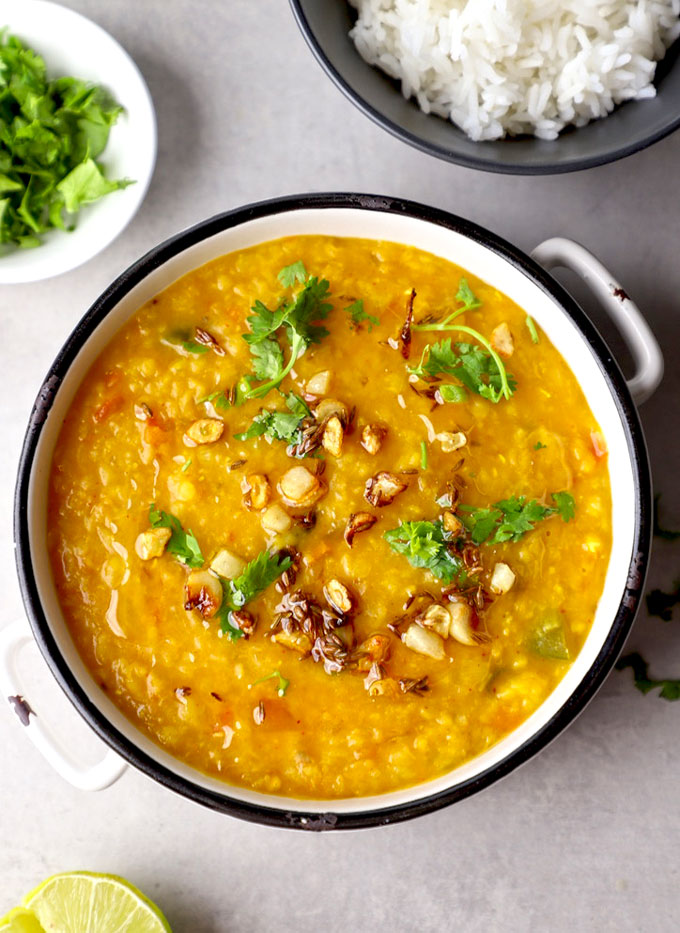
- Let the dal simmer for 5 minutes on low heat. Allowing flavours to meld together.
- Once done, turn off the heat. Garnish with chopped coriander leaves.
- Squeeze a wedge of lemon juice over the dal for a refreshing tangy taste.
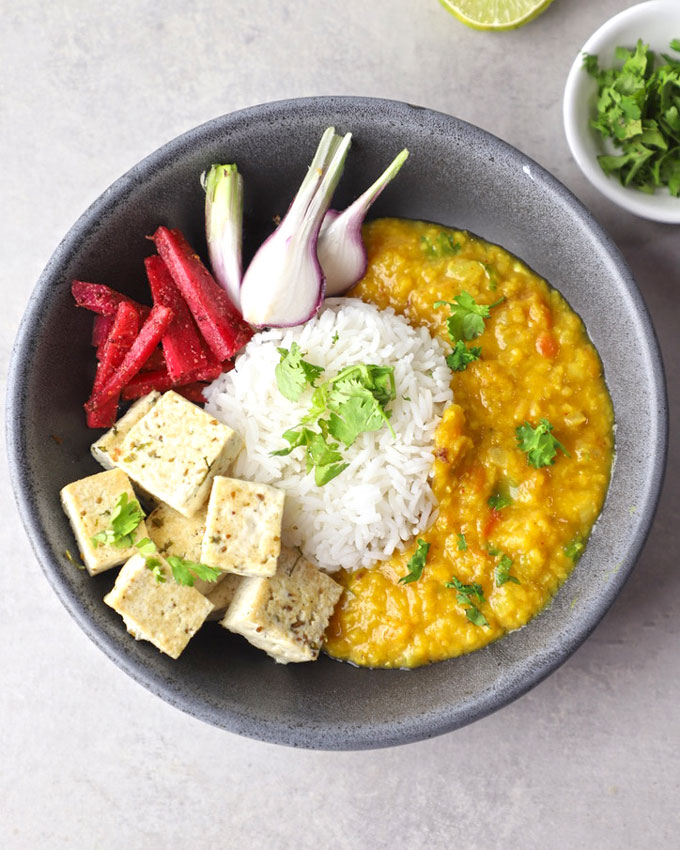
Serving Suggestion
I love to eat masoor dal with basmati rice or jeera rice . Whether I am homesick or in need of a pick-me-up after a long day, a steaming bowl of dal chawal provides me with a sense of comfort and familiarity like no other.
Masoor Dal pairs perfectly with Indian bread such as roti/phulka/chapati or naan. For a complete meal, serve it alongside curd or yoghurt , pickles, and sliced cucumbers or Indian kachumber salad .
This wholesome and nutritious dal is not only satisfying but also incredibly comforting, making it ideal for weeknight dinners.
More Indian Dal Recipes
- Arhar Dal Fry
- Dal Makhani
- Panchmel Dal
- Moradabadi Dal
- Shahi Urad Dal
- Palak Chana Dal
- Pahadi Gahat Dal
- Punjabi Sookhi Dal
If you try this recipe and love it, please leave a comment and a rating. This helps us grow and reach other food lovers like you.
Ingredients
- ▢ ½ Cup pink masoor dal
- ▢ 1 ½ Cup water
- ▢ 2 cloves (laung)
- ▢ 1 small size tomato, finely chopped
- ▢ 2 green chilli, finely chopped
- ▢ 1 teaspoon cooking salt or to taste
- ▢ ½ teaspoon turmeric powder
- ▢ ½ teaspoon red chilli powder
Ingredients for Tempering (Tadka)
- ▢ 1 tablespoon ghee
- ▢ 1 teaspoon cumin seeds (jeera)
- ▢ 1 small size onion, finely chopped
- ▢ 6 garlic cloves, finely chopped
- ▢ 2 dried red chilli, broken into halves (optional)
Ingredients For Serving
- ▢ ½ lemon, juiced (optional)
- ▢ 2 tablespoon chopped coriander leaves
Instructions
- Rinse and soak masoor (pink lentil) in water for 15 minutes. After 15 minutes, drain water from the soaked masoor.
- In a pressure cooker, add the rinsed dal, chopped tomato, green chilli, salt, turmeric, chilli powder, cloves, and water. Stir to combine.
- Pressure cook over low heat for 2 whistles or 10-15 minutes until the dal is cooked.
- Allow steam to release naturally from the pressure cooker. Once cooked, mash the dal slightly with the back of a spoon. Taste, if required add more salt or spices. Set aside.
- Heat ghee or oil in a pan over medium heat. Add cumin seeds, chopped garlic, red chilli, and onion. Fry them till the onion becomes light golden. Turn off the heat. Pour this tempering (tadka) over the hot masoor dal.
- Let the dal simmer for 5 minutes on low heat. Allowing flavours to meld together. Once done, turn off the heat. Garnish with chopped coriander leaves. Squeeze a wedge of lemon juice over the dal for a refreshing tangy taste.
- Serve Masoor Dal with jeera rice or phulka.
Recipe Notes:
- While pressure cooking the dal do not add too much water at once. I would suggest, adding lukewarm water after pressure cooking the dal to get the desired consistency.
- My mother in law adds onion while pressure cooking the dal and not in tadka. Her dal tastes equally delicious.
- I do not add coconut milk or cream to the dal. But if you like to add coconut milk, add it while simmering the dal after pressure cooking.
- Ingredients added as optional can be skipped.
- You can easily store masoor dal for 3 – 4 days. Reheat on the stovetop or microwave. It is a perfect meal prep-friendly dish.
Nutrition
We follow a strict NO SPAM Policy
