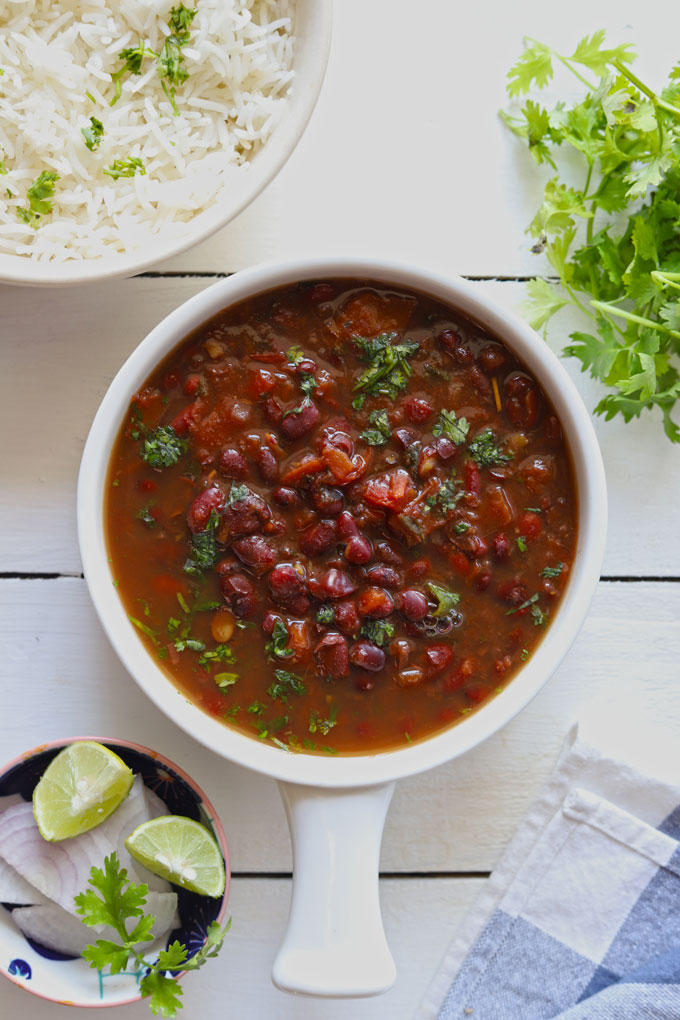
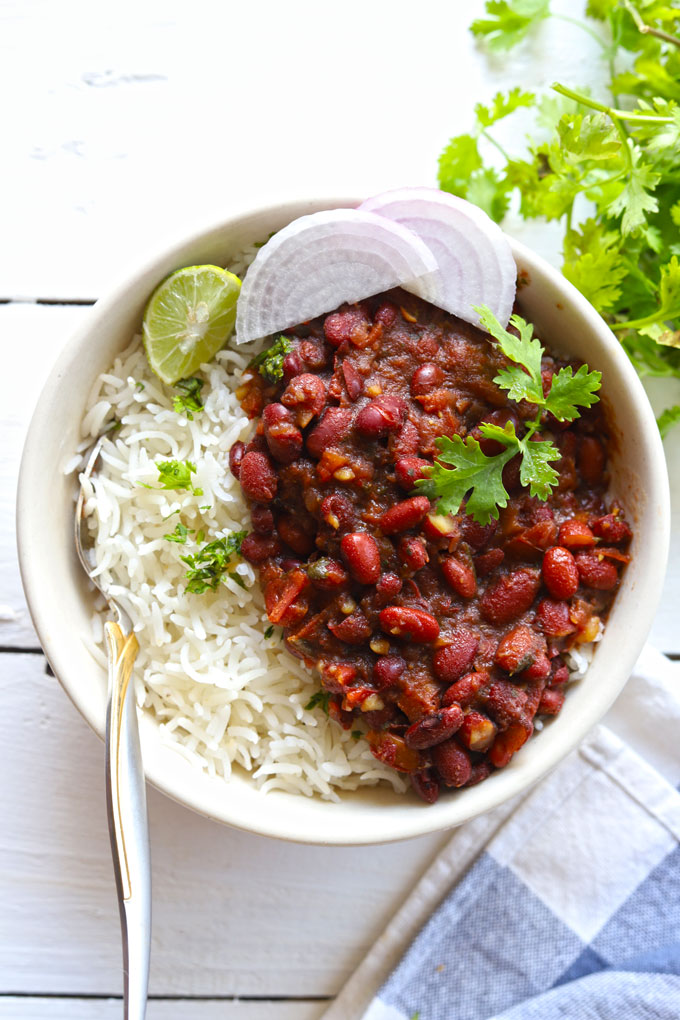
Rajma Masala is a delicious, one-pot, vegan Indian curry. The red kidney beans (rajma) cooked in a rich tomato-based gravy and served with steamed rice, called rajma chawal. The Rajma Masala is one of the most popular Indian curries.
About Rajma Masala
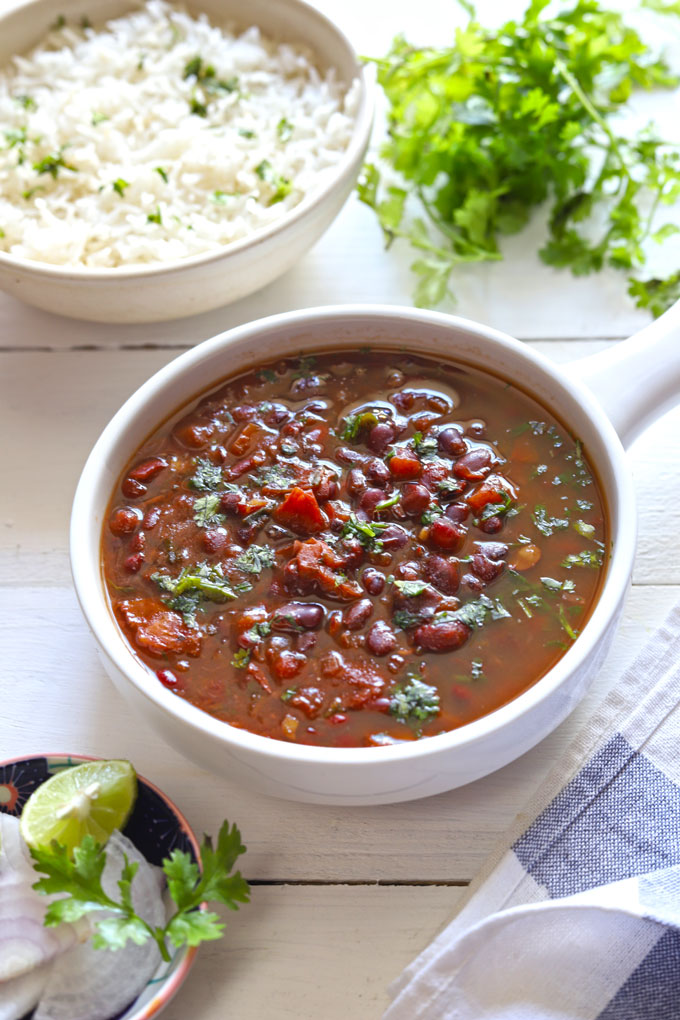
Rajma masala or rajma curry is a thick, spicy curry made with red kidney beans called rajma in Hindi, onion, tomato, and spices.
A simple mix of spices and a tomato-based gravy is the only secret for making incredibly tasty rajma curry.
The best way to enjoy rajma masala is to add a ladle full of curry over the steamed basmati rice, top it with sliced onion, green chutney and dig in. There is no other sophisticated or a more gratifying way to relish rajma chawal.
Rajma Curry and steamed basmati rice is a match made in heaven. It is also the most loved way to enjoy rajma curry. Hence, the dish is often called as ‘rajma chawal’. The word ‘ chawal ‘ in Hindi means rice.
Our Family’s Rajma Masala Recipe
This recipe of rajma masala was passed on to me by my mother-in-law. Trust me when I say this, it is the quickest and delicious of all the rajma recipes. It’s astonishingly straightforward – and does not require tons of spices.
Our family’s rajma recipe is a bit unconventional.
Most of the rajma recipes will ask you to fry the chopped tomato before adding the red kidney beans. We add them with kidney beans without frying beforehand with the masala.
There is no scientific reason for following this step but it always does some kind of magic to the gravy. Making it totally delectable and distinct.
This recipe is totally a no-fuss one and you will have a bright and luscious restaurant style rajma without breaking sweat near the stovetop.
Step-By-Step Instant Pot Recipe
Making rajma in an instant pot is super easy . Follow these step-by-step instructions:
Saute Mode: Set SAUTE Mode of IP for 10 minutes. Add vegetable oil or ghee. Once the oil is hot, add finely chopped onion. Fry till onion become slightly brown.
Add ginger-garlic paste, stir and fry the masala for 1 minute.
Next, add the soaked red kidney beans without any water along with salt, red chili powder, and turmeric. Stir to combine, and fry the beans till the SAUTE time is over.
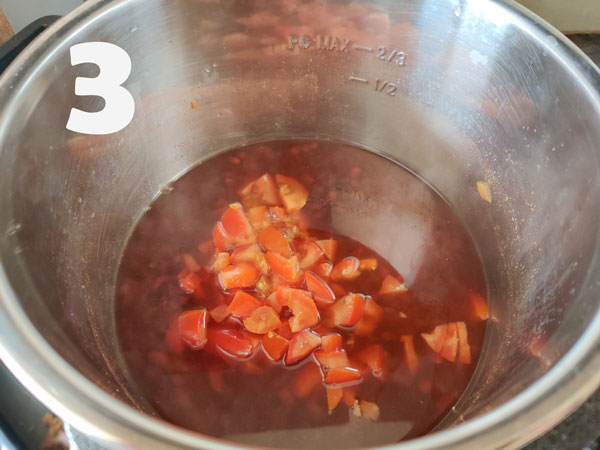
Add water, chopped or canned tomato, give rajma a good stir. Close the lid of the IP.
Pressure Cook: Set the PRESSURE COOK Mode at High for 20 minutes. Set the steam valve to the sealing position.
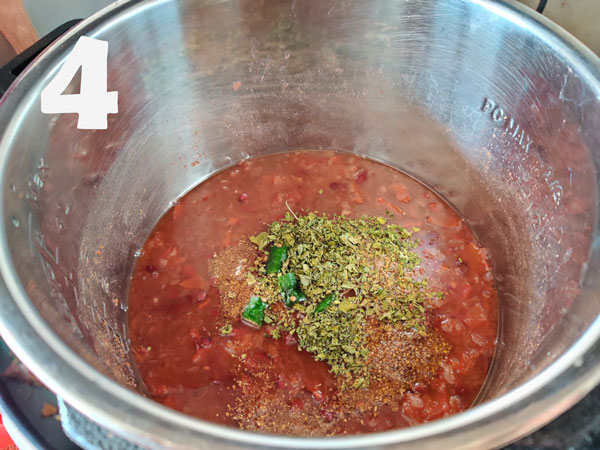
Final Touch: After 20 minutes, let the steam release naturally from the IP. Open the lid. Check beans for doneness. If beans are cooked (soft and mushy), add Garama Masala , Kasuri Methi, green chili, and fresh coriander. Stir to combine.
Once again, set the SAUTE Mode for 5 minutes to simmer and thicken the rajma masala before serving.
Instant Pot Rajma is ready to serve.
Is rajma and red kidney beans the same?
Yes, red kidney beans and rajma are the same. Rajma is the Indian or the Hindi name for red kidney beans like how it’s called Surkh Lobia in Pakistan.
It is named kidney bean for its visual resemblance to a human kidney. Red kidney beans are considered one of the healthiest vegetarian protein and are available in both dried and canned forms worldwide.
Why soak rajma before cooking?
Rajma takes longer to cook if not soaked. However, for a quick fix, you can rinse the rajma beans and boil for about 10-15 minutes and then soak them for an hour before you start cooking.
How to store rajma?
The dry beans can be stored in an airtight container for almost a year whereas the canned beans typically have a shelf life of 2 to 3 years. Also, the pre-cooked Rajma can stay good up to 5 days if stored in the refrigerator.
Can I use canned beans for making rajma masala?
Yes, you can use canned beans for making rajma. Drain all the water from the beans and rinse it with water. If you are following my recipe, add tomato and canned beans together. Pressure Cook canned beans in an instant pot only for 5 – 6 minutes or till the curry thickens a bit.
How to use the leftover red kidney beans?
You can use red kidney beans to make Mexican style salad , layer them on top of nachos , or add in classic minestrone soup .
Watch Stovetop Rajma Masala Video:
More Indian Curry Recipes For You
Creamy Cauliflower Curry
Spinach Egg Curry
Paneer Makhani
Dal Makhani
Dum Aloo
If you try this recipe and love it, please leave a comment and a rating. This helps us grow and reach many other food lovers like you, who are looking for a perfect tried and tested recipe.

Ingredients
- ▢ 1 ½ Cup dried red kidney beans (rajma)
- ▢ 1 Cup chopped onion
- ▢ 1 Cup chopped tomato (fresh or canned)
- ▢ 1 tablespoon ginger-garlic paste
- ▢ 1 teaspoon red chili powder or to taste
- ▢ 1 teaspoon turmeric powder
- ▢ 2 ½ teaspoon Salt or to taste
- ▢ 4 tablespoon cooking oil
- ▢ 4 – 5 Cups water
- ▢ 1 teaspoon Garam Masala ( get recipe )
- ▢ 2 green chilli sliced
- ▢ 1 tablespoon dried fenugreek leaves (kasuri methi)
- ▢ ¼ Cup chopped fresh coriander
Instructions
- Rinse and soak the red kidney beans in enough water for 4 – 5 hours. After 4 hours, discard the water and drain beans in a colander. Set aside.
- In a stovetop pressure cooker heat oil over medium heat. Add the chopped onions, asafoetida and ginger-garlic paste, saute till onion turn caramelized and light brown in colour. Keep on stirring the onions while sauteing them, for uniform cooking and also so that they don’t get burnt.
- Next, add the drained beans in the pressure cooker along with salt, chopped tomato and turmeric powder. Stir to combine and saute the mixture for 2 – 3 minutes.
- Add the 4 Cups of water to the pressure cooker, close the lid, put the weight and let beans cook over medium heat for 2 – 3 whistle. Turn off the heat.
- Let the steam release naturally from the pressure cooker. Check if the rajma is cooked or not by taking a bite or pressing a bean. If they are not fully cooked completely, then pressure cook again or simmer over low heat for few more minutes. Meanwhile add some water if required to adjust the consistency of the curry.
- Add kasuri methi, garam masala, green chilli, and coriander. Simmer rajma masala without a lid for 10 -12 minutes or more till the curry thickens slightly, it should not be watery. Mash a few rajma beans with the back of the spoon, this helps to thicken the curry.
- Serve rajma masala with steamed basmati rice or jeera rice for lunch.
Recipe Notes:
- Cooking time of rajma may vary according to the quality and size of the bean. It is best to check it for doneness after few whistles.
- Soaking dried beans reduces the cooking time. Hence, it is highly recommended.
- An authentic rajma masala is made with dried kidney beans soaked in water. Hence, I will not suggest making the curry with canned or pre-cooked beans.
- Instant Pot Method to cook rajma curry is explained with step-by-step pictures in the post above.
- Adjust the amount of green chilli and chilli powder as per your taste preference.
Nutrition
We follow a strict NO SPAM Policy

Punjabi Style Rajma Masala Recipe
Equipment
- Pressure Cooker
Ingredients
- 1 ½ Cup dried red kidney beans (rajma)
- 1 Cup chopped onion
- 1 Cup chopped tomato (fresh or canned)
- 1 tablespoon ginger-garlic paste
- 1 teaspoon red chili powder or to taste
- 1 teaspoon turmeric powder
- 2 ½ teaspoon Salt or to taste
- 4 tablespoon cooking oil
- 4 - 5 Cups water
- 1 teaspoon Garam Masala ( get recipe )
- 2 green chilli sliced
- 1 tablespoon dried fenugreek leaves (kasuri methi)
- ¼ Cup chopped fresh coriander
Instructions
- Rinse and soak the red kidney beans in enough water for 4 - 5 hours. After 4 hours, discard the water and drain beans in a colander. Set aside.
- In a stovetop pressure cooker heat oil over medium heat. Add the chopped onions, asafoetida and ginger-garlic paste, saute till onion turn caramelized and light brown in colour. Keep on stirring the onions while sauteing them, for uniform cooking and also so that they don’t get burnt.
- Next, add the drained beans in the pressure cooker along with salt, chopped tomato and turmeric powder. Stir to combine and saute the mixture for 2 - 3 minutes.
- Add the 4 Cups of water to the pressure cooker, close the lid, put the weight and let beans cook over medium heat for 2 - 3 whistle. Turn off the heat.
- Let the steam release naturally from the pressure cooker. Check if the rajma is cooked or not by taking a bite or pressing a bean. If they are not fully cooked completely, then pressure cook again or simmer over low heat for few more minutes. Meanwhile add some water if required to adjust the consistency of the curry.
- Add kasuri methi, garam masala, green chilli, and coriander. Simmer rajma masala without a lid for 10 -12 minutes or more till the curry thickens slightly, it should not be watery. Mash a few rajma beans with the back of the spoon, this helps to thicken the curry.
- Serve rajma masala with steamed basmati rice or jeera rice for lunch.
Video
Notes
- Cooking time of rajma may vary according to the quality and size of the bean. It is best to check it for doneness after few whistles.
- Soaking dried beans reduces the cooking time. Hence, it is highly recommended.
- An authentic rajma masala is made with dried kidney beans soaked in water. Hence, I will not suggest making the curry with canned or pre-cooked beans.
- Instant Pot Method to cook rajma curry is explained with step-by-step pictures in the post above.
- Adjust the amount of green chilli and chilli powder as per your taste preference.
Nutrition
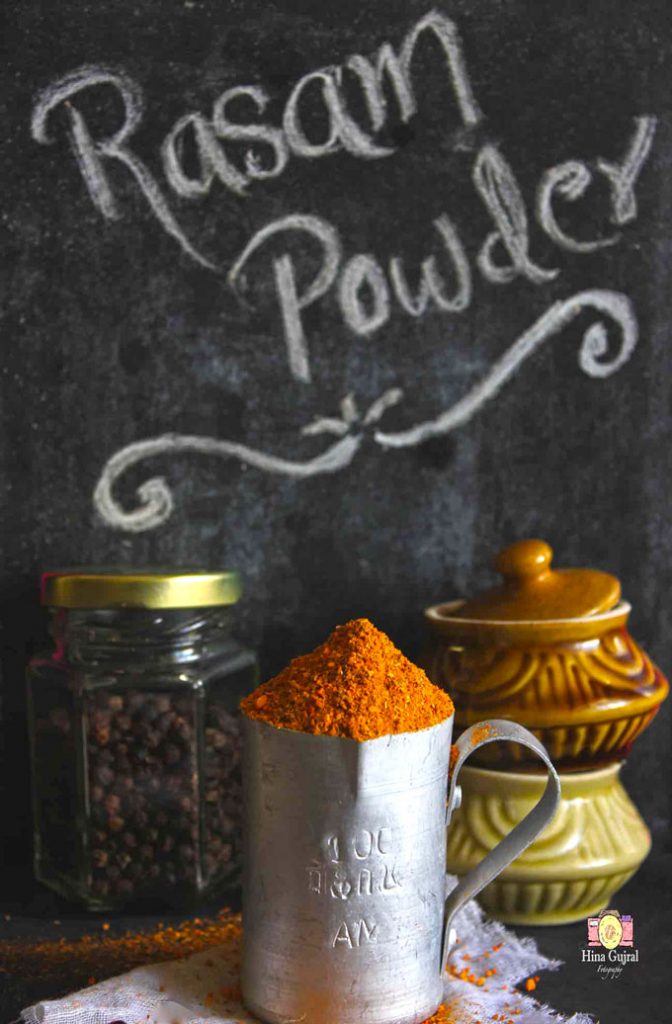
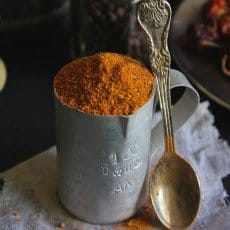
Rasam Powder is a South Indian spice mix mainly used to flavor a variety of rasam (a spicy, soupy curry). Also known as rasam podi. It is a gluten-free, easy home-style rasam masala recipe that you can store for 2 – 3 months.
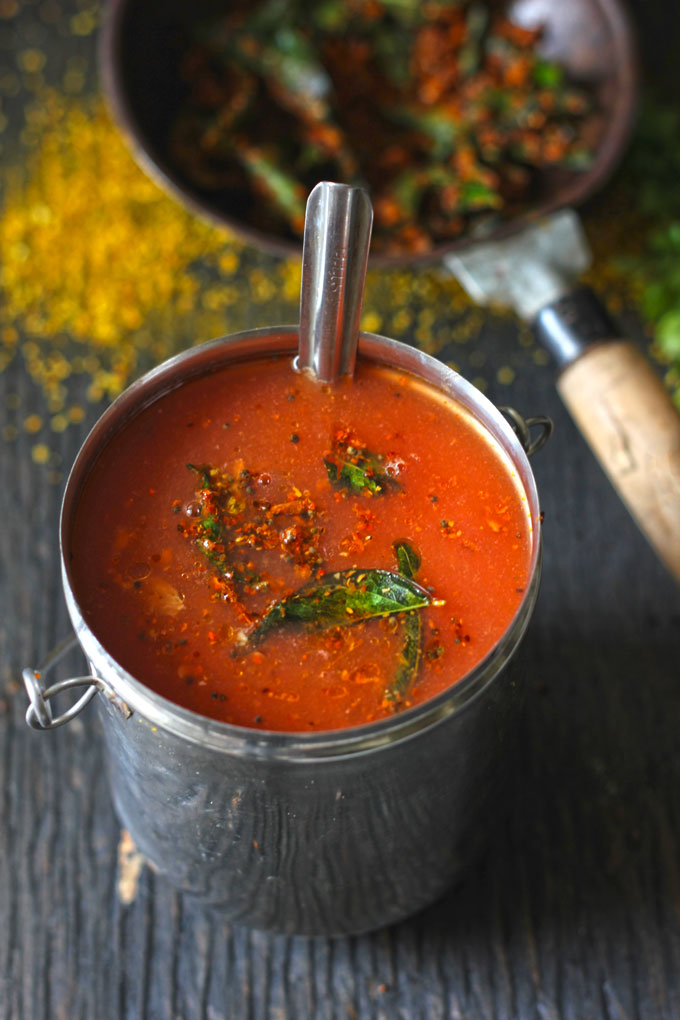
During our stay in South India, certain regional delicacies became our favorite, tomato garlic rasam is one of those dishes.
Rasam is a traditional South Indian soupy, spicy curry prepared using tamarind juice as a base, with the addition of tomato, pepper, garlic, and a spice mix called rasam podi.
Homemade Rasam Powder is an essential spice mix to spice up the flavor of a rasam.
A piping hot rasam flavored with homemade rasam podi is an excellent remedy for cold, cough, or a bad throat plus it aids in digestion as well .
Homemade vs Readymade
You can use a readymade, packaged rasam powder or make a fresh batch from scratch at home.
The best part of homemade rasam podi is it’s free of preservatives and artificial flavors/colors.
At home, you can make a small batch of rasam podi or prepare a large quantity to store for months.
Also, adjust the quantity of peppercorns and chilies according to personal preference.
It is one of the best edible gifts to share with friends and family.
How To Make Rasam Powder
Preparing Ingredients: Clean and sun-dry all the ingredients for 1 – 2 days. Make sure ingredients are fresh, mold-free, and of good quality.
Roasting: Dry roast red chili, asafetida, chana dal, peppercorns, coriander seeds, cumin seeds, and toor dal in a cast-iron skillet over medium heat until dals are golden in color. The dry roasting process releases the aroma of the spices as well. Roast ingredients over the low-medium flame while stirring continuously.
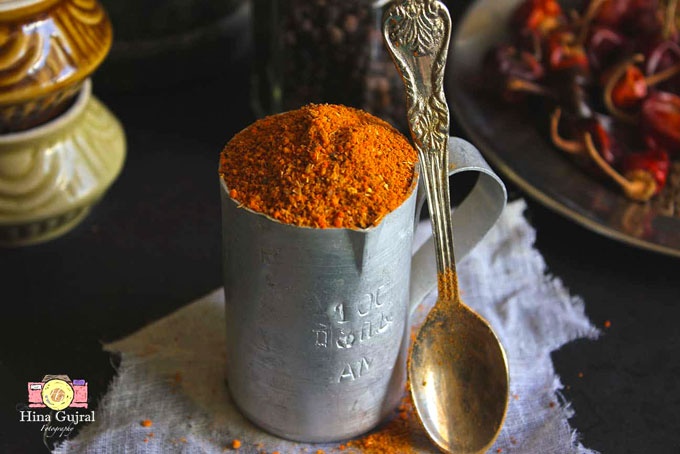
Grinding: Allow the roasted ingredients to cool down a bit at room temperature. Once the ingredients are lukewarm to touch, grind them to a fine powder in the mixer. The consistency of rasam podi is from coarse to a fine powder-like.
How To Store
I store rasam powder in a ziplock bag or in a container with the lid. If you want to store it for 2 – 3 months, the best place is the freezer door or inside the refrigerator.
At room temperature, the shelf life of rasam podi is a maximum of 1 month especially in hot and humid climatic conditions.
More Indian Spice Recipes For You:
Garam Masala
Sambar Masala
Pickle Masala
Curry Masala
Tea Masala
If you try this recipe and love it, please leave a Star Rating. This helps us grow and reach many other food lovers like you, who are looking for a perfect tried and tested recipe.
Ingredients
- ▢ ¾ Cup coriander seeds (sabut dhaniya)
- ▢ 20 dry red chili (try use Gundu Chilli)
- ▢ ¼ Cup toor/arhar dal (piegon peas)
- ▢ ¼ Cup chana dal (Bengal Gram)
- ▢ 3 tablespoon black peppercorns (sabut Kali Mirch)
- ▢ 3 tablespoon cumin seeds (sabut jeera)
- ▢ ½ teaspoon asafoetida (hing)
- ▢ ½ teaspoon turmeric powder
Instructions
- To prepare the Rasam Powder, clean and sun-dry all the ingredients for 1 – 2 days.
- Dry roast red chili, asafetida, chana dal, peppercorns, coriander seeds, cumin seeds, and toor dal in a cast-iron skillet over medium heat until dals are golden in color or for 2 – 5 minutes. Roast ingredients over the low-medium flame while stirring continuously.
- Transfer to a plate for cooling. Grind the ingredients to a fine powder in the mixer. Add turmeric and mix nicely.
- Store in an airtight container at room temperature. If you want to store it for 2 – 3 months, the best place is the freezer door or inside the refrigerator.
Recipe Notes:
- For making rasam podi, use the ingredients that are fresh, mold-free, and of good quality.
- While roasting make sure to continuously stir the spices so that they don’t get burnt and turn bitter.
- Adjust the quantity of peppercorns and chilies according to personal preference.
- At room temperature, the shelf life of rasam podi is a maximum of 1 month especially in hot and humid climatic conditions.
Nutrition
We follow a strict NO SPAM Policy
