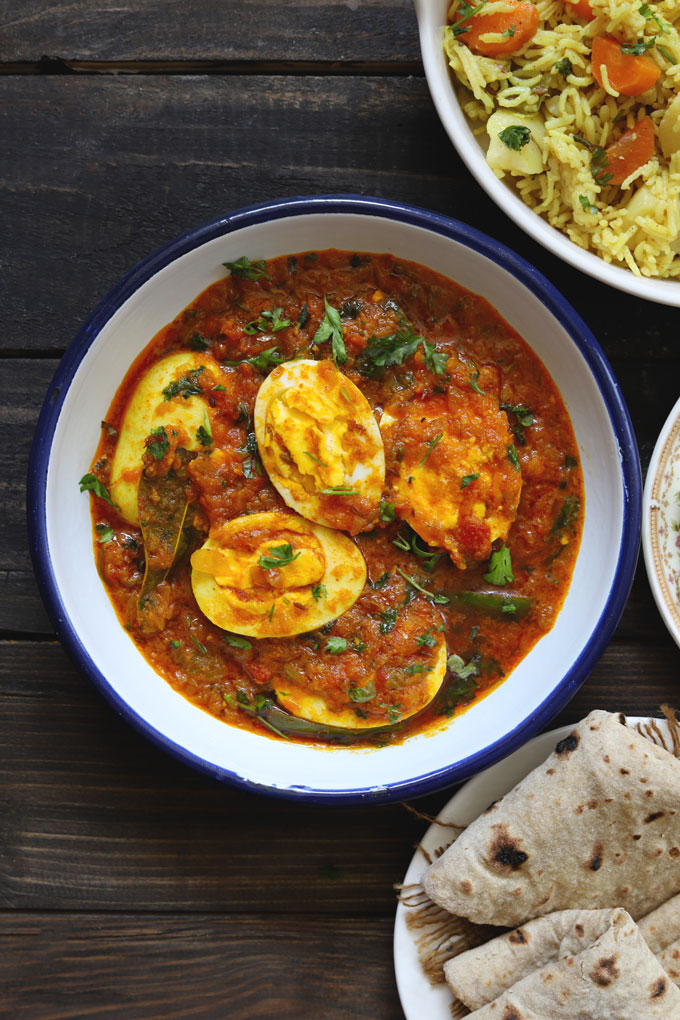
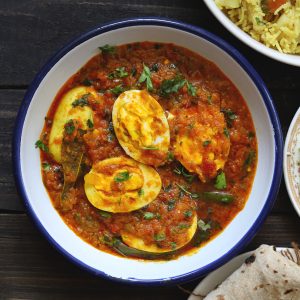
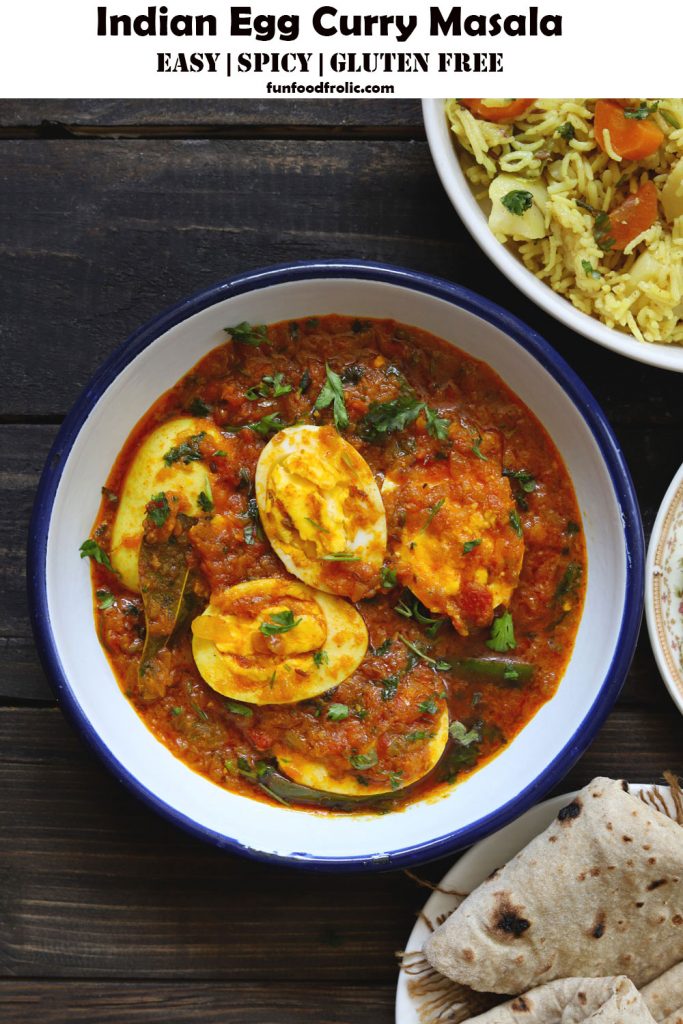
Egg Curry is the ultimate comfort food for egg lovers. I am sharing a spicy, robust, and rustic Punjabi-style egg curry recipe. It is delicious, easy to prepare, gluten-free, and requires only a few ingredients.
Basics of Egg Curry
There are a variety of egg curry recipes followed across the Indian subcontinent. But each one of these egg curry recipes has a few basics in common.
Homemade Curry Base
Hard Boiled Eggs
Let’s get started on these two pillars of classic egg curry.
Curry Base: For a Punjabi-style egg curry, I make the curry using chopped onion, ripe tomato, salt, and spices. A typical Indian-style bhuna masala .
- This Punjabi egg curry has no cream, butter, or flour. The simple technique of frying and sauteing the masala perfectly do all the magic work.
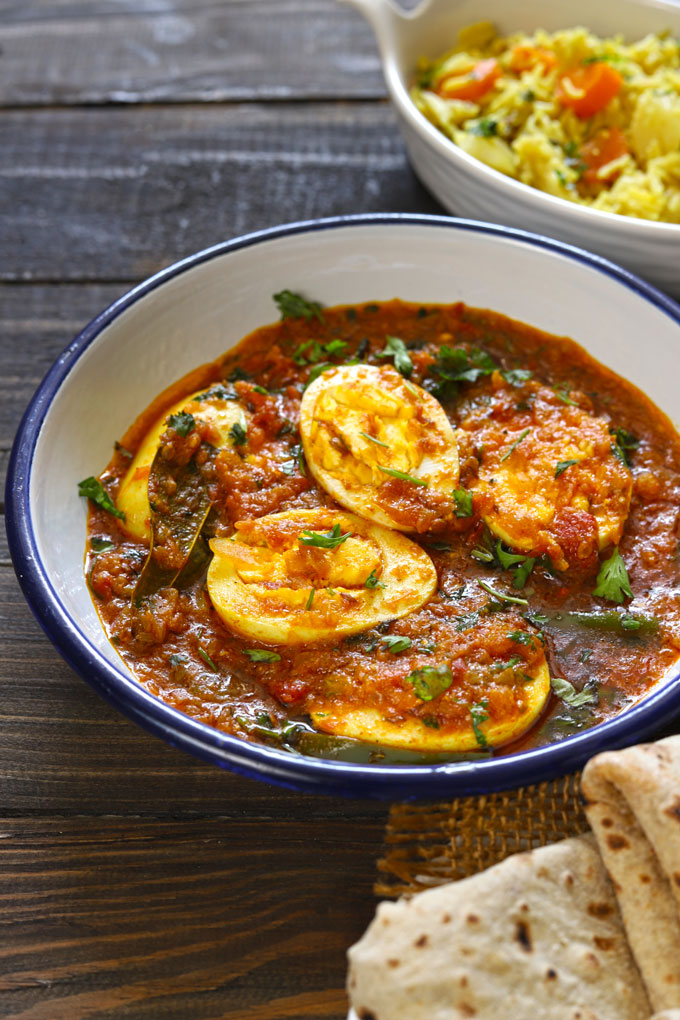
- If you are wondering about the bright red colour of this egg curry, then the ripe tomatoes and Kashmiri red chilli powder are responsible for the same.
- These key ingredients always give my egg curry or Matar Paneer a glorious natural colour.
Boiled Eggs: The masala-coated hard-boiled eggs, late pan-fried till crisp as the soul of Indian egg curry.
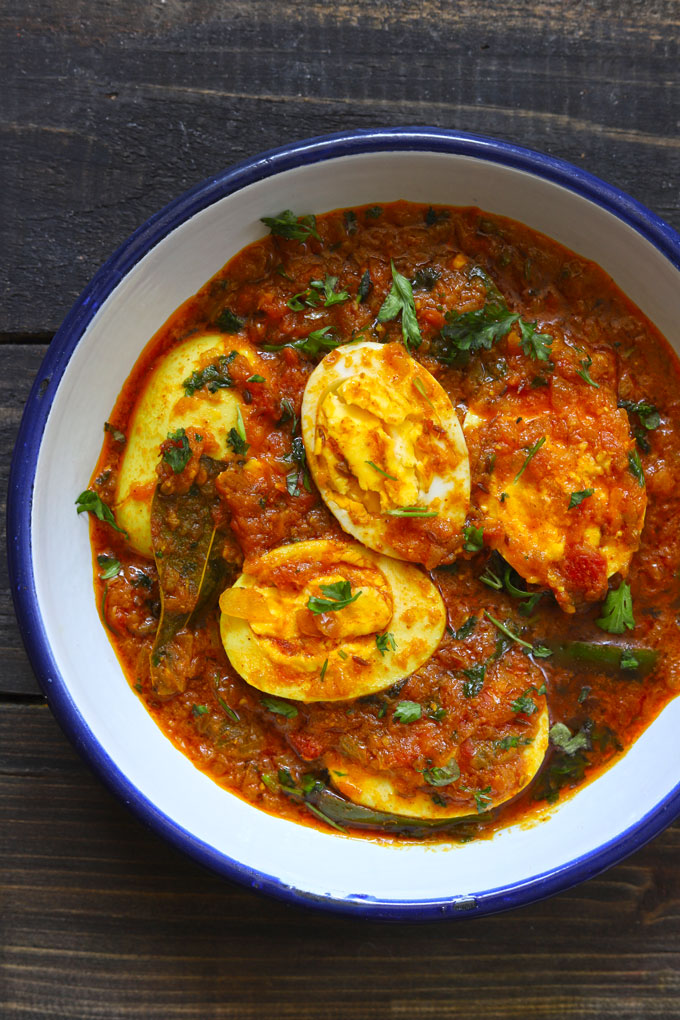
- The raw eggs are first boiled in water. After peeling the shell, the eggs are sliced into equal halves. Then coat in turmeric, red chilli powder, and salt.
- The masala-coated boiled eggs are fried in a pan till they are slightly crisp from all sides. These pan-fried eggs are then dunked in a spicy, soupy curry.
Ingredient Substitutes
If you are in a location where the Indian ingredients required for this egg curry recipe are hard to find, DON’T Worry!
Mustard Oil: Vegetable oil, coconut oil, or ghee.
Red Onion: Use finely chopped white onion or onion paste
Fresh Tomato: Canned tomato or puree.
Ginger-Garlic Paste: Use a readymade paste or follow my ginger garlic paste recipe to make it at home.
Red Chili Powder: Red Paprika or Curry Powder .
Garam Masala : Indian Curry Powder
Kasuri Methi: It is only for flavour and aroma. Skip adding if not available.
White Eggs: Brown Eggs or Country Eggs
How To Make Egg Curry
Prepare Curry
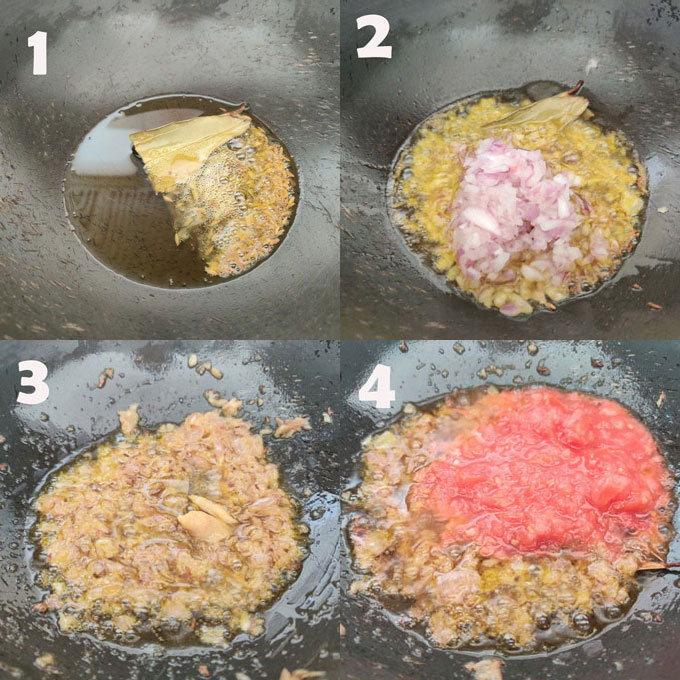
- Heat oil in a kadhai. Once the oil starts fuming, reduce the gas flame to medium. Add a bay leaf and chopped onion. Fry the onion over low – medium heat till they turn light golden in colour ( images 1 & 2 ).
- Next, add the ginger-garlic paste and fry the masala for 20 – 30 seconds.
- Add blended tomatoes, turmeric, red chilli, coriander powder, salt, and mix nicely. Fry till the oil leaves from the sides of the pan. Keep stirring at regular intervals to avoid burning the masala. This usually takes 5 – 6 minutes over low – medium heat ( images 4 & 5 ).
- Add 1 Cup of water and bring the gravy to a boil on high heat. Adjust the quantity of water to get the desired amount of gravy.
- Add sliced green chilli, kasuri methi, garam masala, and combine.
- Add the fried/boiled eggs to the gravy. Make sure they are fully dipped in the curry. Reduce the heat to low and allow the curry to simmer for 3 – 5 minutes for eggs to absorb the flavour of the curry.
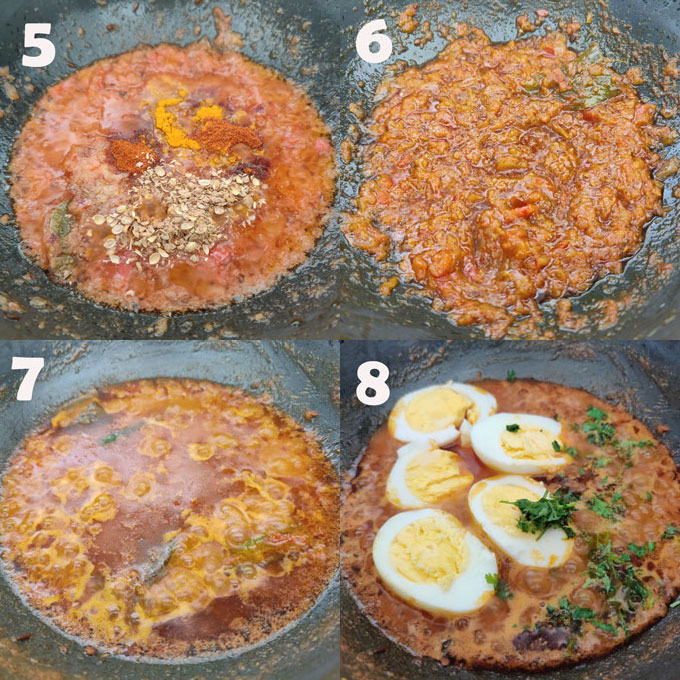
Garnish Egg Curry with the chopped coriander. It is ready to serve.
Serving Suggestion
Punjabi Egg Curry is an Indian main course dish . It is on our weekly menu whenever we are short of vegetables or lentils.
The bold and spicy egg curry with crisp, flaky paratha and kachumber salad is a perfect dinner for us. Plain, steamed basmati rice or jeera rice is also a good side dish for egg curry.
Many people also enjoy egg curry with naan , dosa, or poori .
More Egg Recipes
Spinach Egg Curry
Mughlai Egg Curry
Cheese Egg Paratha
Indian Style Shakshuka
If you try this recipe and love it, please leave a comment and a rating. This helps us grow and reach other food lovers like you.
Ingredients
- ▢ 4 hard boiled eggs
- ▢ 4 tablespoon mustard oil
- ▢ 1 bay leaf
- ▢ 1 Cup finely chopped onion
- ▢ ½ Cup chopped tomato (grind into a paste)
- ▢ 1 teaspoon ginger-garlic paste
- ▢ 1 – 2 green chili, sliced
- ▢ Salt to taste
- ▢ 1 teaspoon red chili powder
- ▢ 1 teaspoon turmeric powder
- ▢ ½ teaspoon coriander powder (dhaniya powder)
- ▢ ½ teaspoon Garam Masala see recipe
- ▢ 1 tablespoon dried fenugreek leaves (kasuri methi)
- ▢ 1 tablespoon chopped fresh coriander
Instructions
- Boil eggs in water with a teaspoon of salt. Once hard boiled, peel the eggshell, cut the eggs into equal halves lengthwise (vertically). Set aside.
- if you want to fry them, coat eggs in 1 teaspoon turmeric, 1 teaspoon red chili powder, ¼ teaspoon salt. Heat 2 tablespoon oil in a pan. Fry the eggs still slightly crisp and golden from all sides. Transfer to a plate and set aside.
- Heat oil in a kadhai. Once the oil starts fuming, reduce the gas flame to medium. Add a bay leaf and chopped onion. Fry the onion over low – medium heat till they turn light golden in color.
- Next, add the ginger-garlic paste and fry the masala for 20 – 30 seconds.
- Add blended tomatoes, turmeric, red chili, coriander powder, salt, and mix nicely. Fry till the oil leaves from the sides of the pan. Keep stirring at regular intervals to avoid burning the masala. This usually takes 5 – 6 minutes over low – medium heat.
- Add 1 Cup of water and bring the gravy to a boil on high heat. Adjust the quantity of water to get the desired amount of gravy.
- Add sliced green chili, kasuri methi, garam masala, and combine.
- Add the fried/boiled eggs to the gravy. Make sure they are fully dipped in the curry. Reduce the heat to low and allow the curry to simmer for 3 – 5 minutes for eggs to absorb the flavor of the curry.
- Garnish Egg Curry with the chopped coriander.
- Serve Punjabi Egg Curry with chapati, paratha, or rice.
Recipe Notes:
- I do not prefer fried eggs in the egg curry. But if you want, pan fry the masala coated eggs till crisp before adding to the curry.
- Adjust the quantity of water to get the desired consistency of the curry.
- Store the leftover egg curry in the refrigerator. It remains fresh for consumption 2 – 3 days.
Nutrition
We follow a strict NO SPAM Policy

Punjabi Egg Curry Recipe
Equipment
- Saucepan
- Frying Pan
- Heavy Bottom Kadhai
Ingredients
- 4 hard boiled eggs
- 4 tablespoon mustard oil
- 1 bay leaf
- 1 Cup finely chopped onion
- ½ Cup chopped tomato (grind into a paste)
- 1 teaspoon ginger-garlic paste
- 1 - 2 green chili, sliced
- Salt to taste
- 1 teaspoon red chili powder
- 1 teaspoon turmeric powder
- ½ teaspoon coriander powder (dhaniya powder)
- ½ teaspoon Garam Masala see recipe
- 1 tablespoon dried fenugreek leaves (kasuri methi)
- 1 tablespoon chopped fresh coriander
Instructions
- Boil eggs in water with a teaspoon of salt. Once hard boiled, peel the eggshell, cut the eggs into equal halves lengthwise (vertically). Set aside.
- if you want to fry them, coat eggs in 1 teaspoon turmeric, 1 teaspoon red chili powder, ¼ teaspoon salt. Heat 2 tablespoon oil in a pan. Fry the eggs still slightly crisp and golden from all sides. Transfer to a plate and set aside.
- Heat oil in a kadhai. Once the oil starts fuming, reduce the gas flame to medium. Add a bay leaf and chopped onion. Fry the onion over low - medium heat till they turn light golden in color.
- Next, add the ginger-garlic paste and fry the masala for 20 - 30 seconds.
- Add blended tomatoes, turmeric, red chili, coriander powder, salt, and mix nicely. Fry till the oil leaves from the sides of the pan. Keep stirring at regular intervals to avoid burning the masala. This usually takes 5 - 6 minutes over low - medium heat.
- Add 1 Cup of water and bring the gravy to a boil on high heat. Adjust the quantity of water to get the desired amount of gravy.
- Add sliced green chili, kasuri methi, garam masala, and combine.
- Add the fried/boiled eggs to the gravy. Make sure they are fully dipped in the curry. Reduce the heat to low and allow the curry to simmer for 3 - 5 minutes for eggs to absorb the flavor of the curry.
- Garnish Egg Curry with the chopped coriander.
- Serve Punjabi Egg Curry with chapati, paratha, or rice.
Notes
- I do not prefer fried eggs in the egg curry. But if you want, pan fry the masala coated eggs till crisp before adding to the curry.
- Adjust the quantity of water to get the desired consistency of the curry.
- Store the leftover egg curry in the refrigerator. It remains fresh for consumption 2 - 3 days.
Nutrition
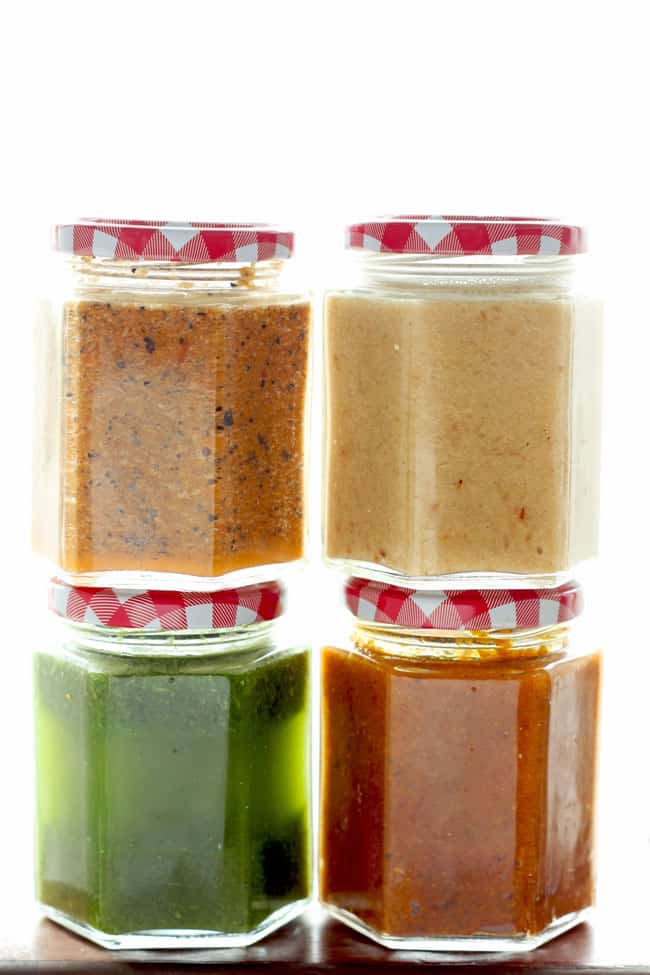
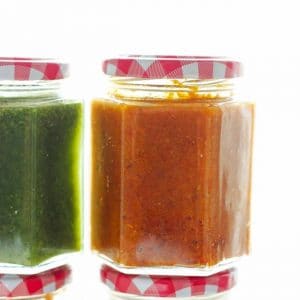
Here are the 4 Indian curry pastes that are a staple for my everyday curry recipes. These Indian curry pastes are freezer and meal prep friendly. Making it so much easier to stir up a delicious curry during the busy weekdays . Be sure to watch the video!
Why make curry paste in advance?
Making a good Indian curry after a long working day is a sort of challenge. It requires hours of labor if you start from scratch.
Hence, with these easy DIY Indian curry paste sitting in the fridge, you can make your favorite Indian curry in under 30 minutes.
These curry paste are part of my meal prep guide for the Indian kitchen . It makes my life so much easier when it comes to planning a family meal on busy weekdays.
If you drool over my elaborate Indian thali meals on Instagram , then these make-ahead curry paste help me immensely to prepare those elaborate meals even on weekdays.
Watch Indian Curry Paste Video
Reasons to LOVE Homemade Curry Paste
meal-prep friendly
easy to make and store
vegetarian and gluten-free
requires pantry staple ingredients
free of preservatives and artificial color
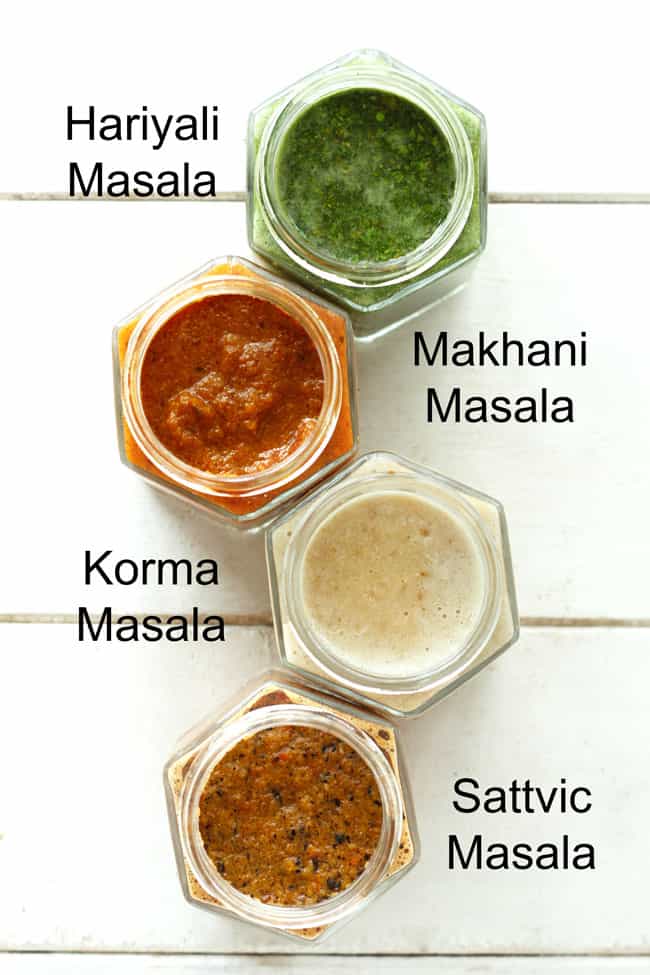
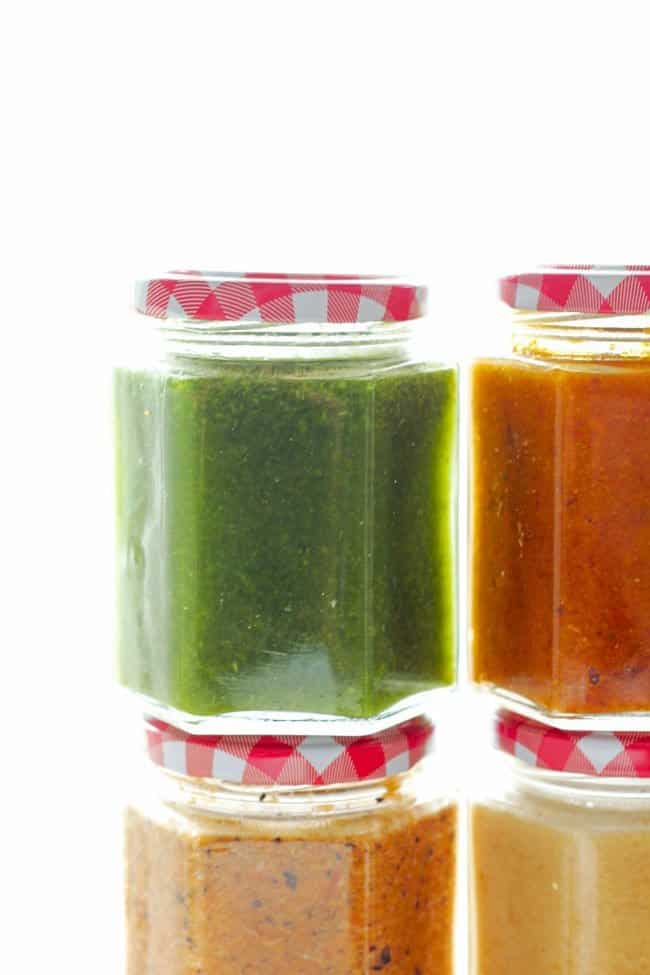
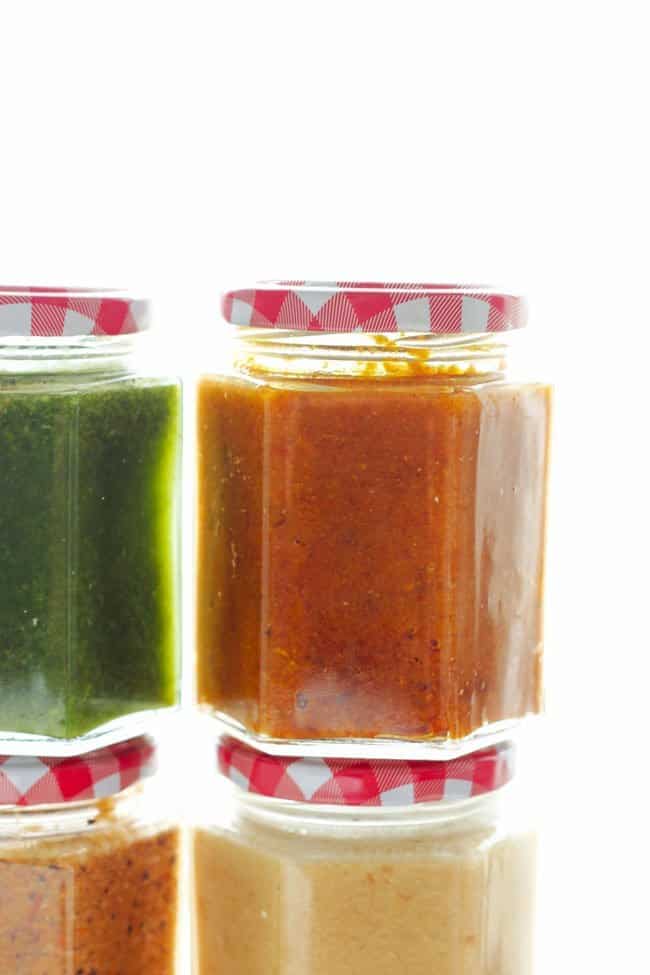
- Hariyali Masala (Green Curry Paste): The word ‘Hariyali’ describes the lush green color of this curry paste.
Prepared with power-packed spinach this green curry paste is an excellent choice to make Spinach Egg Curry , Palak Puri , Paratha, or Chicken Curry.
For a perfectly balanced green curry, you need to add the right protein to this curry paste such as paneer, tofu, chicken, egg, or prawns. Take your pick and have a delicious green curry for dinner in less than 30 minutes.
This Hariyali Masala is a gluten-free and vegan Indian curry paste.
Ingredients
- ▢ 1 (2 Cup approx) bunch of spinach
- ▢ 2 – 3 garlic cloves
- ▢ 1 – 2 green chili, chopped
- ▢ 1 tablespoon ginger, chopped
- ▢ 1 teaspoon salt
Instructions
- Clean and wash the spinach leaves.
- Roughly chop the spinach leaves.
- Boil 4 Cups of water in a saucepan with a teaspoon of salt.
- As soon the water starts boiling add the chopped spinach and blanch for 1 – 2 minutes.
- Transfer blanched leaves in a colander and drain the water.
- Allow spinach leaves to cool down completely.
- Blend together garlic, ginger, green chili and spinach to a smooth paste.
- Do not add any water while blending.
- Transfer to a clean jar and store in the fridge for up to a week.
Recipe Notes:
Nutrition
- Makhani Masala: Love Murgh Makhani , Soya Chaap Tikka Masala , Makhani Sauce Pasta, or Paneer Makhani ? This is the curry paste behind all those gratifying makhani curries.
You will be surprised to know that restaurant-style makhani masala is utterly simple to make at home.
Prepare a batch of makhani masala over the weekend and store it in the fridge. There are all sorts of extra ways you can customize it, like adding cream, garam masala , or other spices, but the basic makhani sauce recipe is super simple.
Ingredients
- ▢ 1 Cup onion, chopped
- ▢ 1 Cup tomato, chopped
- ▢ 2 tablespoon butter
- ▢ 2 tablespoon tomato ketchup
- ▢ 1 green chili
- ▢ 1 tablespoon ginger, grated
- ▢ Salt to taste
- ▢ ½ teaspoon white sugar
- ▢ 1 teaspoon Kashmiri red chili powder
- ▢ ½ teaspoon turmeric powder
Instructions
- Heat butter in a pan.
- Add the onion and green chili. Saute over low heat till onion become soft and light brown.
- Next add the ginger and diced tomato.
- Cook the masala it tomato turn soft and mushy.
- Add salt, sugar, turmeric powder, tomato ketchup and Kashmiri red chili powder. Stir to combine.
- Fry till the oil starts separating from the masala. Turn off the heat.
- Allow the masala to cool down completely before blending into a smooth paste.
- Store in a clean, dry jar for upto 2 weeks in the fridge.
Recipe Notes:
Nutrition
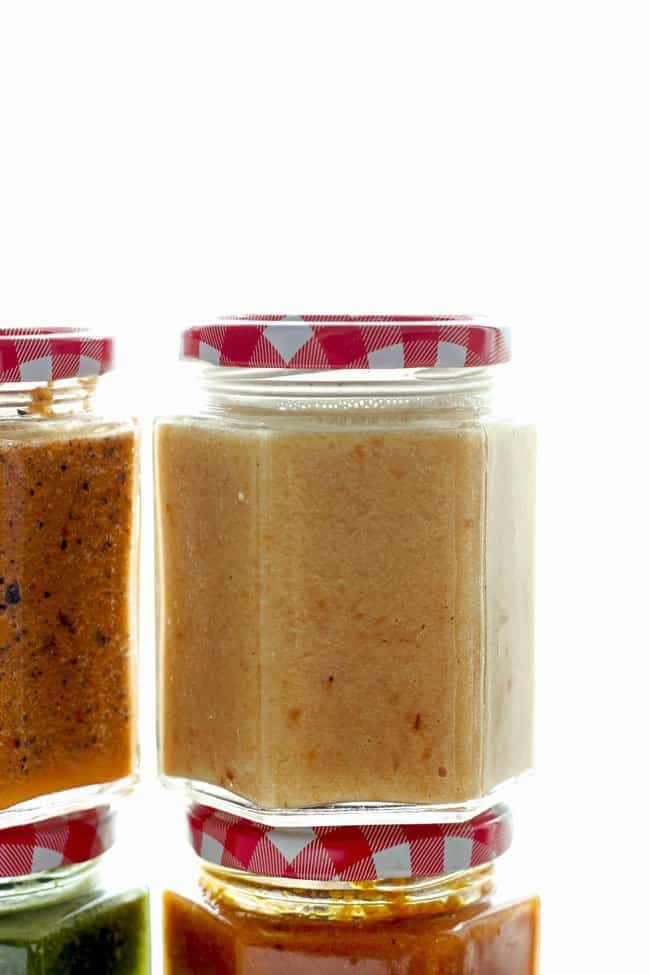
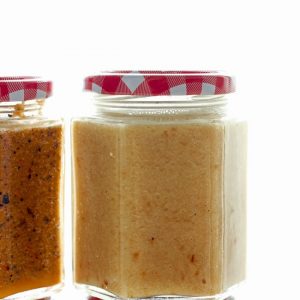
- Korma Masala (White Gravy Masala): Missing rich, aromatic, creamy Chicken Korma Curry ? Not anymore. This korma masala will satisfy all your creamy curry cravings that too without much hassle.
You need only 5 ingredients to make classic korma masala from scratch at home.
Apart from making chicken korma, this curry paste can be used to marinate meats for grilling and biryani.
Korma Masala is the latest addition to my collection of D-I-Y Indian curry paste (and the favorite one too).
Ingredients
- ▢ 2 Cup onion, sliced
- ▢ 2 green chili sliced
- ▢ 1 tablespoon ginger-garlic paste
- ▢ ¼ Cup ghee, clarified butter
- ▢ 2 tablespoon yogurt, dahi
Instructions
- Heat ghee in a heavy bottom pan.
- Add the sliced onion and fry over low heat.
- Fry the onion till they turn golden in color.
- Keep stirring at regular intervals while frying the onion.
- Once the onion are brown in color, add the green chili and ginger-garlic paste.
- Cook for 1 – 2 minute. Turn off the heat.
- Allow the masala to cool down completely.
- Blend the onion mixture along with yogurt to a smooth paste.
- Transfer to a clean jar and store in the fridge for 2 – 3 weeks.
Recipe Notes:
Nutrition
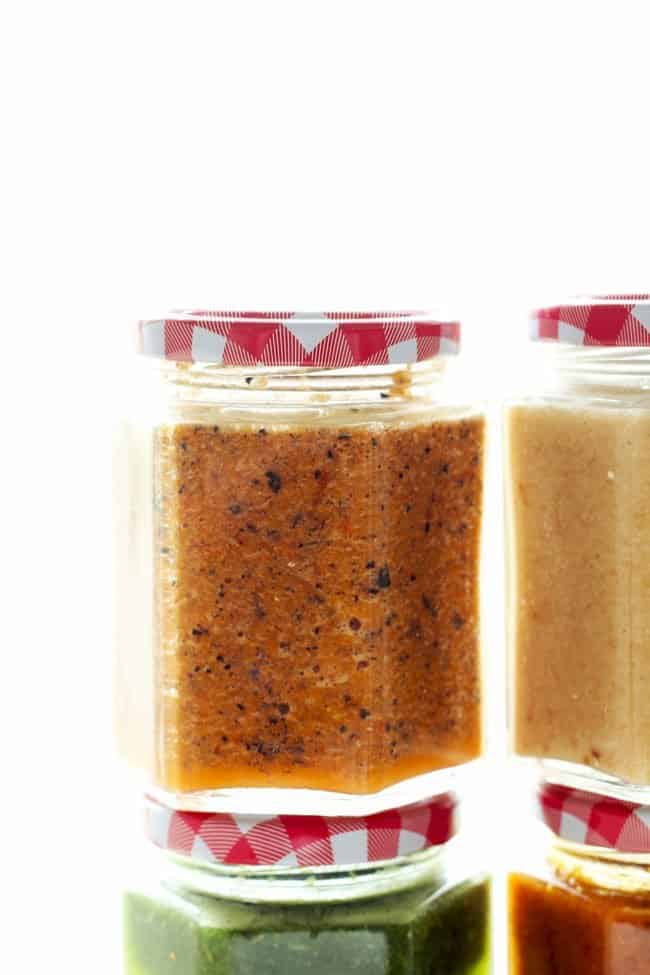
- Sattvic Masala: Looking for a no onion no garlic curry paste? Then I am sure this sattvic masala is going to be your favorite Indian curry paste recipe.
It has a slightly smoky and tangy flavor from the roasted tomatoes and that makes it worth bookmarking.
Later, while making the curry, add cream or yogurt to make the dish more rich and indulgent. Otherwise, the curry prepared solely with this sattvic masala tastes absolutely divine.
Ingredients
- ▢ 2 – 3 medium-size tomato
- ▢ 1 tablespoon ginger, chopped
- ▢ 1 green chili
- ▢ 2 tablespoon oil
- ▢ Salt to taste
- ▢ ½ teaspoon turmeric powder
- ▢ ½ teaspoon red chili powder
Instructions
- Wash the tomatoes and then pat dry.
- Gently prick the tomatoes using a fork.
- Roast the tomatoes over the gas stove until charred or in the oven.
- Blend together the roasted tomato, green chili and ginger.
- Heat oil in a frying pan.
- Add the tomato paste and fry till it starts leaving the sides of the pan.
- Add salt and spices. Stir to combine. Cook for a minute or so.
- Allow the masala to cool down completely.
- Transfer to a clean jar and store in the fridge for upto 2 weeks.
Recipe Notes:
Nutrition
If you try this recipe and love it, please leave a comment and a Star Rating. This helps us grow and reach many other food lovers like you, who are looking for a perfect tried and tested recipe.
We follow a strict NO SPAM Policy
