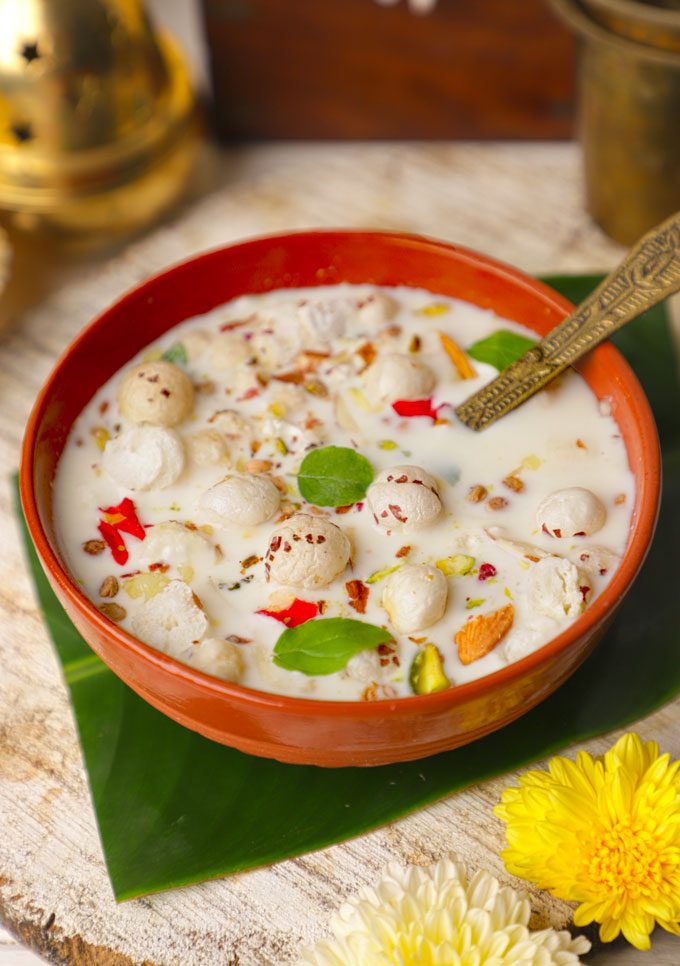
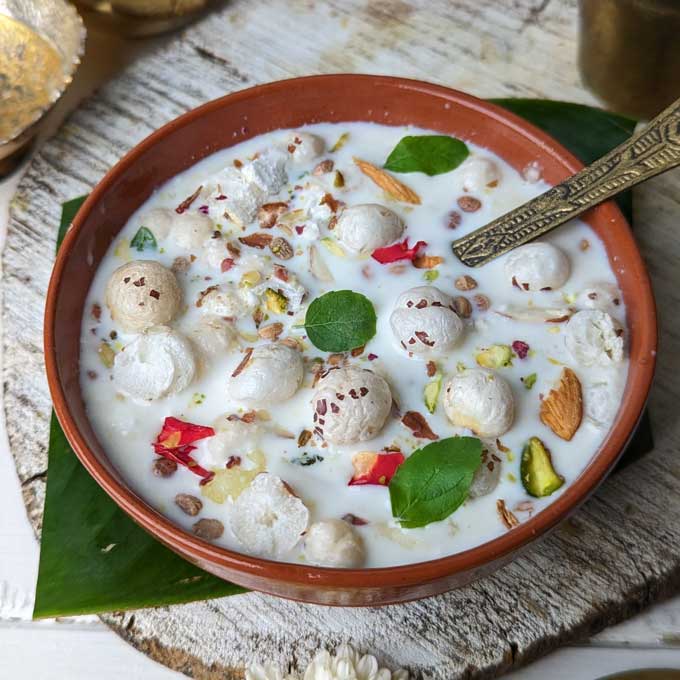
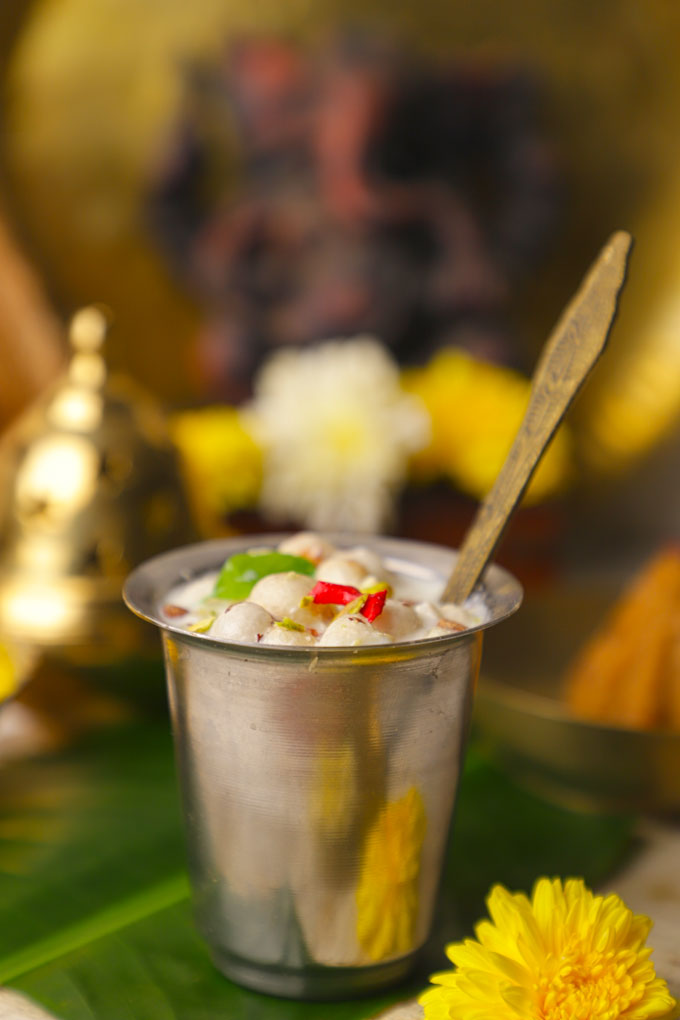
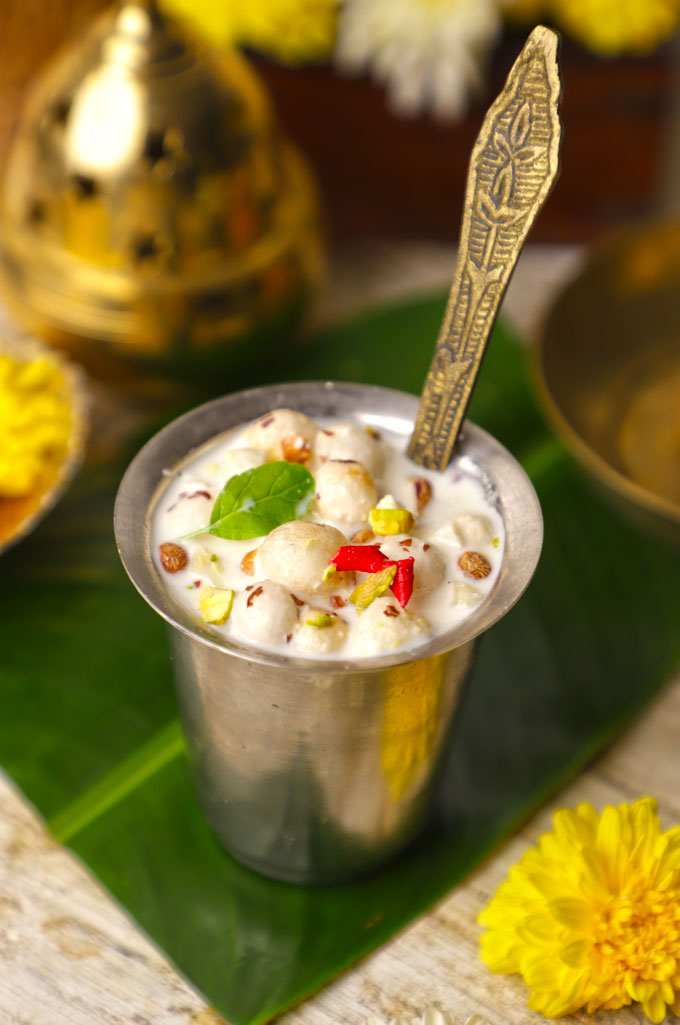
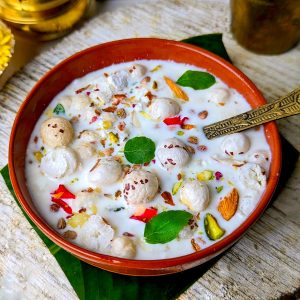
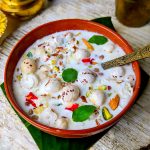
Panchamrit is a traditional Hindu prasad recipe. It is a nourishing pious drink, also known as the nectar of Gods. I am sharing an easy and tasty Panchamrut recipe for puja.
About Panchamrit
Panchamarit is a Sanskrit word. It is made by combining two words, Pancha + Amrit = Panchamrit. The word pancha means five ingredients and amrit is for the nectar of God . It is also known as Panchamrut or Charnamrit.
Panchamrit is offered first to God and then given as prasad after puja. It is prepared during Hindu celebrations and festivals like Janmashtami, Ganesh Chaturthi , Diwali , or Satyanarayan Katha .
Charnamrut is a gluten-free, no-cook prasad, that is very easy to prepare. It takes less than 20 minutes to make it from scratch.

Ingredients Required
Panchamrit is mainly prepared with only 5 key ingredients .
- Milk: Use unpasteurized or raw cow milk. Do not boil the milk or add used/leftover milk.
- Curd: Add clean, unused curd made with cow milk. It aids procreation.
- Honey: Try to use organic honey. You can substitute honey with jaggery, or mishri.
- Ghee: Use pure, organic cow ghee. Do not add butter.
- Tulsi: Add only Holy Indian Basil Leaves. Many people do not add tulsi leaves while making it for Ganpati Puja or Janmashtmi.
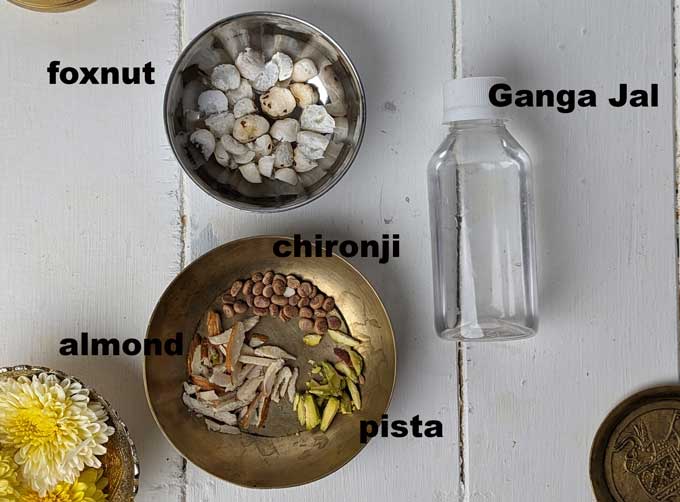
Ganga Jal: It is added to purify the panchamrit. You can buy a bottle of Ganga Jal at any Indian grocery or pooja store.
I am sharing below a few optional ingredients for garnish to make this panchamrit recipe even more delicious and nourishing.
Nuts: You can add sliced unsalted pistachio, almonds, cashews or foxnuts to the panchamrit.
In South India, people add ripe bananas and fresh coconut to their panchamrit recipes. In Kerala, some households add tender coconut water to this prasad , which is also called Panchakavya.
Fresh, edible, and pesticide-free rose petals or chironji.
How To Make Panchamrit
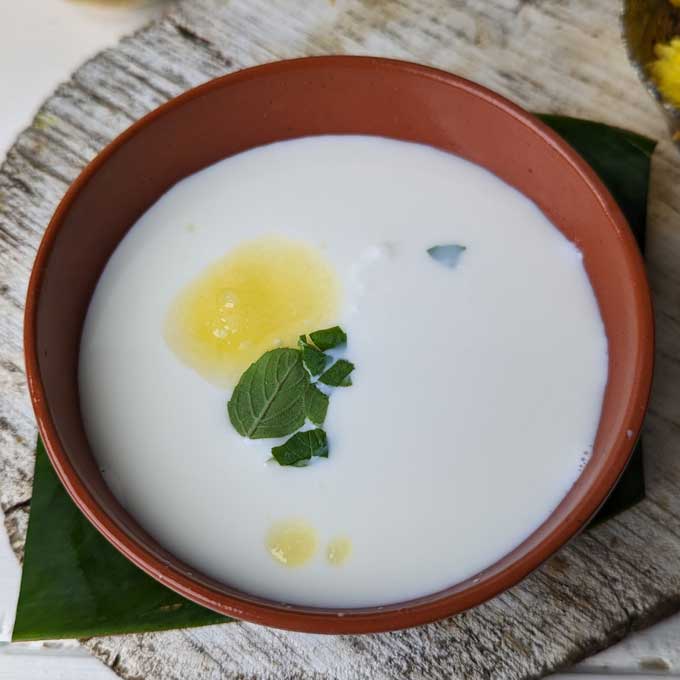
Step 1: Take a clean silver, bronze or steel bowl.
Step 2: Add cow milk, curd, ghee, honey, tusli leaves, and Ganga Jal. Mix with a clean spoon.
Step 3: Now for garnishing add finely sliced nuts, chironji, banana, or rose petals.
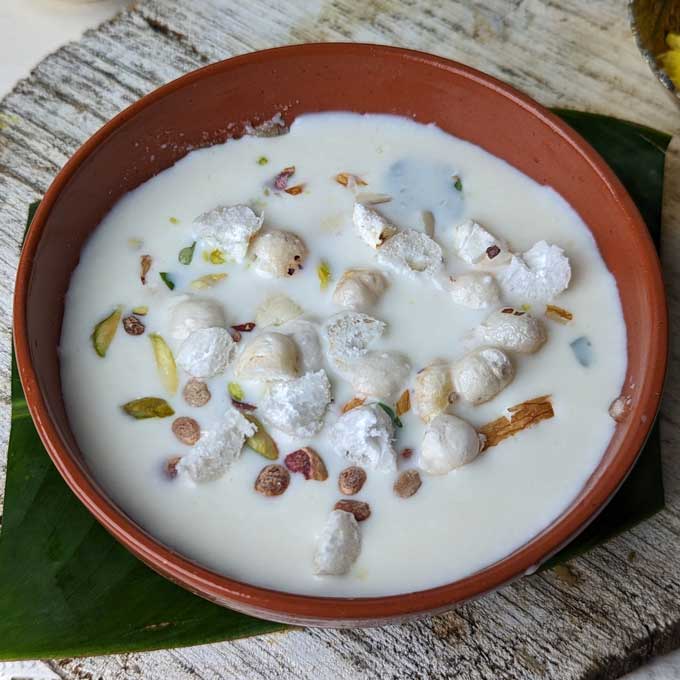
Step 4: Mix one last time. Panchamrit is ready! Refrigerate for 1-2 hours before serving.
How To Serve Panchamrit
For every Hindu puja or festival, Panchamrit is prepared as a prasad. It is first offered to the deity , hence while making do not taste it and keep it in a clean silver, bronze, steel or mud vessel.
After the puja ritual, it is distributed among the people in small quantities like a teaspoon as a Nectar of God or amrit .
It is freshly made a few hours before the puja in a small quantity to avoid wastage. Make sure not to throw it away.
My Tried and True Tips
Panchamrut or any other kind of offering to the deity should be pure. Use clean, and fresh ingredients for this panchamrit recipe.
The Panchamrut ingredients are mixed and served in a silver vessel as it is considered good for health and does not react with dairy products. You can use a clay or mud vessel also for mixing charnamrut.
Do not combine milk, curd, and honey in equal amounts as it is very harmful to health.
Panchamrit should always be made in small quantities , that can be consumed entirely after the puja. It should not be stored.
The shelf life of panchamrut is not more than 3 – 4 hours. Hence, make it a few hours before the puja.
For a tasty and healthy charnamrit, it is best to follow the precise ingredient measurements mentioned in the panchamrit recipe.
Nowadays many panchamrit recipes suggest adding white granulated sugar as a sweetener. Please note, that white sugar is a highly processed ingredient. Substitute it with mishri, jaggery, coconut sugar or honey.
More Indian Puja Recipes
- Mawa Modak
- Pua (Gulgule)
- Vrat Ki Kheer
- Pahadi Panjiri
- Makhana Phirni
If you try this recipe and love it, please leave a comment and a rating. This helps us grow and reach other food lovers like you.
Ingredients
- ▢ ½ Cup unpastuerized cow milk
- ▢ 2 tablespoon curd (dahi)
- ▢ 2 teaspoon Organic honey
- ▢ 1 teaspoon ghee
- ▢ 1 teaspoon Ganga Jal
- ▢ 4 – 5 Tulsi leaves
Ingredients For Garnish
- ▢ 1 tablespoon chopped foxnut
- ▢ 1 tablespoon diced ripe banana
- ▢ 1 teaspoon sliced almonds
- ▢ 1 teaspoon sliced unsalted pistachio
- ▢ ½ teaspoon chironji (charoli)
Instructions
- Take a clean silver, bronze or steel bowl.
- Add cow milk, curd, ghee, honey, tusli leaves, and Ganga Jal. Mix with a clean spoon.
- Now for garnishing add finely sliced nuts, chironji, banana, or rose petals.
- Mix one last time. Panchamrit is ready! Refrigerate for 1-2 hours before serving.
Recipe Notes:
- Traditionally Panchamrit is prepared in a silver or bronze vessel. You can use a clean stainless steel or mud vessel also.
- Do not combine ghee, and honey in equal amounts. It is harmful to health.
- Do not taste Panchamrit while making or before serving as prasad.
Nutrition
We follow a strict NO SPAM Policy
Panchamrit Recipe
Equipment
- Steel or Silver Mixing Bowl
Ingredients
- ½ Cup unpastuerized cow milk
- 2 tablespoon curd (dahi)
- 2 teaspoon Organic honey
- 1 teaspoon ghee
- 1 teaspoon Ganga Jal
- 4 - 5 Tulsi leaves
Ingredients For Garnish
- 1 tablespoon chopped foxnut
- 1 tablespoon diced ripe banana
- 1 teaspoon sliced almonds
- 1 teaspoon sliced unsalted pistachio
- ½ teaspoon chironji (charoli)
Instructions
- Take a clean silver, bronze or steel bowl.
- Add cow milk, curd, ghee, honey, tusli leaves, and Ganga Jal. Mix with a clean spoon.
- Now for garnishing add finely sliced nuts, chironji, banana, or rose petals.
- Mix one last time. Panchamrit is ready! Refrigerate for 1-2 hours before serving.
Video
Notes
- Traditionally Panchamrit is prepared in a silver or bronze vessel. You can use a clean stainless steel or mud vessel also.
- Do not combine ghee, and honey in equal amounts. It is harmful to health.
- Do not taste Panchamrit while making or before serving as prasad.
Nutrition
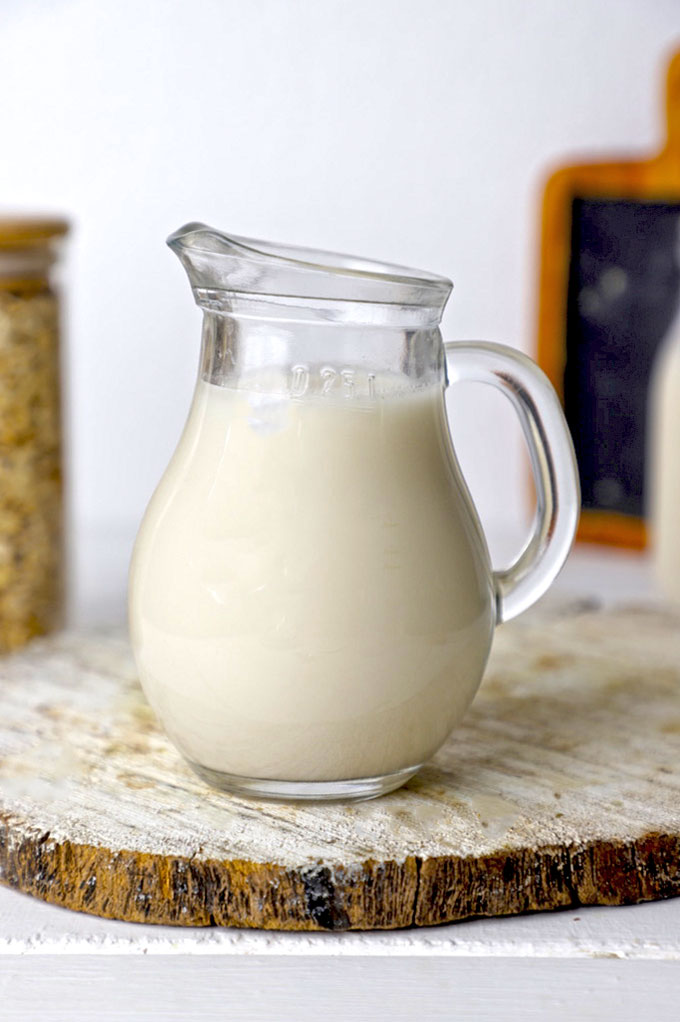
Making oat milk at home is a straightforward process, and it’s a great dairy-free alternative. This oat milk recipe requires only a few minutes- no complicated steps are involved! Just rinse, blend, and strain!
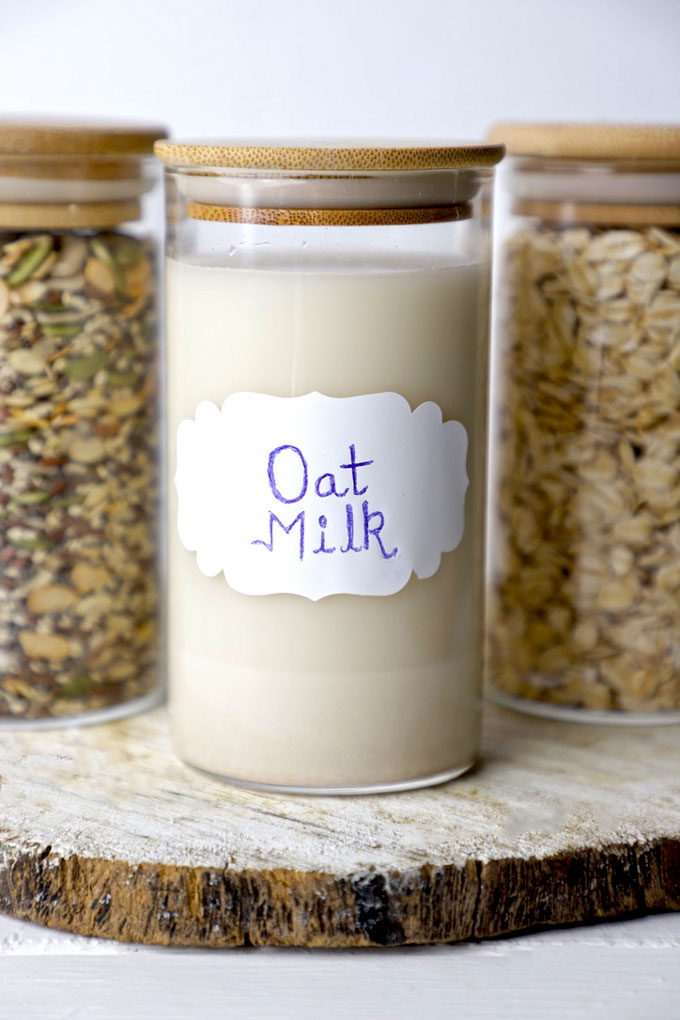
What is Oat Milk?
Oat milk is a vegan milk primarily produced from whole oats and water. Additional ingredients are sometimes added for sweetness and flavour. It is a popular dairy-free alternative for those with dairy allergies, lactose intolerant, or following a plant-based vegan diet.
All you need are oats, vanilla, water, and salt to get the best homemade oat milk to add to your beverages, cereals, baking goods, or to simply sip on.
Reasons To LOVE Oat Milk
- We all know that oats are a great source of vitamins and minerals, such as fibre, calcium, and vitamin D . It is also naturally low in saturated fat and cholesterol.
- Oat Milk has a mild flavour and creamy texture which makes it ideal to use for mixing with coffee or tea and making desserts.
- Since it is neutral-tasting, it is also used as a thickener or as a one-to-one replacement for dairy milk in most recipes.
- Making Oat Milk at home is budget-friendly which helps you reduce wastage and spending on expensive packaged vegan milk.
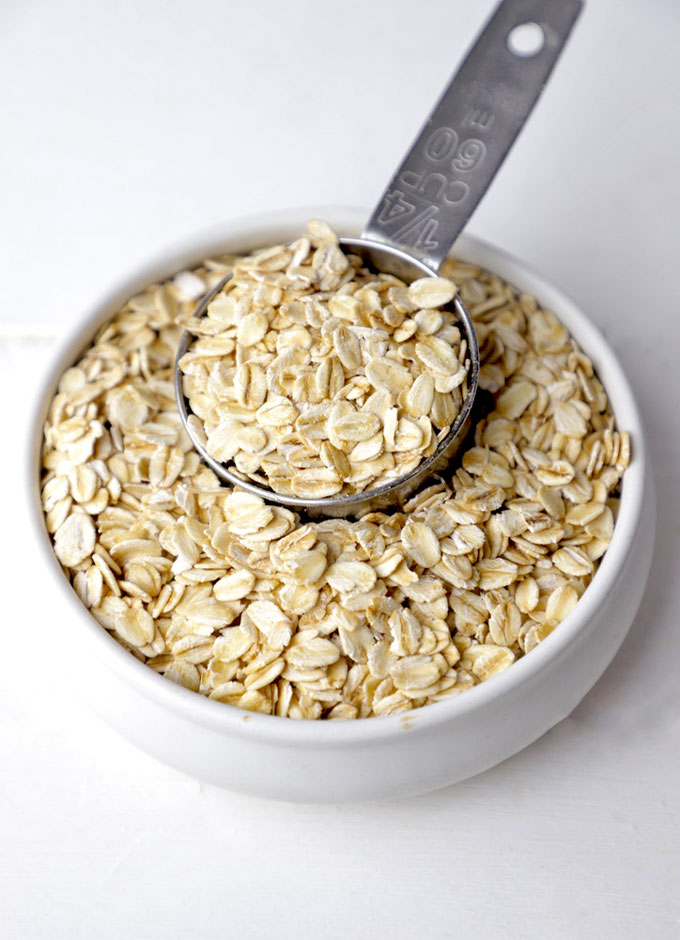
What types of oats are best for making milk?
When making oat milk at home, you can use various oats, but the most common and suitable choice is rolled oats . This is because it provides the best texture and consistency when blended that is consistent with traditional dairy milk.
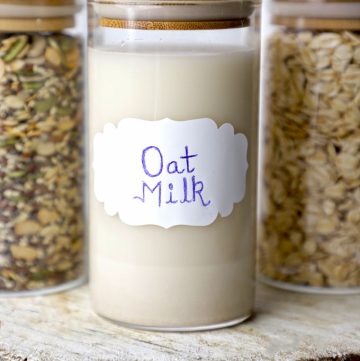
Ingredients Required
You need only 3 ingredients for this oat milk recipe.
- Rolled Oats – use regular or gluten-free. Avoid using flavoured instant oats.
- Seedless Dates naturally sweeten the milk! You can add sugar too.
- Vanilla Extract – adds a nice flavour and aroma.
- Salt – to further enhance the flavour.
- Clean filtered water
- Ice cubes
How To Make Oat Milk
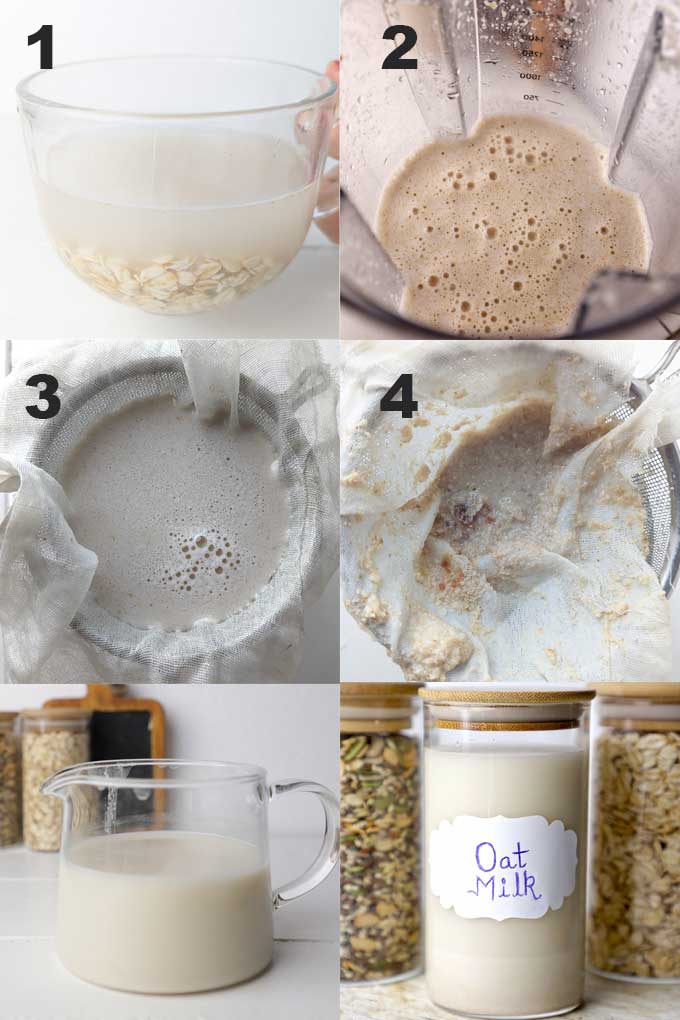
- Soak the rolled oats overnight in room-temperature water.
- The next day, rinse them with water to remove sliminess.
- Add the oats, clean filtered water, and ice cubes in a blender. Blend.
- Add the dates, vanilla extract and salt according to your preferred sweetness then blend again for less than a minute.
- For smoother consistency, pass the oat milk through a fine mesh strainer.
- Oat Milk is ready to use.
Tips To Avoid Slimy Oat Milk
Follow my tried and true tips to make non slimy oat milk each time.
- Soak rolled oats overnight to get rid of harmful phyletic acid.
- After soaking make sure to rinse the rolled oats with clean water to get rid of excess starch. This will ensure that the milk does not become too thick or slimy.
- Do not over-blend the mixture. Just process until it is creamy and slightly thick. The more you blend, the more starch and heat are released which causes a slimy texture that we want to avoid.
- Straining the milk will also help in removing excess starch after blending , so do not skip this step.
- I used ⅓ cup of rolled oats per 2 cups of water for the perfect consistency. You may adjust slightly to get the consistency you like but do not make it too thick.
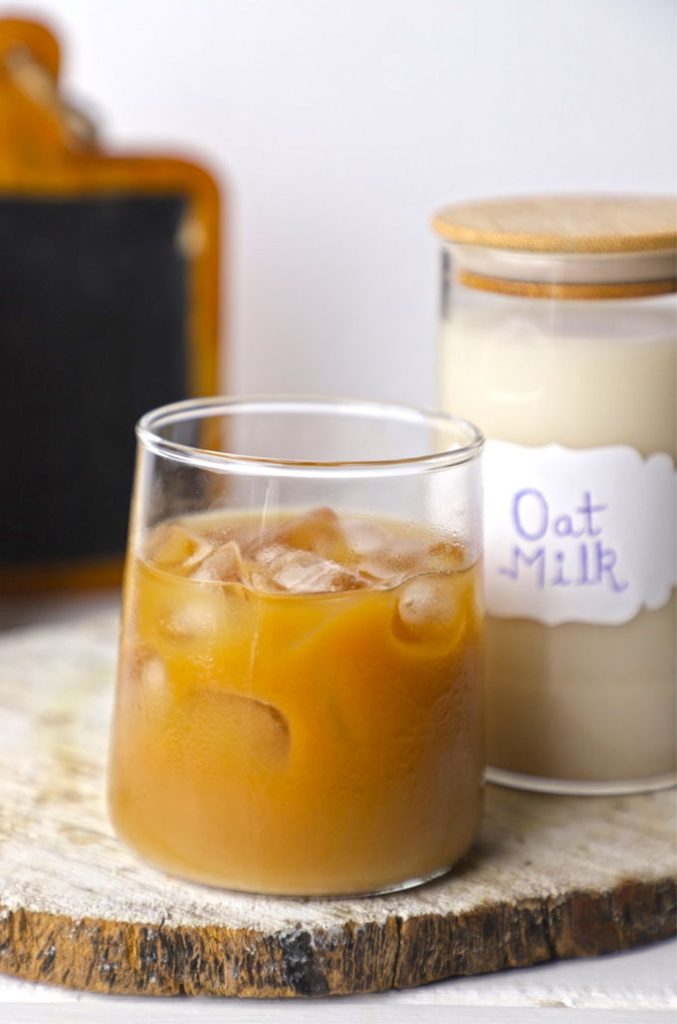
How To Use Oat Milk
Because of its nutritional benefits, mild flavour, and creamy texture, you can use oat milk as a substitute for dairy milk 1:1 for almost any recipe.
- Add to beverages like hot or cold coffee, tea, hot chocolate , cereals, and oatmeal.
- You can also use it to make creamy smoothies, soups, and sauces.
- Use it for baking purposes! It is awesome for making cookies, bread, cupcakes, cakes, and other baked desserts.
- Because of the added flavourings, you can also enjoy this as it is with your favourite snacks or morning meal.
Storage Suggestion
Store oat milk in the refrigerator in an airtight container. Oat milk can sometimes thicken over time, so giving it a good shake before use can help restore its texture.
Homemade oat milk will last for about 2 to 3 days. Do not leave it at room temperature!
More Oats Recipes
- Oats Cutlet
- Oats Khichdi
- Oats Dal Chilla
- Overnight Oats
- Vegetable Oats Soup
- Mango Oats Smoothie
If you try this recipe and love it, please leave a comment and a rating. This helps us grow and reach other food lovers like you.
Ingredients
- ▢ ⅓ Cup Rolled Oats
- ▢ 2 Cup filtered water, room temperature
- ▢ 2 dates, pitted
- ▢ ½ teaspoon vanilla extract
- ▢ ⅛ teaspoon salt or to taste
- ▢ 2 ice cubes
Instructions
- Soak the rolled oats overnight in room-temperature water.
- The next day, rinse them with water to remove sliminess.
- Add the oats, clean filtered water, and ice cubes in a blender. Blend to make a smooth, creamy milk.
- Add the dates, vanilla extract and salt according to your preferred sweetness then blend again for a minute.
- For smoother consistency, pass the oat milk through a fine mesh strainer lined with a muslin cloth. Discard the residue.
- Oat Milk is ready to use. You can store it in the refrigerator for 2 to 3 days in an airtight container or use immediately.
Recipe Notes:
- Adding dates as a sweetener is optional. You can substitute them with sugar, jaggery, stevia, or maple syrup.
- Do not over-blend the mixture. Just process until it is creamy and slightly thick. The more you blend, the more starch and heat are released which causes a slimy texture that we want to avoid.
- If the oat milk becomes too thick, just add a bit more water.
- In this oat milk-making process, there is very minimal residue left behind.
Nutrition
We follow a strict NO SPAM Policy
