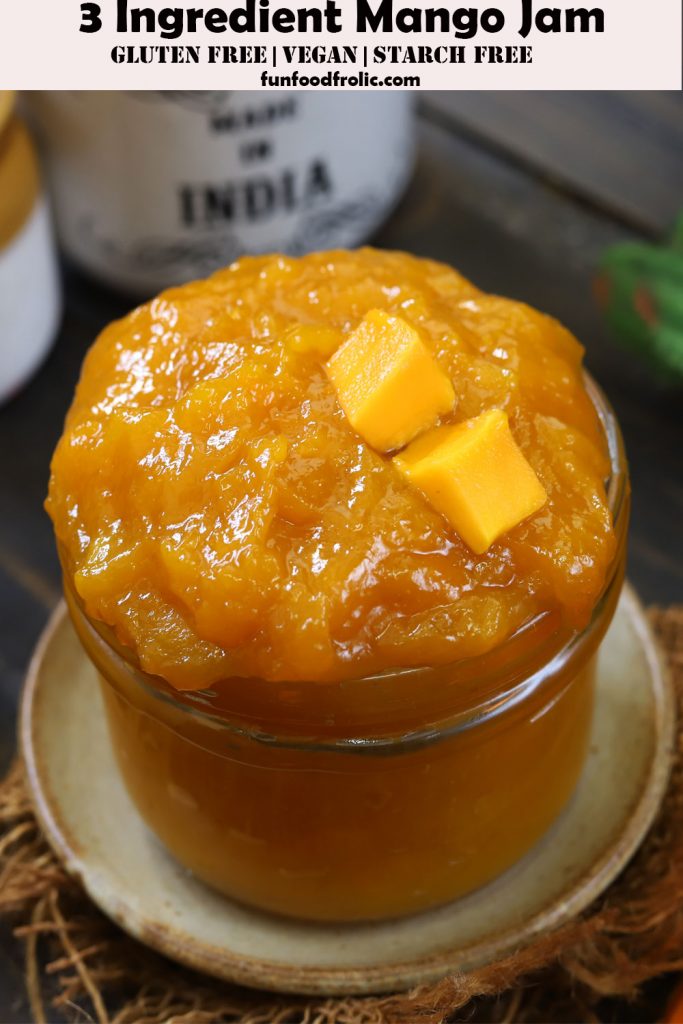
This is a delicious summer favourite mango jam recipe . It is a gluten-free, vegan fruit jam made with only 3 ingredients. Be sure to watch the video!
Homemade Fruit Jam
Making fresh fruit jam at home is a straightforward and therapeutic process. For people like me who love, love, love fruit jams, there is nothing better than the homemade sweet goodness with the fruit’s natural taste.
Among all the fruit jam flavours – strawberry jam and mango jam is my all-time favourite.
As I said, I love homemade fruit jams for many reasons besides the finger-licking good taste and texture. Here are a few of them:
- no added pectin
- one-pot recipe
- gluten-free & vegan
- natural colour & flavour
- zero thickening agent
- easy to make and store
- chemical preservative-free
- minimal ingredients required

Best MANGO For Jam
The firm, ripe, and sweet-tasting mango pulp works best for making the jam. Avoid using overripe or mangoes with a mushy pulp.
Usually, I prefer mango varieties like Alphonso, Ratnagiri, or Kesar for this mango jam recipe and my 15+ mango recipes . These Indian mango varieties have a flavoursome sugary taste, deep yellow colour with a rich aroma, and a lot of fibre that gives the jam a great texture.
You can make jam with Goan Mangad, Mexican, or other sweet tropical mangoes.
Mango To Sugar Ratio
The one thumb rule that always works for making fruit jam is the equal ratio of 1:1 (fruit: sugar). An equal amount of fruit and white granulated sugar will always yield the perfect jam.
A mango jam with slight tartness is more delicious than one tasting like a sugar syrup with no original flavor of the fruit.
However, it is always best to taste fruit like strawberries or mango to know about their natural sweetness. And then, add sugar according to the taste of the fruit. As for the mangoes, which are way too sweet, I follow the ratio of 2:1 (mango to sugar).
Watch Mango Jam Video
Recipe Variation
If you are looking for exciting new flavours of mango jam, here are a few recipe variations:
Rosemary: A teaspoon or a dash of rosemary adds a great aroma and a subtle sharp taste to the mango jam. You can use fresh or dried rosemary.
Saffron: A pinch of saffron gives the mango jam a deep hue, rich aroma, and taste.
Ginger: You will be surprised that grated ginger tastes great in a mango jam. The subtle sharpness and earthiness of ginger complement the sweetness of mangoes.
Red Chili: Mango and chillies are a great savoury combination. The spiciness of red chillies and the sweetness of mangoes are a match made in heaven. In a jam or a spicy dip , this flavour combination tastes divine.
Storage Suggestion
A few times, readers of my blog complained that their fruit jam got spoiled after a few days. It happens because of improper storage.
Use a clean, dry, sterilized jar for storing the fruit jam. Dirt or junk in the jar lid and an unsterilized jar will spoil your mango jam.
A glass jar rather than a plastic or metal container is best for storing fruit jams.
Store mango jam in the refrigerator. It remains fresh and tasty for 3 – 6 months.
Use a clean and dry spoon to scoop out the jam each time. Keep homemade jam away from moisture and water. One tiny droplet of water and the jam takes no time to develop fungus.
More Mango Recipes
- Mango Salsa
- Mango Lassi
- Mango Iced Tea
- Mango Ice Cream
- Mango Milkshake
- Mango Chia Pudding
- Mango Oats Smoothie
If you try this recipe and love it, please leave a comment and a rating. This helps us grow and reach other food lovers like you.
Ingredients
- ▢ 500 gram mango pulp
- ▢ 250 gram granulated white sugar
- ▢ 2 tablespoon lemon juice
Instructions
- Dice half of the mango pulp or roughly chop it into tiny pieces. Transfer to a bowl. Add granulated white sugar. Mix nicely. Set aside for 10 – 15 minutes. After 10 minutes, sugar will be completely dissolved with the mango pulp and a yellow color juice will be released. Do not rush this process.
- Transfer the mango pulp along with all the yellow liquid to a saucepan. Turn on the stovetop heat to low. Start cooking the jam.
- Blend the remaining half of the mango pulp without any water. Add to the simmering pulp along with the lemon juice. Stir to combine.
- Stage 1, the jam will be watery, with big chunks of mango. Keep cooking on low heat, while stirring at regular intervals.
- Slowly, the texture of the jam would thicken a bit. Use a potato masher or a ladle to gently mash the mango pieces. Keep stirring at regular intervals.
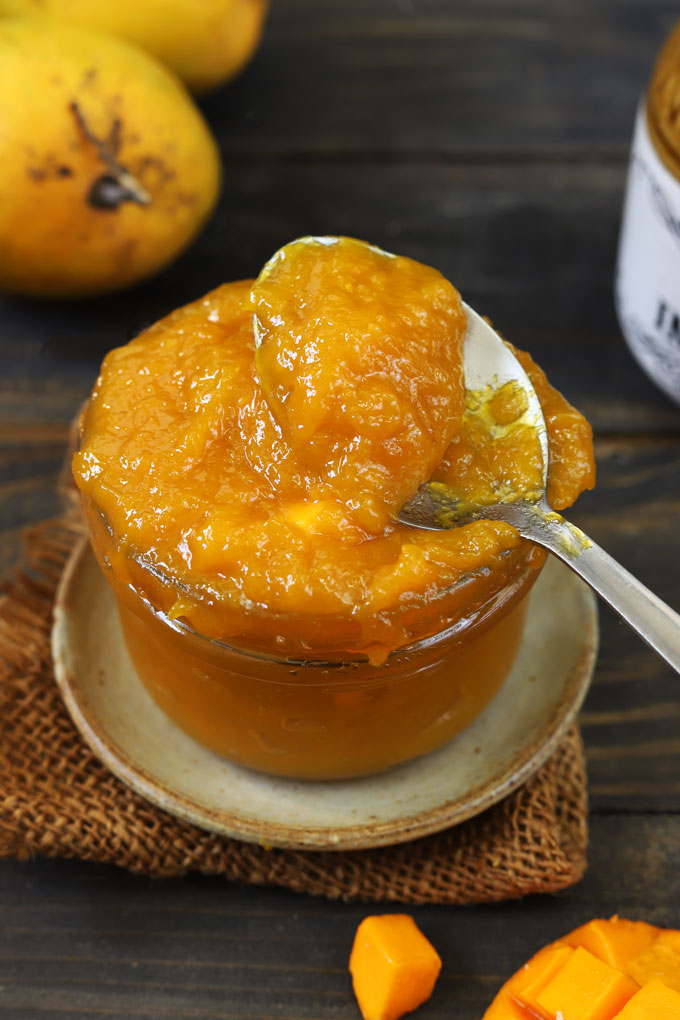
- After 15 – 20 minutes on low heat, the mango pieces mashed nicely, and the jam will start sticking to the spoon. Turn off the heat.
- To check the consistency of the mango jam, spread a big tablespoon of jam on a plate. The mango jam should be thick, doesn’t drop off easily, and will stick to the plate. Else continue to cook further.
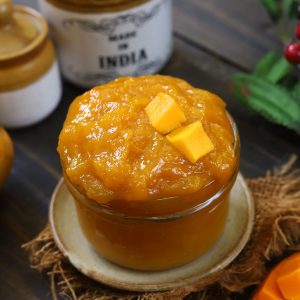
- Allow the mango jam to cool down completely at room temperature. Store the cooled mango jam in a clean, sterlisied glass jar with a tight fitting lid.
- Serve mango jam on a bread slice or store in the refrigerator.
Recipe Notes:
- You can use canned mango pulp as well for this jam recipe. Adjust the amount of sugar according to the taste of the canned mango.
- Use fine granulated white sugar for this mango jam recipe. And not powdered sugar, icing sugar, or big crystals of sugar.
- Make sure to use an enamel-coated ceramic or nonstick saucepan for making the jam rather than the cast iron pan, aluminum, or any other reactive metal cookware.
- Do not add any water or juice/syrup while cooking the jam. The mango needs to cook in their own natural juices and sugar.
Nutrition
We follow a strict NO SPAM Policy

3 Ingredients Mango Jam Recipe
Equipment
- Mixing Bowl
- Saucepan
Ingredients
- 500 gram mango pulp
- 250 gram granulated white sugar
- 2 tablespoon lemon juice
Instructions
- Dice half of the mango pulp or roughly chop it into tiny pieces. Transfer to a bowl. Add granulated white sugar. Mix nicely. Set aside for 10 - 15 minutes. After 10 minutes, sugar will be completely dissolved with the mango pulp and a yellow color juice will be released. Do not rush this process.
- Transfer the mango pulp along with all the yellow liquid to a saucepan. Turn on the stovetop heat to low. Start cooking the jam.
- Blend the remaining half of the mango pulp without any water. Add to the simmering pulp along with the lemon juice. Stir to combine.
- Stage 1, the jam will be watery, with big chunks of mango. Keep cooking on low heat, while stirring at regular intervals.
- Slowly, the texture of the jam would thicken a bit. Use a potato masher or a ladle to gently mash the mango pieces. Keep stirring at regular intervals.
- After 15 – 20 minutes on low heat, the mango pieces mashed nicely, and the jam will start sticking to the spoon. Turn off the heat.
- To check the consistency of the mango jam, spread a big tablespoon of jam on a plate. The mango jam should be thick, doesn’t drop off easily, and will stick to the plate. Else continue to cook further.
- Allow the mango jam to cool down completely at room temperature. Store the cooled mango jam in a clean, sterlisied glass jar with a tight fitting lid.
- Serve mango jam on a bread slice or store in the refrigerator.
Video
Notes
- You can use canned mango pulp as well for this jam recipe. Adjust the amount of sugar according to the taste of the canned mango.
- Use fine granulated white sugar for this mango jam recipe. And not powdered sugar, icing sugar, or big crystals of sugar.
- Make sure to use an enamel-coated ceramic or nonstick saucepan for making the jam rather than the cast iron pan, aluminum, or any other reactive metal cookware.
- Do not add any water or juice/syrup while cooking the jam. The mango needs to cook in their own natural juices and sugar.
Nutrition
I have signed my first cookbook contract. Hina Gujral Cookbook – finally a dream come true after 8+ years of food blogging and burning tons of midnight oil! Know all about my coming soon cookbook.
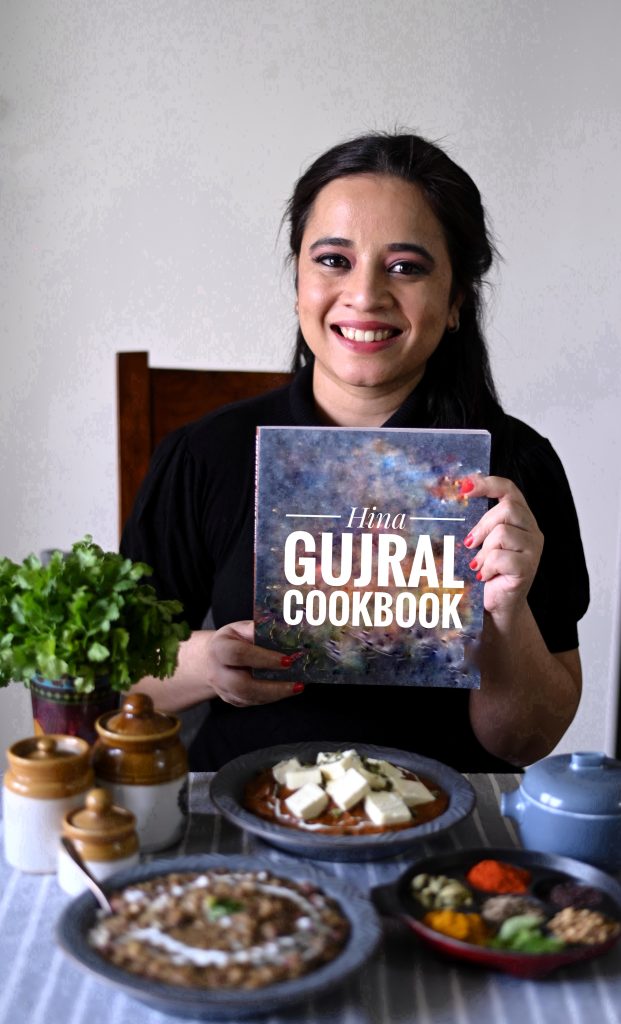
Since I started food blogging, writing a published cookbook was always one of my aspirations. And the universe, as usual, conspired in a mysterious way to make my dream come true.
For those who are curious about how it all happened? Even I don’t know the answer. I have never submitted a manuscript to any publishing house or agent or discussed my aspiration of writing a cookbook with a living soul.
Here is how it all unfolded!
The Story
In the middle of the pandemic , when hope for the future and all things related to life was bleak, I got an email from my editor with a proposal to write a cookbook.
For the first few weeks , I ignored her ( my editor’s ) email considering it a hoax or clickbait scam to hack my email ( yes, I am that paranoid person :P). Finally, after radio silence from my end, she sent another email. A video call with the team soon followed that. And after interacting for merely 10 minutes, we finalized the theme and the number of recipes for my cookbook.
I guess she ( my editor ) has followed my blog and content for quite some time. And as a team, they were ready to trust my ability to deliver a thoughtful cookbook.
And this is how the BIGGEST DREAM PROJECT of my life came into being.
About My Cookbook
The Challenge – 1 year (365 days), testing 100 recipes + writing manuscript + clicking photographs, and the deadliest pandemic humankind faced.
Of course, it has to be about Indian Food. The kind of food I grew up eating and the meals that are always part of my identity as a food blogger.
There will be 100 RECIPES. Not 40, or 60, but 100 tried and tested failproof Indian Recipes. I got so over-excited about getting my name printed as an author on a cookbook that I mindlessly agreed to this enormous task of developing 100 recipes.
I want to pat myself on the back for single-handedly testing 150 recipes, writing a meaningful manuscript, and then working on the styling plus photographs of the book , including the cover page ( except for author profile pictures). This cookbook was a test of my metal as a food blogger 😀
Apart from the cookbook work, I couldn’t ignore my blog, which requires a continuous flow of new content, social media handles, paid collaborations, and my family. In short, it was the most challenging year for me.
But I guess this dream project was worth all the labor of love.

Important Details
Hina Gujral Cookbook will be released in September 2022 across the USA, Canada, UK, Australia, India, and other English-speaking countries.
We follow a strict NO SPAM Policy
