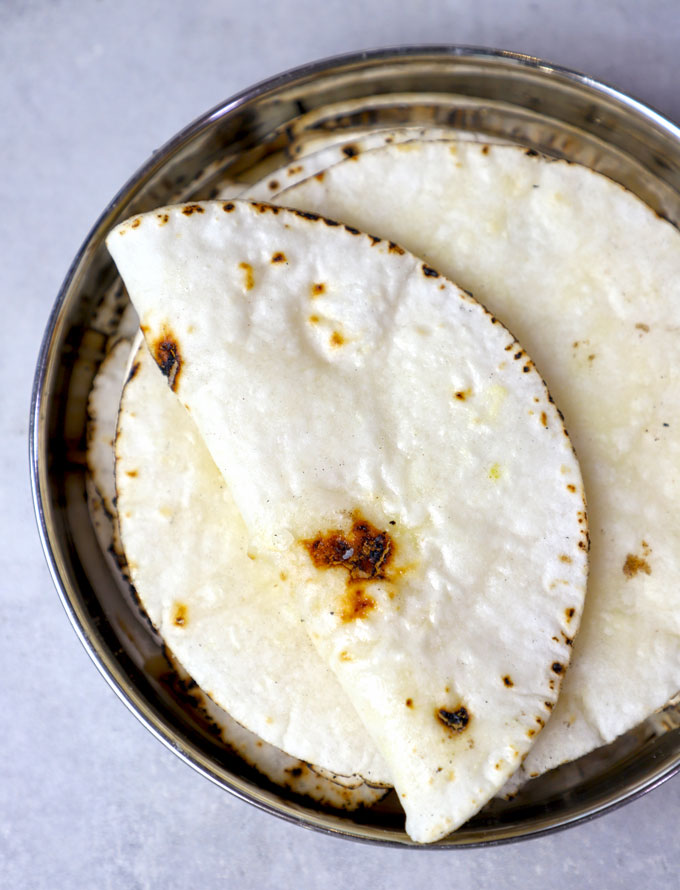
Rice flour roti, also known as “chawal ki roti” in Hindi, is a healthy gluten-free alternative to traditional wheat flour roti. Learn how to make gluten free roti with only 3 – ingredients. Be sure to watch the video!
- The Essence of Gluten Free Roti
- Nutritional Profile
- Ingredients Required
- Watch Gluten Free Roti Video
- Serving Suggestion
- My Tried and True Tips
- More Indian Bread Recipes
- Gluten Free Rice Roti Recipe
The Essence of Gluten Free Roti
Originating from the Indian subcontinent, roti is a staple side dish in everyday Indian meals. While wheat flour roti is the most common variant, with the rise in gluten intolerances and preferences for gluten-free diets, the need for alternatives is apparent.
Gluten-free roti, as the name suggests, substitutes wheat flour with gluten-free rice flour. Made from finely ground rice grains, chawal ki roti or ubbu roti has a soft texture and sweet flavour that sets it apart.
Nutritional Profile
One of the most significant advantages of chawal ki roti is its nutritional profile.
- Rice Flour Roti is a plant-based bread with no animal product.
- I t is easy to digest and doesn’t make your stomach too full or heavy. Hence, preferred to eat during hot summer days.
- Rice flour is naturally gluten-free , making it an excellent choice for individuals with celiac disease or gluten sensitivities.
- Medical studies have shown that rice flour is rich in carbohydrates , providing a sustainable source of energy.
- Rice flour is also low in fat and cholesterol , making it a healthier alternative to other types of flour.
- Rice flour is a good source of essential nutrients such as vitamins and minerals , which play vital roles in energy metabolism and overall health.
- Additionally, rice flour contains minerals like iron, magnesium, and zinc, which is essential for various bodily functions, including immune support and bone health.

Ingredients Required
Making gluten free rice flour roti is a relatively simple process that requires minimal ingredients and equipment.
- Rice Flour should be finely milled and not coarse in texture.
- Oil : Use either vegetable refined oil, ghee or coconut oil. It helps in keeping the dough soft.
- Salt, Water
Equipment : Wide Saucepot or Kadhai, Mixing Bowl or Parat.
Watch Gluten Free Roti Video
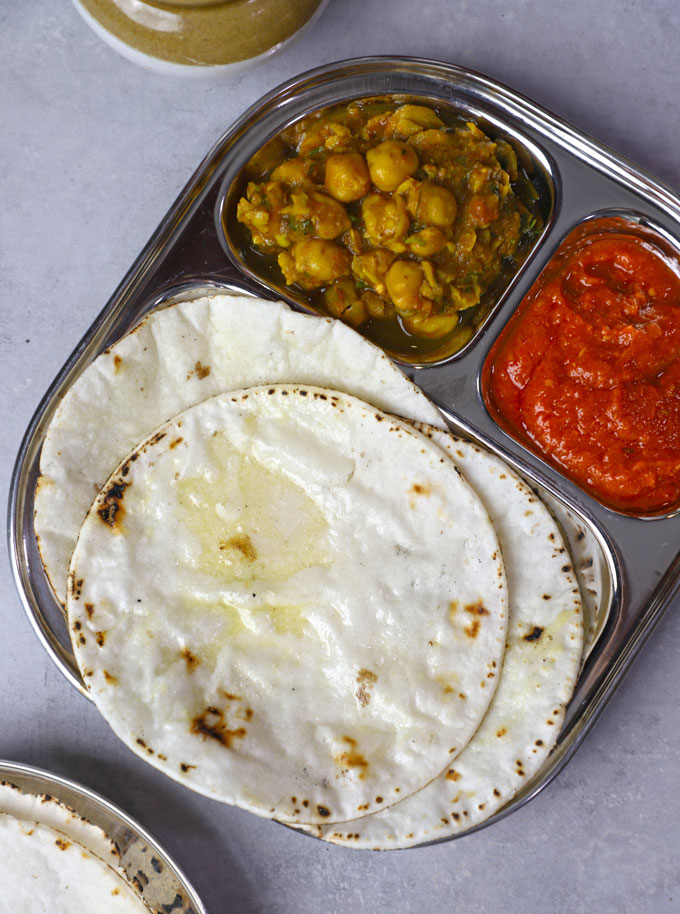
Serving Suggestion
Gluten-free rice flour roti pairs exceptionally well with Indian main course dishes, dals, and curries . Its light and soft texture provides a delightful contrast to rich and flavorful gravy dishes.
Alternatively, use rice roti to make wraps, tacos, or pizza.
Storage: Apply ghee on rice roti. Stack them on a parchment paper. Cover neatly with an aluminium foil or parchment paper. Store in an airtight container for 2 – 3 hours. they remain soft and fresh.
They can also be reheated in a tawa/griddle or microwave for a quick and convenient meal.
My Tried and True Tips
- Measurements play a key role in binding a gluten free dough – for perfect results request you to follow them to the tee.
- Use finely milled rice flour with a texture like an all-purpose flour.
- Start binding the dough while it is warm or hot unlike, other roti recipes. This step will always yield soft gluten free rice roti.
- Allow the dough to rest for 10 minutes after binding. It helps to hydrate the flour and improve its elasticity.
- The process of kneading and rolling gluten-free roti dough may differ slightly from traditional methods due to variations in flour composition. Follow my video to understand the process.
More Indian Bread Recipes
- Atta Poori
- Dal Paratha
- Gobi Paratha
- Methi Paratha
- Matar Paratha
- Tawa Naan without yeast
Ingredients
- ▢ 1 Cup rice flour (chawal ka atta)
- ▢ 1 Cup water
- ▢ 1 teaspoon refined oil
- ▢ ¼ teaspoon cooking salt or to taste
Instructions
- Combine oil, salt, and water in a kadhai or saucepot. Bring it to a boil. Once the water starts boiling, turn off the heat.
- Add rice flour. Mix it using chopsticks or a wooden rolling pin. Cover and let it rest for 10 minutes.
- Once the dough becomes a little easier to handle, transfer it to a wide mixing bowl or clean, flat kitchen counter.
- Bring the dough together and form a smooth, pliable, non sticky dough. Cover with a clean muslin cloth and let it rest for 10 minutes.
- Heat a non-stick skillet or griddle over medium heat. Sprinkle a pinch of flour on it to prevent roti from sticking.
- Then, divide the dough into small size balls. Pick one ball and roll it out into a chapati dusting it with rice flour.
- Gently transfer rice flour roti into the preheated tawa. Cook the roti for a few minutes on each side until the brown charred marks appear. If you want you can puff it directly over the flame.
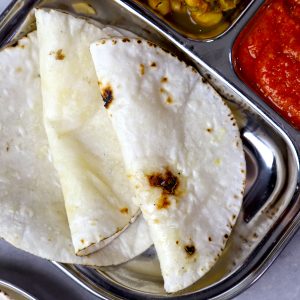
- Transfer rice roti to a plate. Apply ghee on roti to keep them soft (it is optional).
- Gluten free rice roti is ready to serve.
Recipe Notes:
Nutrition
We follow a strict NO SPAM Policy

Gluten Free Rice Roti Recipe
Equipment
- Heavy Bottom Kadhai
- Mixing Bowl
- Tawa/Griddle
Ingredients
- 1 Cup rice flour (chawal ka atta)
- 1 Cup water
- 1 teaspoon refined oil
- ¼ teaspoon cooking salt or to taste
Instructions
- Combine oil, salt, and water in a kadhai or saucepot. Bring it to a boil. Once the water starts boiling, turn off the heat.
- Add rice flour. Mix it using chopsticks or a wooden rolling pin. Cover and let it rest for 10 minutes.
- Once the dough becomes a little easier to handle, transfer it to a wide mixing bowl or clean, flat kitchen counter.
- Bring the dough together and form a smooth, pliable, non sticky dough. Cover with a clean muslin cloth and let it rest for 10 minutes.
- Heat a non-stick skillet or griddle over medium heat. Sprinkle a pinch of flour on it to prevent roti from sticking.
- Then, divide the dough into small size balls. Pick one ball and roll it out into a chapati dusting it with rice flour.
- Gently transfer rice flour roti into the preheated tawa. Cook the roti for a few minutes on each side until the brown charred marks appear. If you want you can puff it directly over the flame.
- Transfer rice roti to a plate. Apply ghee on roti to keep them soft (it is optional).
- Gluten free rice roti is ready to serve.
Video
Notes
Nutrition
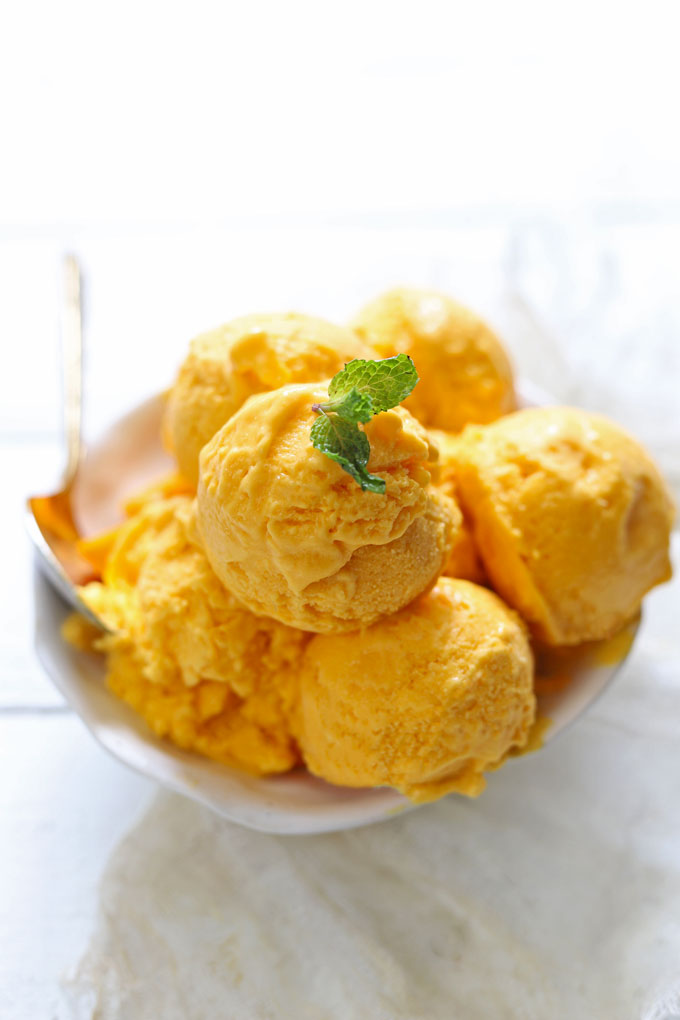
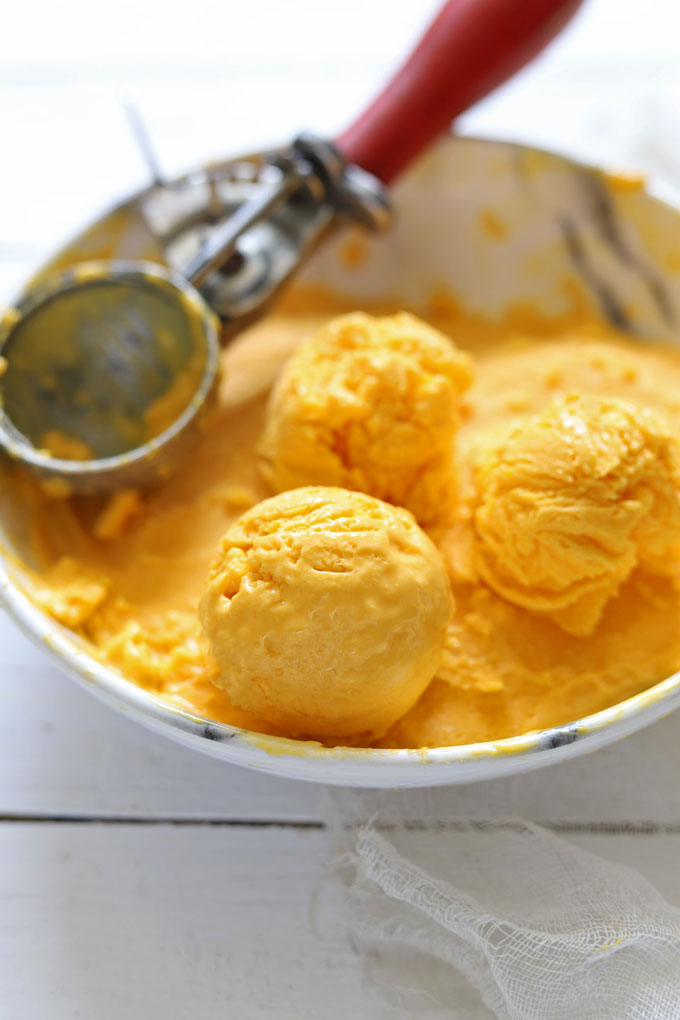
This Mango Ice Cream will be an absolute hit this summer! All you’ll need is 3 ingredients and 10 minutes of prep time – let the freezer do the rest for you!
- Ingredients For Mango Ice Cream
- How To Make Ice Cream
- Homemade Ice Cream vs. Store Bought Tub
- FAQ Related to Mango Ice Cream
- More Mango Recipes
- 3 Ingredient Mango Ice Cream
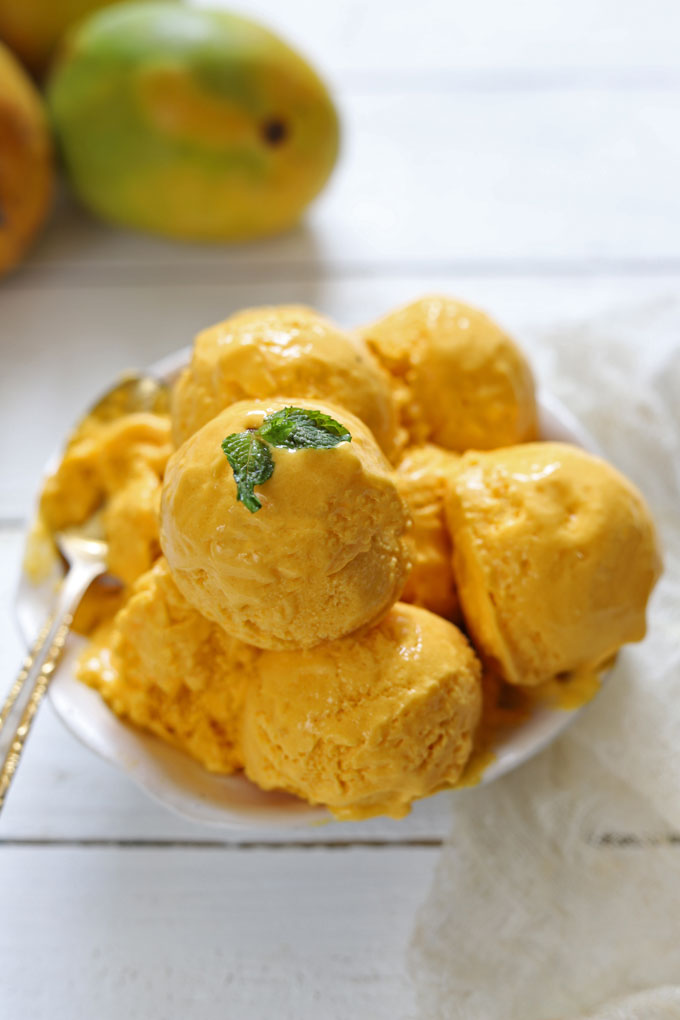
I crave nothing more than ice-cold ice cream on a hot summer day, and if I’m making it? This. Is. The. ONE! This easy homemade ice cream is super creamy and sweet, with a delicious zing from the mango, which will leave you wanting more.
You don’t even need to use an ice cream maker or food processor for this gluten-free ice cream recipe! All you need is one bowl and a blender .
I love how this Mango Ice Cream has the real fruit in it to boost nutrition, but it still tastes like a very decadent treat. And ice cream recipes with minimal cleanup and no churning are always a win in my books.
Ingredients For Mango Ice Cream
There are 3 (yes, just THREE! ) ingredients used here:
- Mango: Of course! Just 1 cup of fresh mango will give you 67% of the recommended amount of vitamin C for the day! Not only that, but it also has a high concentration of copper (20%), folate (18%), and vitamins B6, A E B5, and K, to name a few! I have used fresh Alphonso mango pulp.
- Heavy or whipping cream: Fat is an essential part of our diets, helping us feel full and satisfied. It’s also what makes this ice cream taste rich! I use a cream with 25% fat for making this ice cream. Mother Dairy Cream, De’lecta Cream, Amul Whipping Cream are a good choice.
- White sugar: Not a lot though, just to suit your own taste! If your mango and cream are sweet enough, you may even find that you can skip the sugar.
How To Make Ice Cream
Make a mango puree: dice your mango’s pulp, take care to remove the skin, and add it to the blender. Taste the pulp, add sugar accordingly, and blend until it is smooth without adding any water. You can also skip this step by using canned mango puree!
Add the cream to a mixing bowl . Whip the cream using a hand mixer or a stand mixer with a whisk attachment until soft peaks form. You can also use a manual hand whisk if you don’t have the electrical appliances at home.
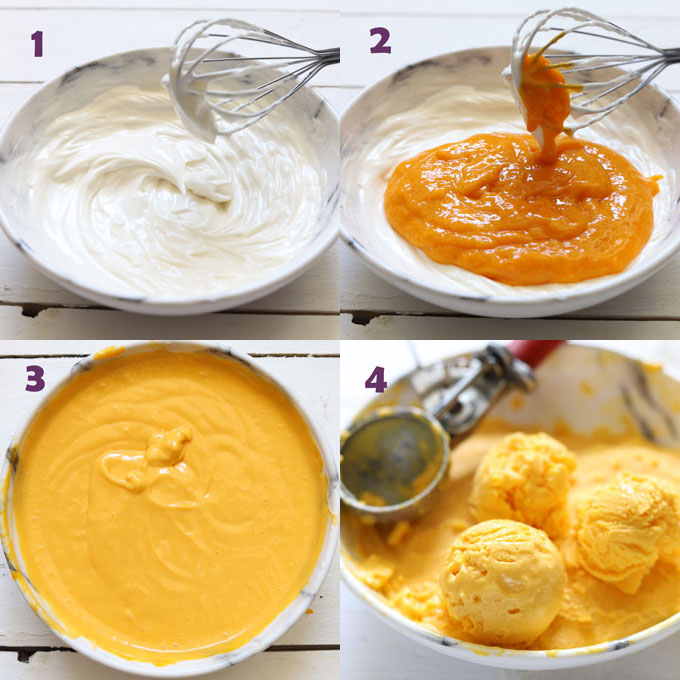
Add the mango puree to the whipped cream and mix for 1-2 minutes until they are well combined. Taste it and add more powdered sugar if it’s needed.
Pour the combined mango and cream mixture into a freezer-friendly container with a lid . Close the lid tightly. Freeze the ice cream for 5-6 hours, or until it is set.
Ready to eat? Take the mango ice cream out of the freezer and let it t haw for 5 minutes to soften a little. Scoop and serve!
Homemade Ice Cream vs. Store Bought Tub
I hear you – convenience can be nice! However, you will be missing out on some vital things like :
- The flavour: Nothing beats the taste of fresh mango combined with the rich, creaminess of fresh whipped heavy cream.
- The nutrition: Again, the fresh mango! Making this ice cream at home ensures the ingredients haven’t been altered . You can’t guarantee that in a store-bought ice cream tub!
- The simple ingredients: This recipe calls for mango, cream, and sugar (if needed). That’s all. Period. It is staggering if you look at an ice cream tub’s list of ingredients! I can’t pronounce most of them, and it doesn’t even taste as good with all enhancers!
- The satisfaction: I can’t express the joy, pleasure, and proud gleam that a tub of homemade ice cream will bring to your life. The happiness of creating something delicious from scratch is invaluable and a must-try experience.
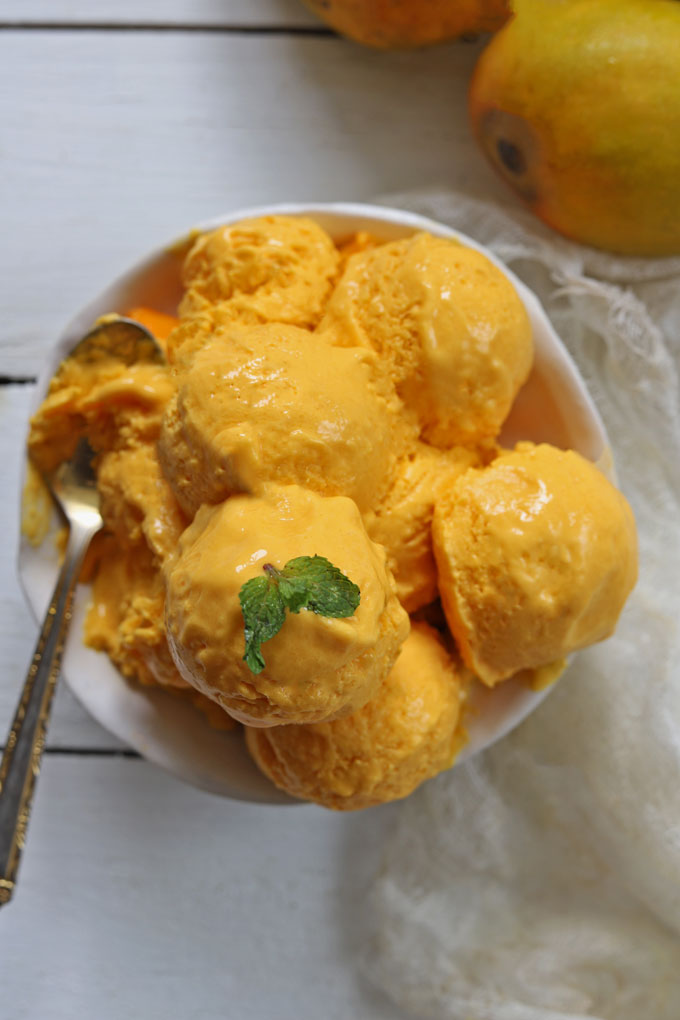
The ‘Alphonso’ mango is the best to make any dessert because of its sweetness and rich flavour. Or any other local variety of mango with a naturally sweet taste will be perfect for this ice cream.
Yes! Crushed nuts like pistachios toasted almonds would taste great, as well as toasted coconut chips. White milk chocolate, dark chocolate chunks, or chips would also be an excellent addition to this mango ice cream. Like a kick of spice? Add a teaspoon of chilli powder, cardamom, or saffron to the mixture before freezing to take the flavour up to the next level!
Absolutely! Just substitute the 4 cups of pureed fresh mango for canned pureed mango. Then, taste the canned puree and adjust the amount of sugar accordingly.
You can freeze this ice cream for up to 3 months in an airtight container.
More Mango Recipes
- Mango Shrikhand (Mango Yogurt)
- Mango Oats Smoothie
- Mango Chia Pudding
- Mango Lassi Recipe
- Spicy Mango Dip
- Mango Mojito
- Mango Jam
- Mango Salsa

Ingredients
- ▢ 200 gram heavy cream or whipping cream
- ▢ 4 Cup ripe mango puree
- ▢ ½ Cup granulated white sugar
Instructions
- To prepare mango puree, dice the pulp of fresh mango into chunks. Blend it to a smooth puree along with sugar without using any water. Or you can use cannned mango puree.
- Whip the cream using a hand mixer till soft peaks form. You can use a stand mixer as well for the purpose.
- Add mango puree in the whipped cream. Whisk using the hand blender or sptaula for 1 – 2 minutes or until well combined. Taste and if required add more sugar accordingly.
- Pour the ice cream into a freezer friendly container with a lid. Freeze for 5 – 6 hours or until set.
- Stand for 5 minutes to soften slightly, then scoop and serve!
Recipe Notes:
- If you are in India, best to use Mother Dairy or Amul Cream for making the ice cream. I always use Mother Dairy Cream with 25% fat.
- Adjust the amount of sugar according to the taste of the mango pulp.
- If you are using canned mango puree, adjust the amount of sugar as per taste.
- Do not use water to blend the mango pulp.
- I have used 25% fat cream to make this ice cream.
- Sweet, ripe, and aromatic mango-like Alphonso is the best for making this ice cream.
- Do not mix the ice cream for too long after combining all the ingredients. Once mango puree combined with whipped cream, stop mixing.
Nutrition
We follow a strict NO SPAM Policy
