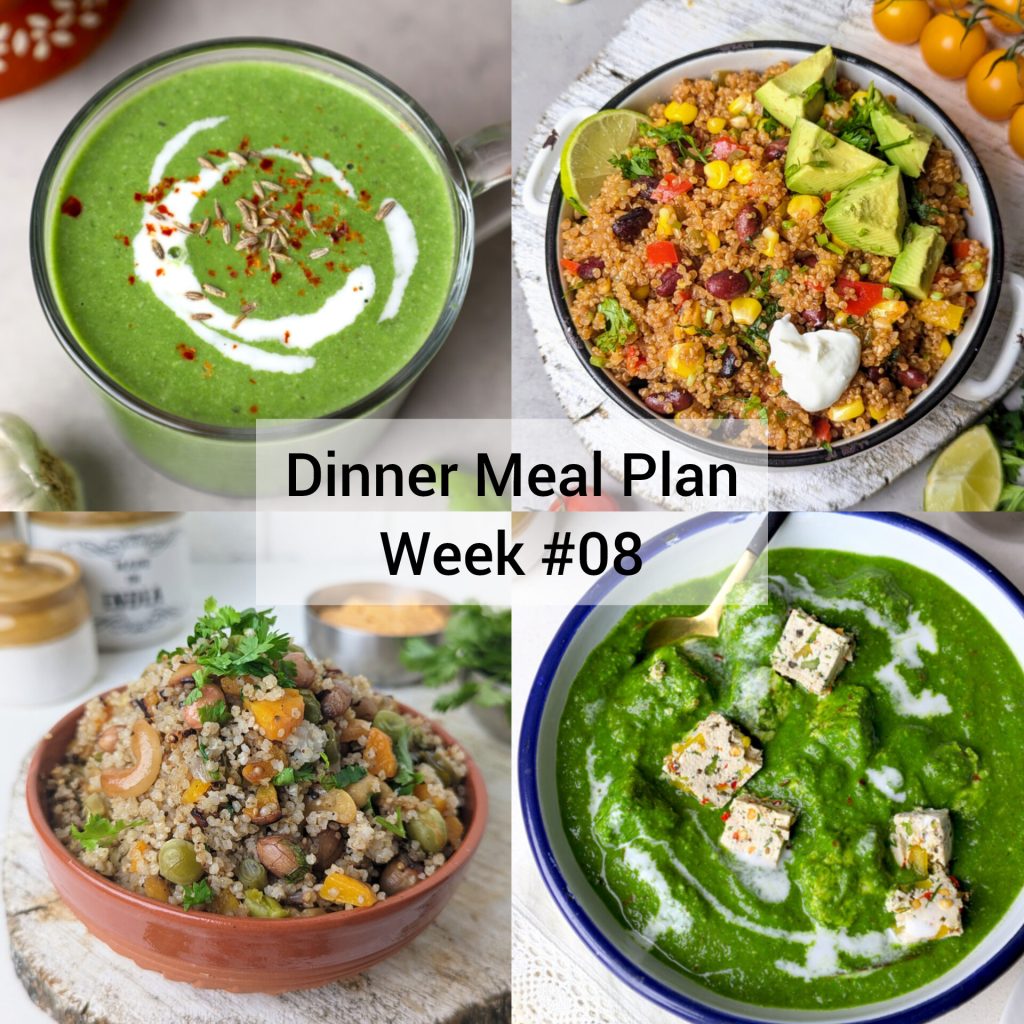
Get organized with our weekly dinner meal plan featuring 5 easy, healthy, and tasty recipes for the family. This week we are focussing on low carb dinner recipes.
A weekly dinner meal plan has several benefits, including making life easier, healthier, and often more affordable.
Here are some key reasons why you might want to consider planning meals each week:
- Saves Time : Meal planning helps you avoid the daily “What should I make Tonight?” dilemma.
- Reduces Food Waste : When you plan, you can buy just what you need for each meal. This prevents extra food from going bad in the fridge.
- Save Money : Having a list of dinner recipes and a grocery allows you to be more mindful at the grocery store and avoid impulsive buying.
- Keeps You Healthy : Eating home-cooked, wholesome meals helps you control calorie intake and portion sizes and avoid pre-packaged or frozen food.
THIS WEEK’S Dinner MEAL PLAN #08
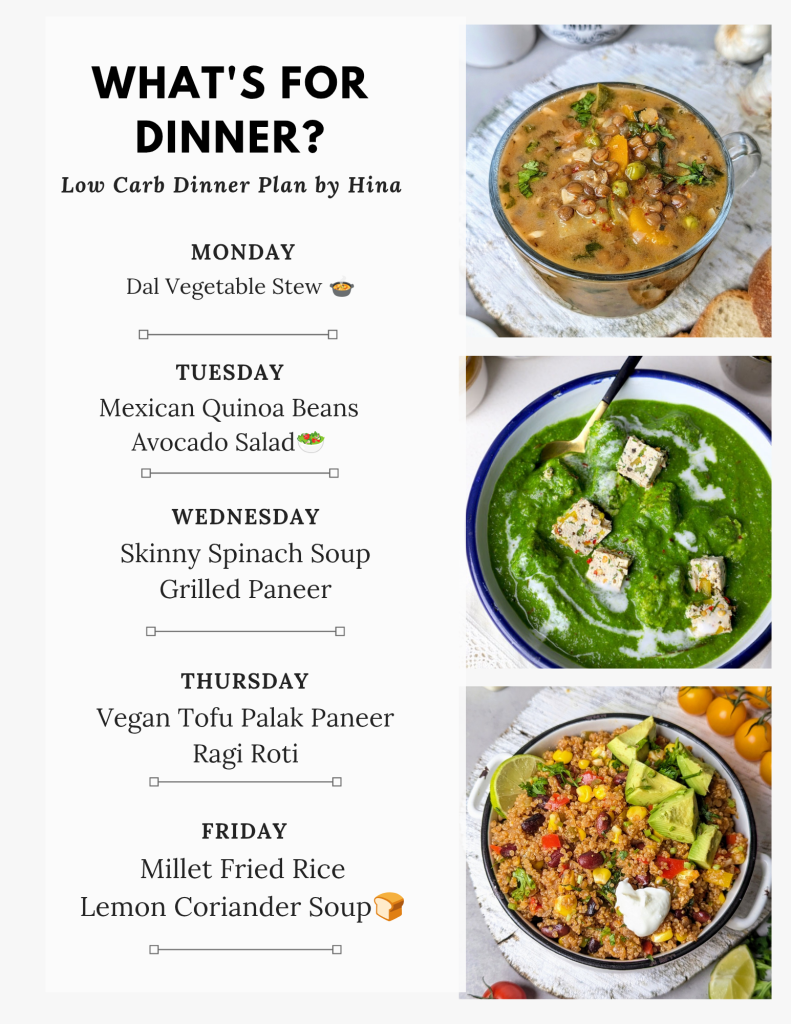
Here’s a week-long dinner meal plan that includes nutritious, tasty, and low carb recipes, with an emphasis on healthy recipes :
- Monday: Vegetable Lentil Stew
- Tuesday: One Pot Mexican Quinoa Beans + Avocado Salad
- Wednesday: Skinny Spinach Soup + Grilled Paneer
- Thursday: Vegan Palak Paneer + Ragi Roti
- Friday: Millet Fried Rice + Lemon Coriander Soup
- Bonus Soup Recipe : Easy Chicken Stew
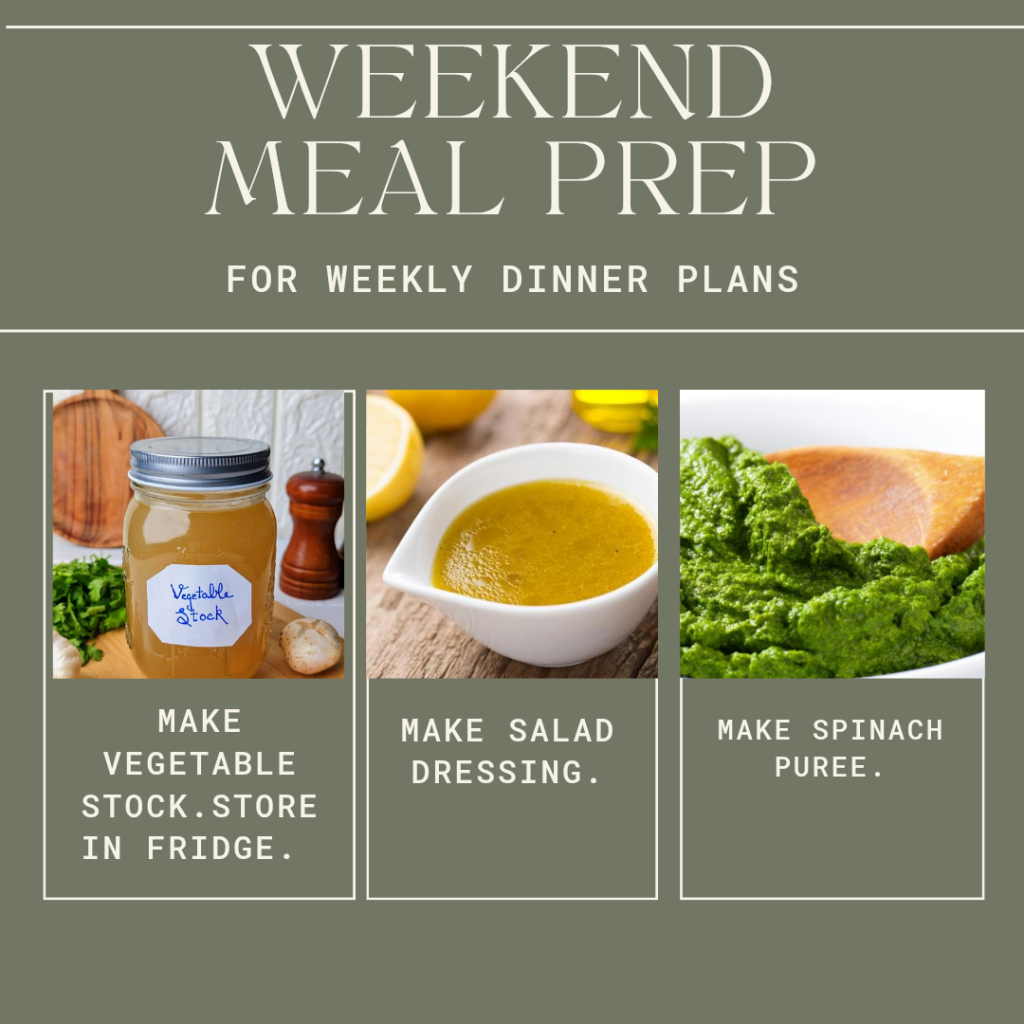
Helpful Meal Prep:
- Prepare vegetable stock for soups and store it for a week.
- Make salad dressing and store in refrigerator.
- Make spinach puree and store it in refrigerator.
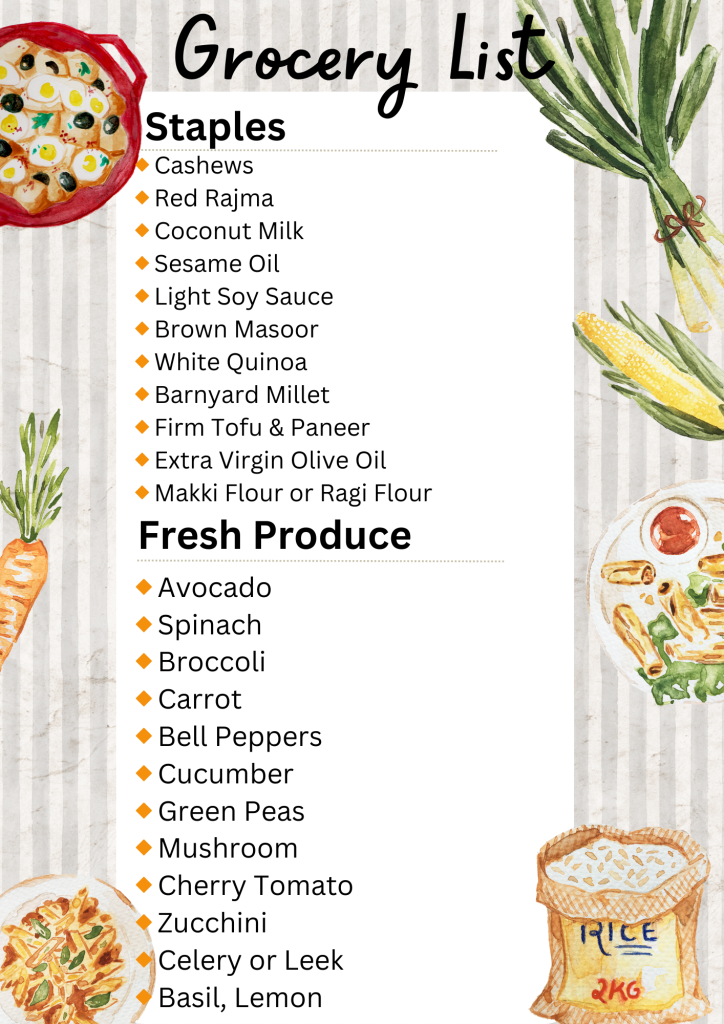
GRAB THE GROCERY LIST
Tips For Meal Planning
- Taking printouts of dinner menu and grocery lists always helps. Or update a reusable meal planner manually.
- Stick the meal plan on the most visible corner of the kitchen like the refrigerator or cabinet door.
- Sort the dinner recipes first and then jump-start on the grocery list.
- Substitute protein like paneer/tofu/chicken as per personal preference.
- If you are planning to include more side dishes, don’t forget to make them part of the grocery list.
We follow a strict NO SPAM Policy
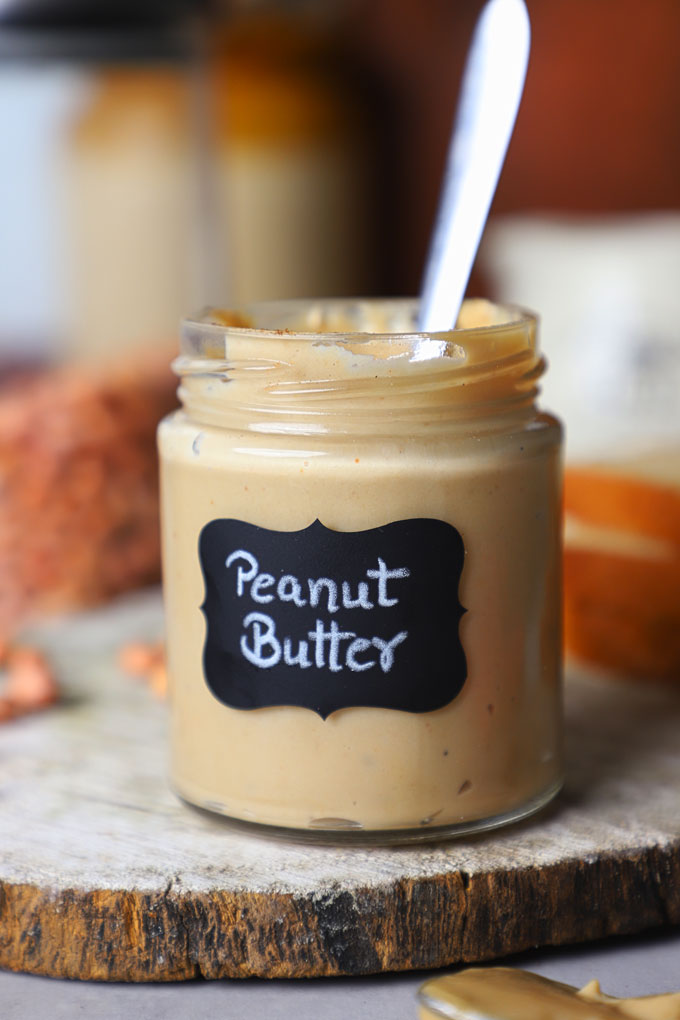
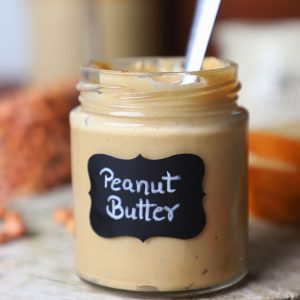
Making your own homemade peanut butter is not only easy but also allows you to control the ingredients and create a healthier version.
Estimated reading time: 5 minutes
- Ingredients You’ll Need
- How To Make Peanut Butter
- Storage and Usage
- Frequently Asked Questions
- Homemade Peanut Butter Recipe
Peanut butter has long been a pantry staple, loved for its creamy texture, rich flavour, and nutrition. While store-bought peanut butter is convenient, it often comes with added sugars, unhealthy oils, and preservatives.
The process of making peanut butter is simple, the results are rewarding, and the possibilities for customization are endless.
Why Make Homemade Peanut Butter?
- Health Benefits : Homemade peanut butter is free from artificial additives, excessive sugar, and hydrogenated oils, making it a much healthier option.
- Customizable : You can tailor the texture, sweetness, and sodium to your liking.
- Cost-Effective : High-quality peanut butter can be expensive, but making it at home can save you money, especially if you buy peanuts in bulk.
- Sustainability : By making it in small batches, you can reduce wastage.
With no added sugar or unhealthy fats, this homemade version is a guilt-free indulgence.
Ingredients You’ll Need
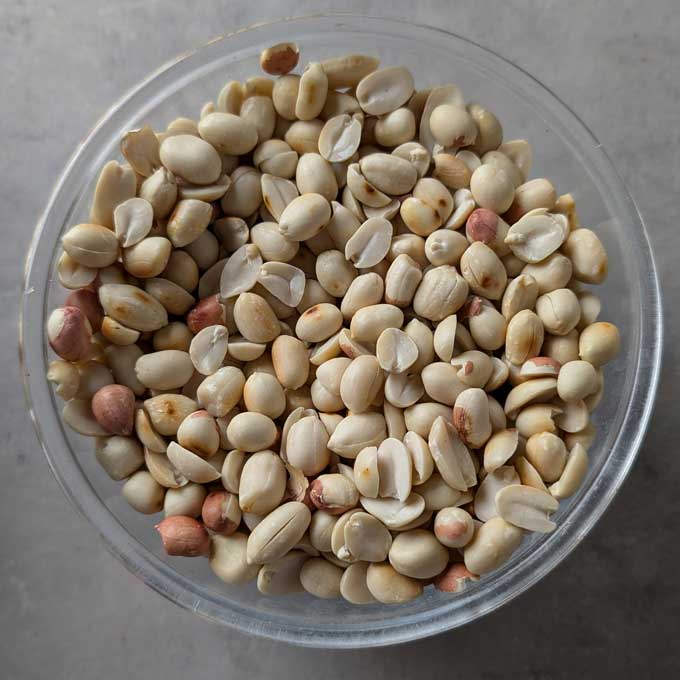
- Unsalted Peanuts of good quality preferably without skin
- Peanut Oil to drizzle on butter while storing and smoother texture.
- Sweetener of choice. I use date paste/syrup. Use honey/maple syrup/stevia.
- Pinch of salt (optional, for flavour)
Equipment:
- Food processor or high-speed blender
- Airtight jar for storage
- Spatula for scraping
How To Make Peanut Butter
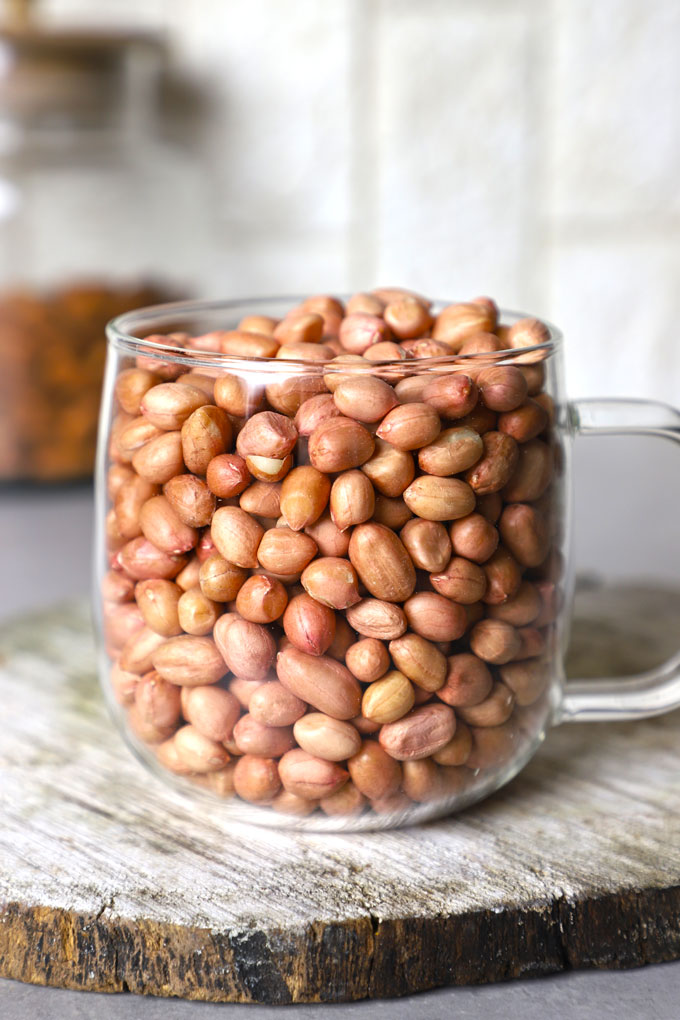
Step 1: Select Your Peanuts
- Choose high-quality for the best flavour. Unsalted peanuts are ideal, as they give you full control over the seasoning. Avoid using rancid or stale peanuts.
- If you are using peanuts with skin, then after roasting carefully remove their skin.
Step 2: Roast Peanuts
- Dry roast the peanuts in the oven at 350°F (175°C) for about 10 minutes. Or in a pan over the stovetop with a pinch of salt till they are slightly roasted, and warm. I highly recommend roasting the peanuts, as it gives a robust flavour.
Step 3: Start Processing
- Add the peanuts to your food processor or blender. Begin blending on a low setting to break the peanuts into smaller pieces.
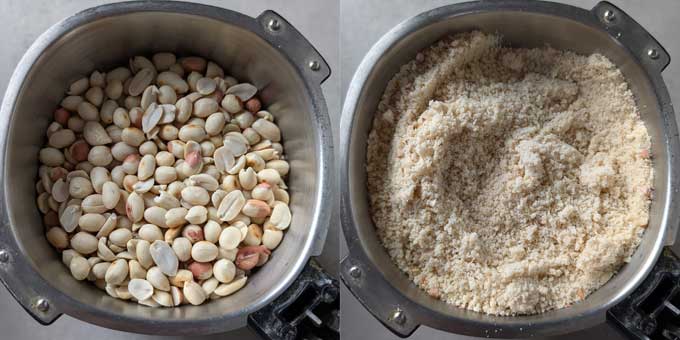
- Gradually increase the speed to medium, allowing the peanuts to release their natural oils and form a coarse, chunky paste.
Step 4: Achieve Creaminess
- Continue blending for 5 minutes. Initially, the mixture will be grainy, but as you blend, it will turn into a smooth and creamy consistency. If needed, stop occasionally to scrape down the sides with a spatula.
Step 5: Adjust the Texture and Flavour
- For smoother peanut butter, add 1–2 tablespoons of peanut oil and blend until fully incorporated.
- Add a pinch of salt for flavour enhancement.
- If you like it sweet, add sweetener, one teaspoon at a time, and blend to combine.
Storage and Usage
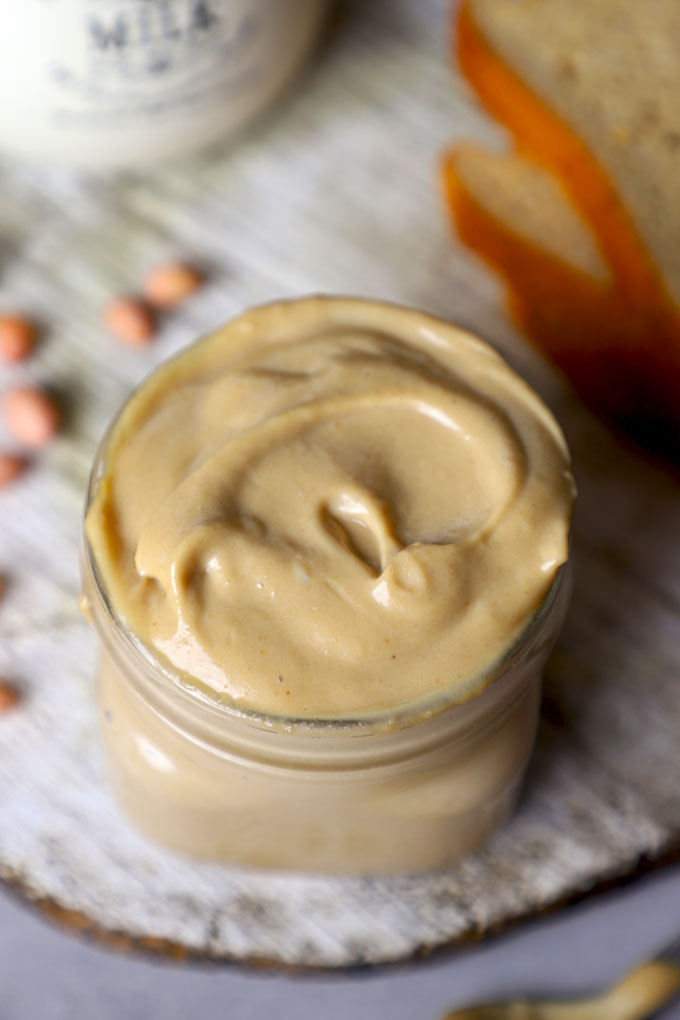
Transfer the peanut butter to an airtight jar. Store it in the refrigerator for up to 2 weeks. Stir before use if the natural oils separate over time.
You can spread homemade peanut butter over toasts or enjoy it with fresh, crisp, juicy apples. Use it for making Thai Peanut Butter Sauce , chilli oil noodles or deliciously savoury salad dressing .
Homemade Peanut Butter is perfect for healthy breakfast recipes like granola bar or overnight oats .
Pause the blending process to let your machine cool down, and continue once it’s safe to operate. Pausing, scraping, and then starting again throughout the process is the key.
Yes! Sweeteners are mainly for flavour and not for texture.
Natural peanut butter tends to separate over time. To minimize this, store the jar upside down or stir before use.
More Homemade Sauce Recipes
- Pizza Sauce
- Schezwan Sauce
- Spicy Peanut Sauce
- Thai Sweet Chilli Sauce
- Kebab Shop Garlic Yogurt Sauce
Ingredients
- ▢ 500 gram unsalted peanuts (skinned)
- ▢ 1 tablespoon date syrup
- ▢ ½ teaspoon salt or to taste
- ▢ 1 tablespoon peanut oil
Instructions
- Dry roast the peanuts in the oven at 350°F (175°C) for about 10 minutes. Or in a pan over the stovetop with a pinch of salt till they are slightly roasted, and warm. I highly recommend roasting the peanuts, as it gives a robust flavour and makes the entire process of making butter easy.
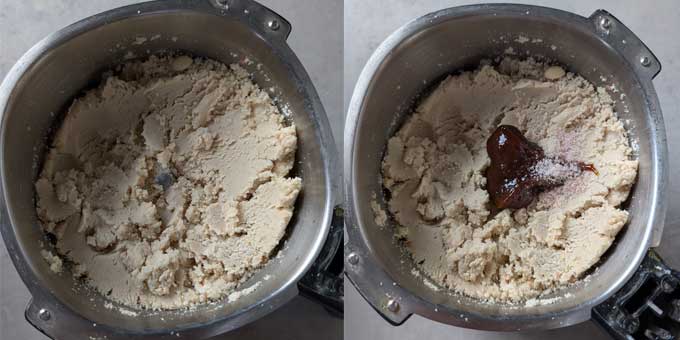
- Add the peanuts to your food processor or blender. Begin blending on a low setting to break the peanuts into smaller granules. This is Stage 1.
- Gradually increase the speed to medium, allowing the peanuts to release their natural oils and turn into a thick, chunky paste. This is Stage 2.
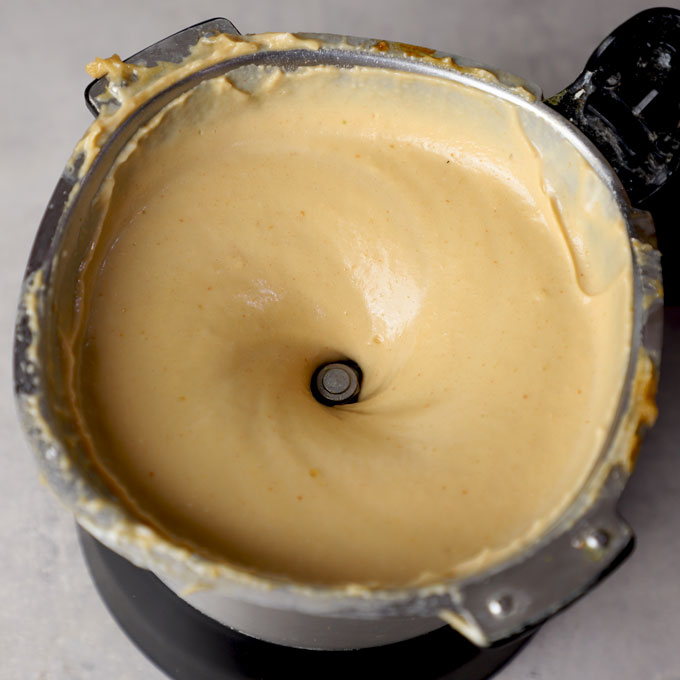
- Pause the blender, scrape sides using spatula, add a teaspoon of peanut oil and sweetener. Blend the butter to a smooth, creamy consistency. This is the Final Stage. Peanuts will release all of their natural oil.
- Transfer the peanut butter to an airtight jar. Store it in the refrigerator for up to 2 weeks. Stir before use if the natural oils separate over time.
Recipe Notes:
Add a pinch of cinnamon for a warm, aromatic touch.
Mix in vanilla extract for a hint of sweetness.
Add unsweetened cocoa powder for a chocolatey twist.
For extra crunch, stir in coarsely chopped nuts after blending.
Blend longer for an ultra-smooth consistency.
First stage is peanuts breaking into granules, second stage is turning into chunky paste, and the final stage is of smooth, creamy texture. Throughout the process pause and scrape the peanut butter for easier blending.
Peanut Butter tastes butter because of blending for too long at high heat. Or if they are burnt while roasting.
Nutrition
We follow a strict NO SPAM Policy
