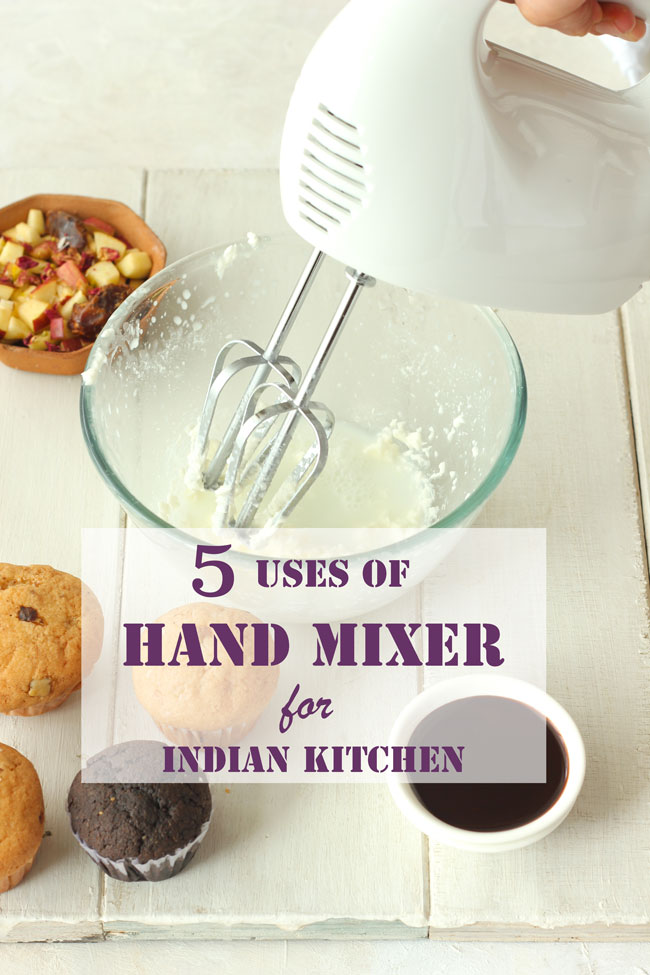
A hand mixer is a multi-purpose, must-have gadget in an Indian kitchen. From whisking batters, mixing, to churning butter and making lassi, a hand mixer does it all effortlessly.
- What is a hand mixer?
- Hand Mixer Use in Indian Kitchen
- Cleaning Hand Mixers
- Which Hand Mixer is best in India?
- More Useful Tips for Indian Kitchen
What is a hand mixer?
A hand mixer is a handheld mixer with a whisk attachment and dough hooks. It is optimized to whisk and combine ingredients but not blend or puree them. When it comes to any dish that requires kneading, whisking, blending, whipping, or beating, a hand mixer is a saviour.
I hope this post helps you answer the question ‘ Is a hand mixer useful for an Indian kitchen? ‘
Hand Mixer Use in Indian Kitchen
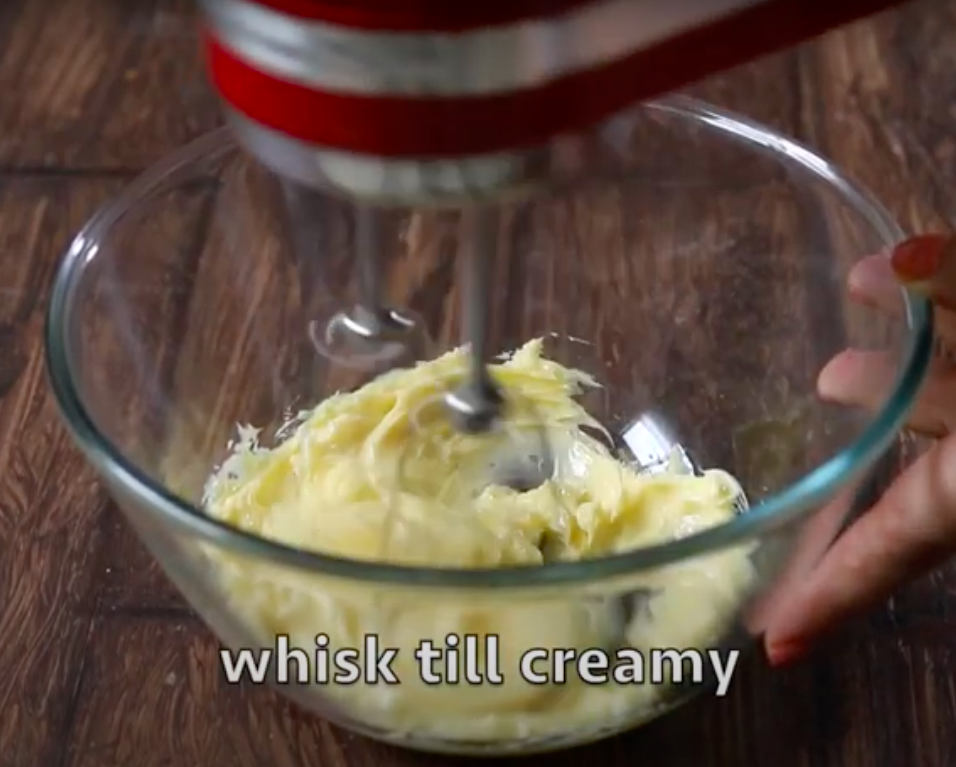
- Prepare Cake/Muffin Batter: If you’re someone who bakes a lot, this gadget is already one of your prized possessions. Light and fluffy bakes are no longer a distant dream for me because of the handheld mixer.
From whipping cream to whisking eggs or curd for Shrikhand , a hand mixer does it all when it comes to cakes and bakes.
You can use the whisk attachment to mix any batter into a smooth, homogenous consistency at the desired speed.
Whole Wheat Mocha Muffins
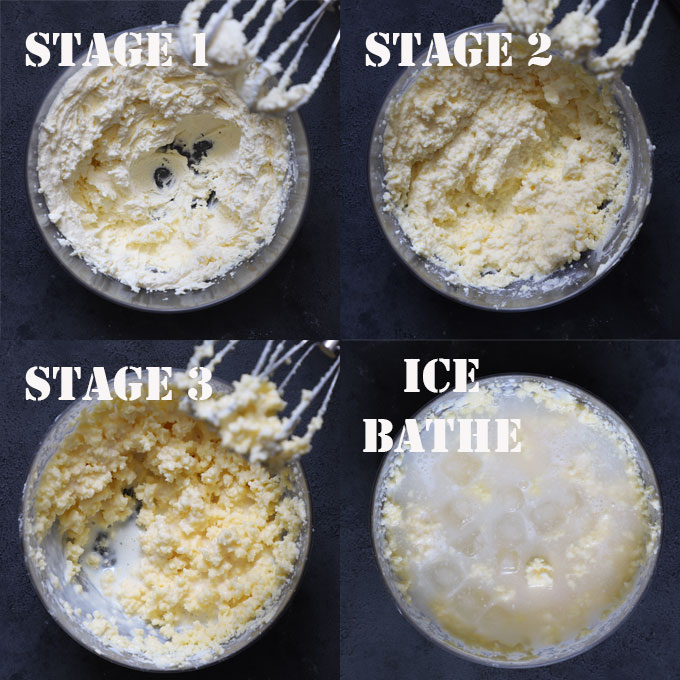
- Churn Homemade Butter: Homemade ghee and butter are indispensable ingredients in an Indian kitchen. Hence, every fortnight or so one needs to churn a batch of homemade white butter. With a handheld mixer with a whisk attachment, this task has been simplified.
No need to clean the whole food processor or whip the cream with your hand. Use the whisk attachment to churn the milk cream (malai) to transform it into butter.
With the help of an easy eject button, the whisk attachment comes off smoothly and makes cleaning up easy and the chances of any wastage, are negligible.
- Whisk Dal/Dosa Batter: Who doesn’t love the light and airy dahi bhalla or medu vada ? A hand mixer incorporates the perfect amount of air in any batter to make the result spongy and airy.
No need to churn the batter manually. With the hand mixer, any kind of batter does not take more than 15 minutes to reach the perfect consistency.
There is this thick layer of froth on top of the drink, making it genuinely Punjabi style. Or if you want to prepare a creamy flavoursome curd for raita try the whisk attachment.
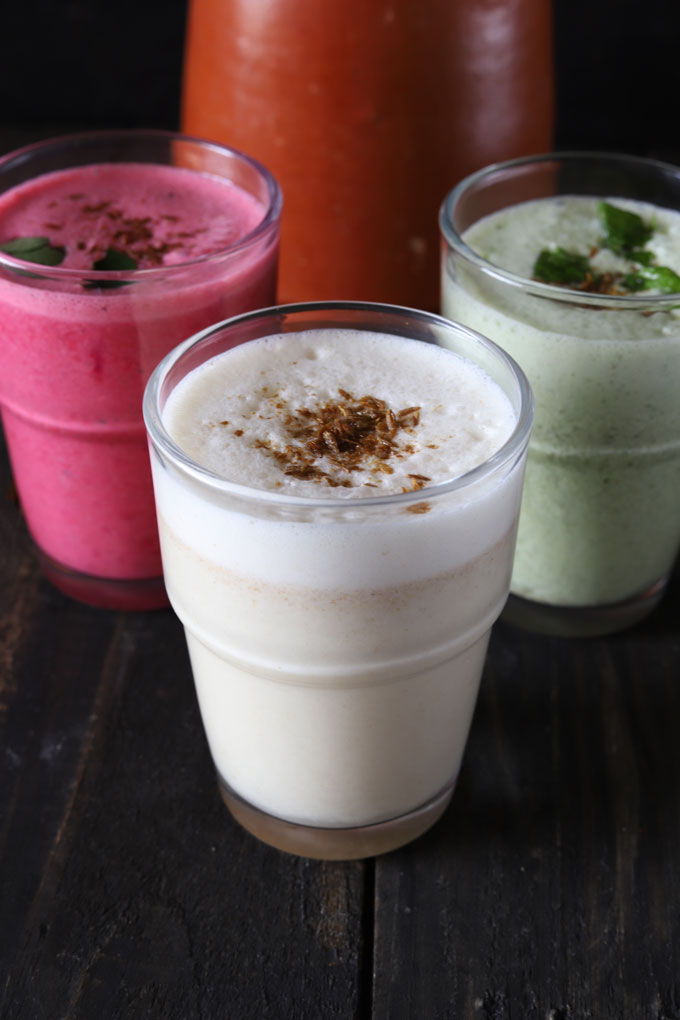
Masala Chaas
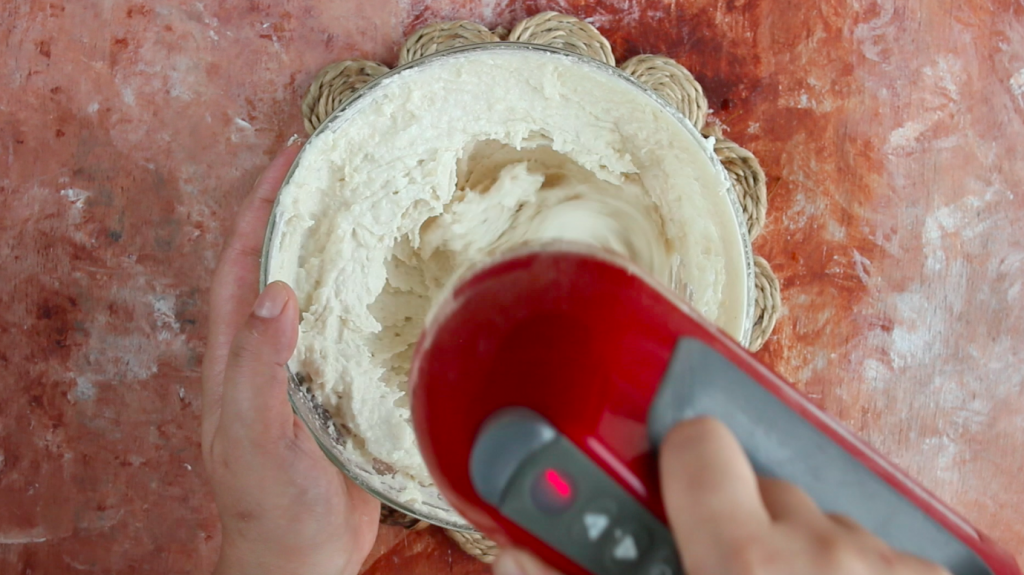
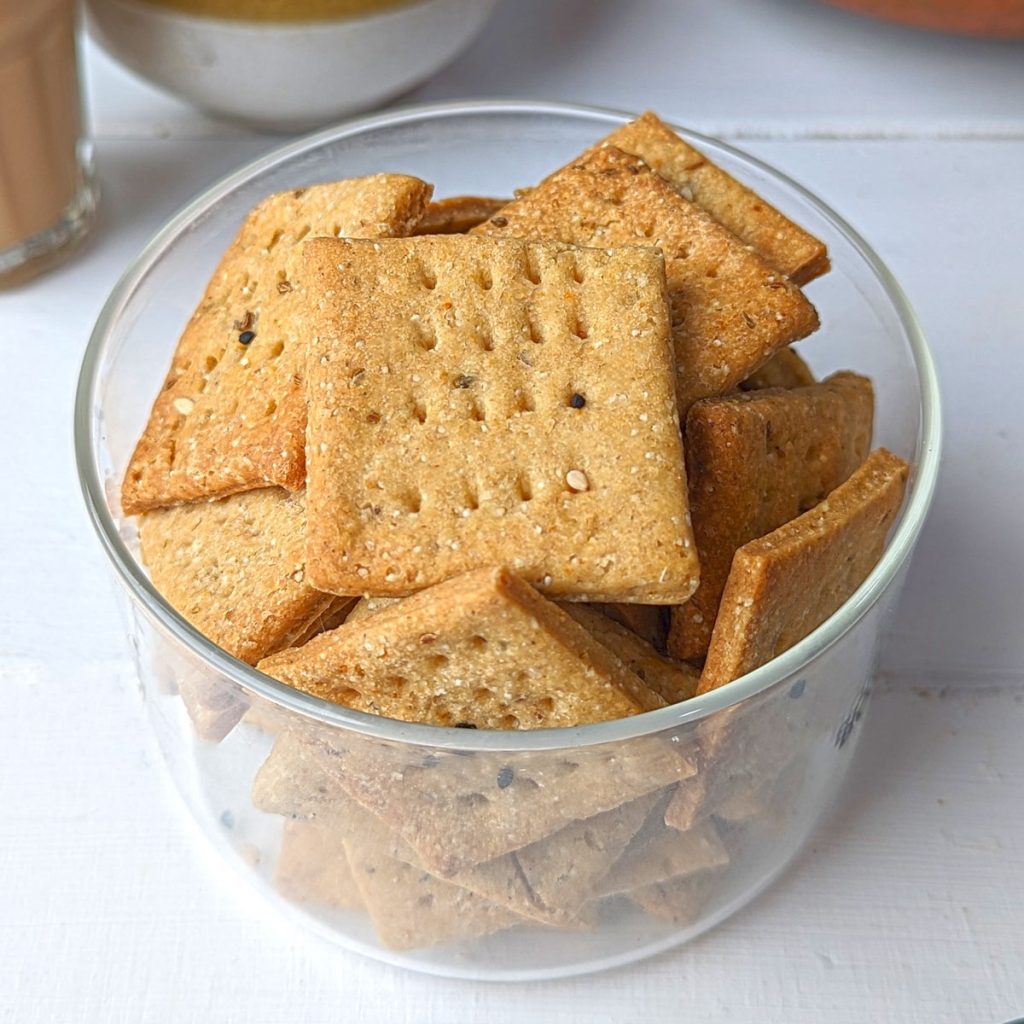
- Bind Dough: If you want to make the dough in small quantities for a specific dish like methi mathri or papadi that does not require too much kneading use the hook attachments. It saves so much time and manual effort. The flour and other ingredients come together in no time while using the hook attachment.
Cleaning Hand Mixers
When it comes to cleaning, I love the stainless steel finish of the hand mixer attachments, that doesn’t make my heart weep at the thought of residues (that might be the death knell on a ceramic surface).
The steel finish and easy ejection make it so simple to clean up afterwards. Warm water and detergent ensure a clean, almost new attachment after each wash!
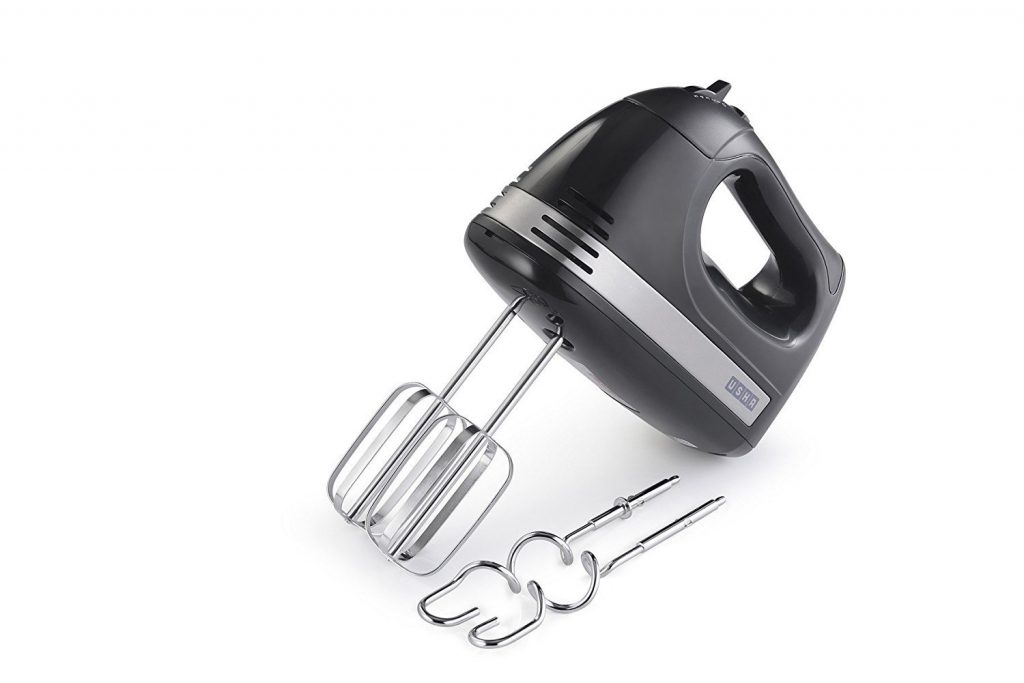
pic via amazon.in
Which Hand Mixer is best in India?
These are my top three favourite hand mixers for an Indian kitchen.
- I have used each one of them personally and loved every bit of them.
- All three mixers come with a whisk and hook attachment.
- 5-speed setting option for various recipes.
I love that the makers have been considerate in designing the handle to be light so that even more prolonged durations of mixing tasks seem effortless.
- Usha Hand Mixer
- Philips Hand Mixer
- KitchenAid Hand Mixer
The price of a hand mixer in India is unbelievably affordable , which means it’s light on the wallet and could easily fit into your budget.
More Useful Tips for Indian Kitchen
Should I Buy Curd Maker?
Meal Prep for Indian Kitchen
Instant Pot Use for Indian Cooking
Indian Kitchen Cabinet Organization
f ollow us on Youtube or Instagram for video recipes.
We follow a strict NO SPAM Policy
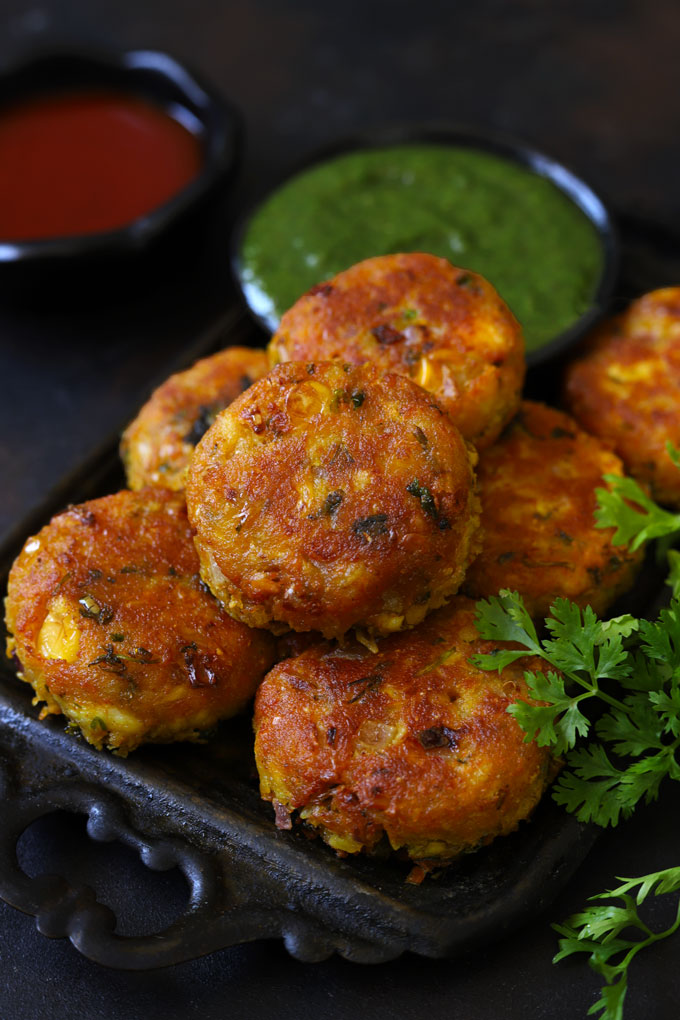
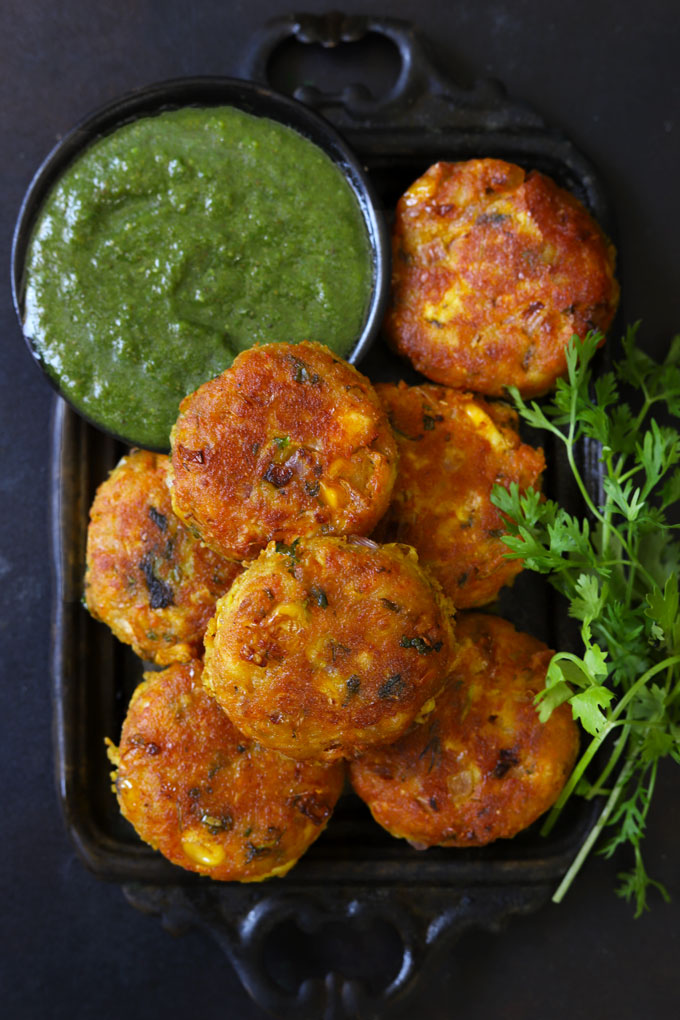
Paneer Cutlet is a vegetarian Indian snack. I am sharing a tried and tested gluten-free cutlet recipe worth bookmarking. Be sure to watch the video!
- Ingredients Required
- Cutlet Recipe Variation
- Meal Prep Tips
- Watch Paneer Cutlet Video
- Serving Suggestion
- More Cutlet Recipes
- Corn Paneer Cutlet Recipe
This is a foolproof paneer cutlet recipe tried by many website readers and social media followers. And each one of them loves this utterly simple cutlet recipe.
The addition of sweet corn and gluten-free flour makes these cutlets so unique and sought after.
Ingredients Required
A few basic pantry staples are required to make the most delicious paneer cutlet at home.
- Potato : Boil the potatoes a few hours or a day in advance. Store them in the refrigerator. Grate them instead of mashing them to make the cutlets. The leftover mashed potatoes aren’t a good fit for this cutlet recipe.
- Sweet Corn: You can use fresh or frozen sweet corn kernels. If they are slightly hard in texture, blanch them in hot water as I do for my corn chaat .
- Paneer (Cottage Cheese) : Always grate the paneer to make a cutlet and not crumble or mash.
- Gram Flour (Besan) : For binding, I use gram flour. It gives a nutty taste to the paneer cutlet. You can use rice flour or all-purpose flour as well.
- Seasoning: Green Chilli, Ginger, Salt, Red Chili Powder, Chaat Masala
- Other Ingredients: Chopped Onion, Fresh Coriander, Refined Oil
Cutlet Recipe Variation
For vegan cutlets , substitute paneer with tofu.
Feel free to add finely chopped spinach, kale, cabbage, or fenugreek leaves to the cutlet mixture.
Add grated cheddar/parmesan cheese to the cutlet mixture or place a small cube in the centre while shaping the cutlets.
For a crunchy exterior , you can coat cutlets in breadcrumbs before frying.
Meal Prep Tips
Boil Potatoes: Boil potatoes in advance using a pressure cooker, instant pot, or microwave, peel them, and store them in the fridge a day before making the cutlet.
Prepare Sweet Corn: Make a coarse paste of sweet corn in a food processor. Store in the refrigerator till required. To soften the corn kernels, blanch them in salted water. Allow them to cool before crushing and mixing in the cutlet dough.
Chop Vegetables: You can chop the onion, green chilli, coriander, and ginger in advance as I do for my weekly meal prep and store them in the refrigerator in meal prep-friendly containers.
Watch Paneer Cutlet Video
Serving Suggestion
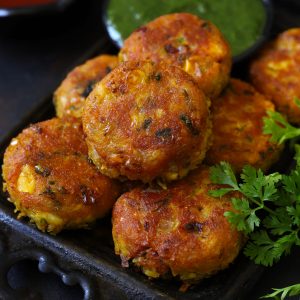
Party Snack: These corn and paneer cutlets make an excellent party snack. Serve them with green mint chutney or spicy mango dip for a lip-smacking appetizer.
Wraps: Tuck the leftover cutlets inside the wrap along with plenty of salad greens such as lettuce, rocket, and the sauces of your choice. Enjoy cutlet wraps for a quick weekday lunch or dinner.
Chaat: Make a delicious platter of street style Indian chaat with the corn paneer cutlets like aloo tikki chaat .
Teatime Snack: Serve these cutlets with a cup of masala chai or coffee for a fulfilling teatime snack.
More Cutlet Recipes
- Oats Cutlet
- Vegetable Cutlet
- Masoor Dal Cutlet
- Sooji (Rava) Cutlet
If you try this recipe and love it, please leave a comment and a rating. This helps us grow and reach other food lovers like you.
Ingredients
- ▢ 1 Cup sweet corn kernels, fresh or frozen
- ▢ ½ Cup paneer grated
- ▢ 1 boiled potato, peeled
- ▢ ½ Cup finely chopped onion
- ▢ 1 tablespoon chopped coriander
- ▢ 1 tablespoon grated ginger
- ▢ 1 green chili chopped
- ▢ Salt to taste
- ▢ ½ teaspoon turmeric powder
- ▢ 1 teaspoon cumin powder (jeera powder)
- ▢ 1 teaspoon chaat masala
- ▢ 1 teaspoon red chilli powder
- ▢ ¼ Cup gram flour (besan)
- ▢ ¼ Cup refined oil
Instructions
- Crush the corn kernels with a potato masher or whiz them once in a food processor. Do not make smooth paste of kernels.
- Combine all the ingredients for cutlet except cooking oil in a large mixing bowl. Mix together to make cutlet paste.
- Pinch a lemon size portion of the mixture. Shape it into flat round discs of half an inch thickness. Similarly, shape all the cutlet and arrange neatly on a plate or baking sheet. At this stage, you can store cutlet in the fridge until ready to fry.
- Heat oil in a deep-fry pan over medium flame. Shallow fry the cutlet in small batches till crisp and golden from both sides. Do not flip cutlets more than once or twice while shallow frying. fry Drain the tikki in a paper lined with an oil absorbent paper. ing.
- Serve Corn Paneer Cutlet with green chutney .
Recipe Notes:
- You can use fresh or frozen sweet corn for making the cutlet. Boil the corn kernels in salted water till tender if they seem hard. Allow them to cool completely before crushing and combining in cutlet mixture.
- Grate the paneer and boiled potato rather than crumbling for a perfect cutlet mixture.
- You can store uncooked cutlet in the fridge for 2 – 3 days in an airtight container.
- Make sure the oil is sufficiently hot before frying the cutlet else they might break apart or turn soggy.
- It is a gluten-free recipe. If you prefer, add 1 tablespoon all-purpose flour or corn flour to bind the mixture.
Nutrition
We follow a strict NO SPAM Policy
